DIY - make your own "ugly" Christmas Turtleneck

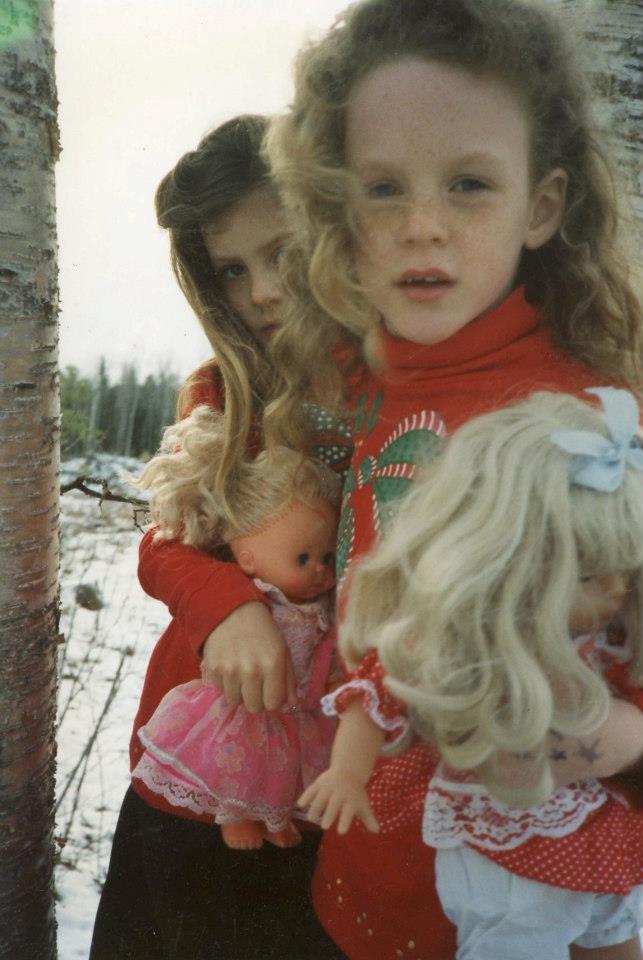
In the 90s my mom made my sister + me matching Christmas turtlenecks that I in no way felt were ugly and rocked for many, many Christmases. When I outgrew mine Marie wore my hand-me-down one for additional years.
I will repeat, my mom, Anne, made these for us.


Every year Kyle + I go on a “Hoppy Holidays” tour with two of our besties Lindsay + Darren and every year they wear matching his-and-hers ugly Christmas sweaters, whereas Kyle and I consistently dial it in with flannel + Santa hats. This is our 5th Hoppy Holidays (Hoppy Holidays 5.0 “Sleigh My Name” which to us meant, it was time. We googled Destiny’s Child Christmas and saw them in white turtlenecks and we were sold. It was time to make puffy paint Christmas turtlenecks.
Difficulty Level
Ok there’s nothing particularly hard about this, but at the same time it’s pretty hard. We got to the end and Kyle said
“There is no way in hell I could do that”
Agreed.
It’s one of those crafts where it will take a few hours, but if you’ve done lots of crafting - you know how to cut fabric with tight turns, and how to smooth down fabric so it won’t pucker, [you pull it and smooth it] and paint in a thin line with puffy metallics then it’s going to be no problem. If this is your first craft like this, choose a simple, big pattern without many corners or small details.
Supplies

Turtleneck - In unshocking news it’s sort of tricky to find men’s turtlenecks, but I’m so glad Kyle stuck with it because he found these super lush and thick turtlenecks from Uniqlo.
Christmas Fabric - choose a big pattern, the less pointy corners the better
Fabric Glue - I was told by the staff at the fabric store that Fabri-Tac was best and holy shit it WORKED
Sharp Scissors - if you don’t have sharp scissors turn around now. They need to be v. sharp.

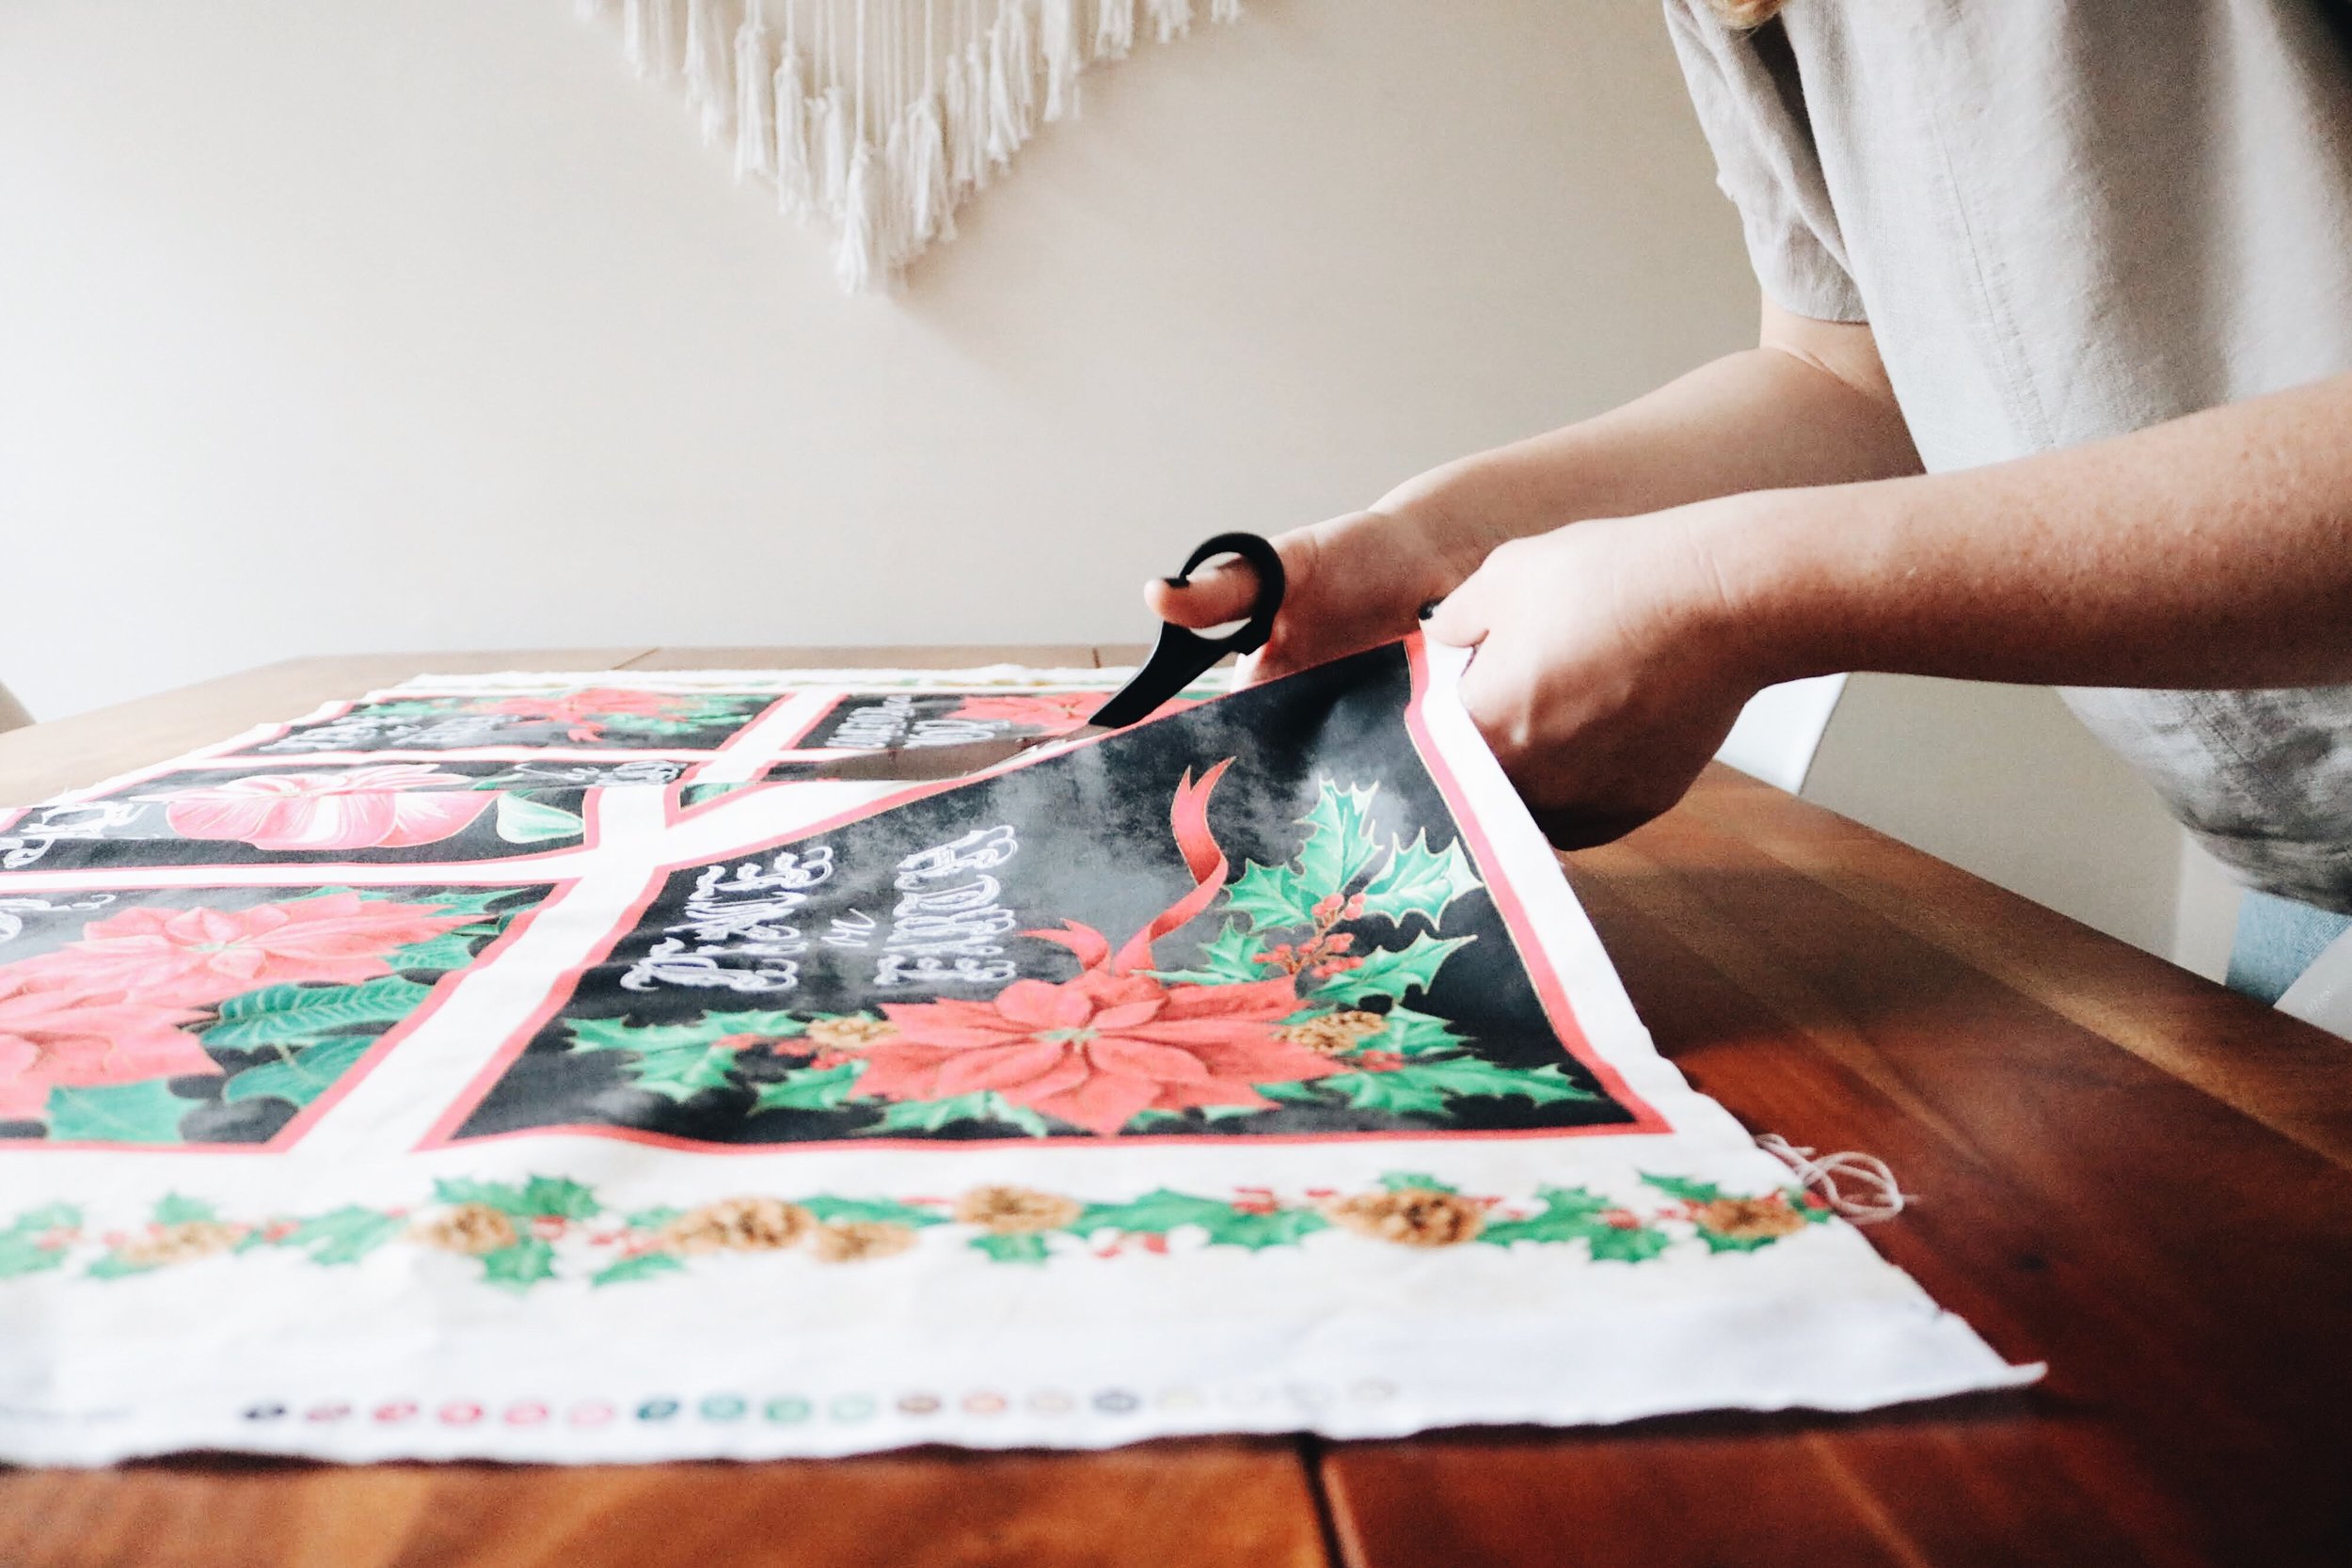
Step 1: cut it out
Cut out your Christmas pattern.
Here’s what I learned: avoid a pattern with sharp pointy bits. It’s a giant pain in the ass to cut out and glue down and when you move onto your husband’s way broader pattern you’re going to very much question the effort it took to cut out yours.
The pattern itself can really be anything, you’ll kind of have to see what’s there at your fabric store [I went to Dressew where I got all my supplies except the shirts. Be warned they have weird hours.] The pattern you choose needs to be pretty big but the store I went to was void of giant bows, and the penguins and various Santas were too damn cute for me as I wanted to create the essence of that 90s glamour I had felt as a kid wearing my shirt.


Step 2:
Take a quick break to take photos of yourself in your matching turtlenecks. Lean into it with matching coffee mugs.


Step 3: pin it on
Take your cut out bit and place it in-situ where you want it to be. This placement took a few tries and phone photos to my sister to approve a design.
Pin it in place and use teamwork to get it take it off without shifting the fabric or stabbing yourself with pins.
Step 4: Lay it out
Ok now it’s getting to the hardest part which is getting it glued into place. You need to make sure that you get the shirt really flat so the fabric won’t pucker as you glue to it. You can see when I took it off how it was all puffed out. Move a few pins at a time to flatten it out before you start gluing.


Step 5: glue it down
It’s ok to freak out. You can see my real-life face as I prepared to glue down the fabric. I did not want to have wasted my morning cutting that out by gluing it in the wrong place or in some weird way.
I kept it pinned down and folded up one section at a time starting the glue in the middle and working spreading it around with the tip. You do not want so much glue that it spills out around the edges, but any pointy bit you don’t glue down will pop up so it’s a fine balance. As you glue push down and brush it flat with your hand.


Fabri-tac lessons learned
it’s fucking sticky
as soon as it makes contact it’s stuck there. Which means you can see where you’ve glued and there’s some resistance so it won’t move around when you move the pins, but you cannot make a mistake. It’s stuck as soon as it touches.
it dries quickly I think
So that means just do small sections and work quickly while you’re actively gluing
there’s something weird with the bottle
It kind of just kept flowing and flowing, or it would get clogged up. I had Kyle stand by with paper towel and every time I finished a little bit he took away the bottle and wiped off the top with paper towel because the glue just gushed over the edge. When I came back to do the second shirt it was all dried up and I had to reopen the top with a pin. I don’t know if I was doing something wrong or what, but it had the potential to end in disaster and I’m very impressed there isn’t glue all over our house.
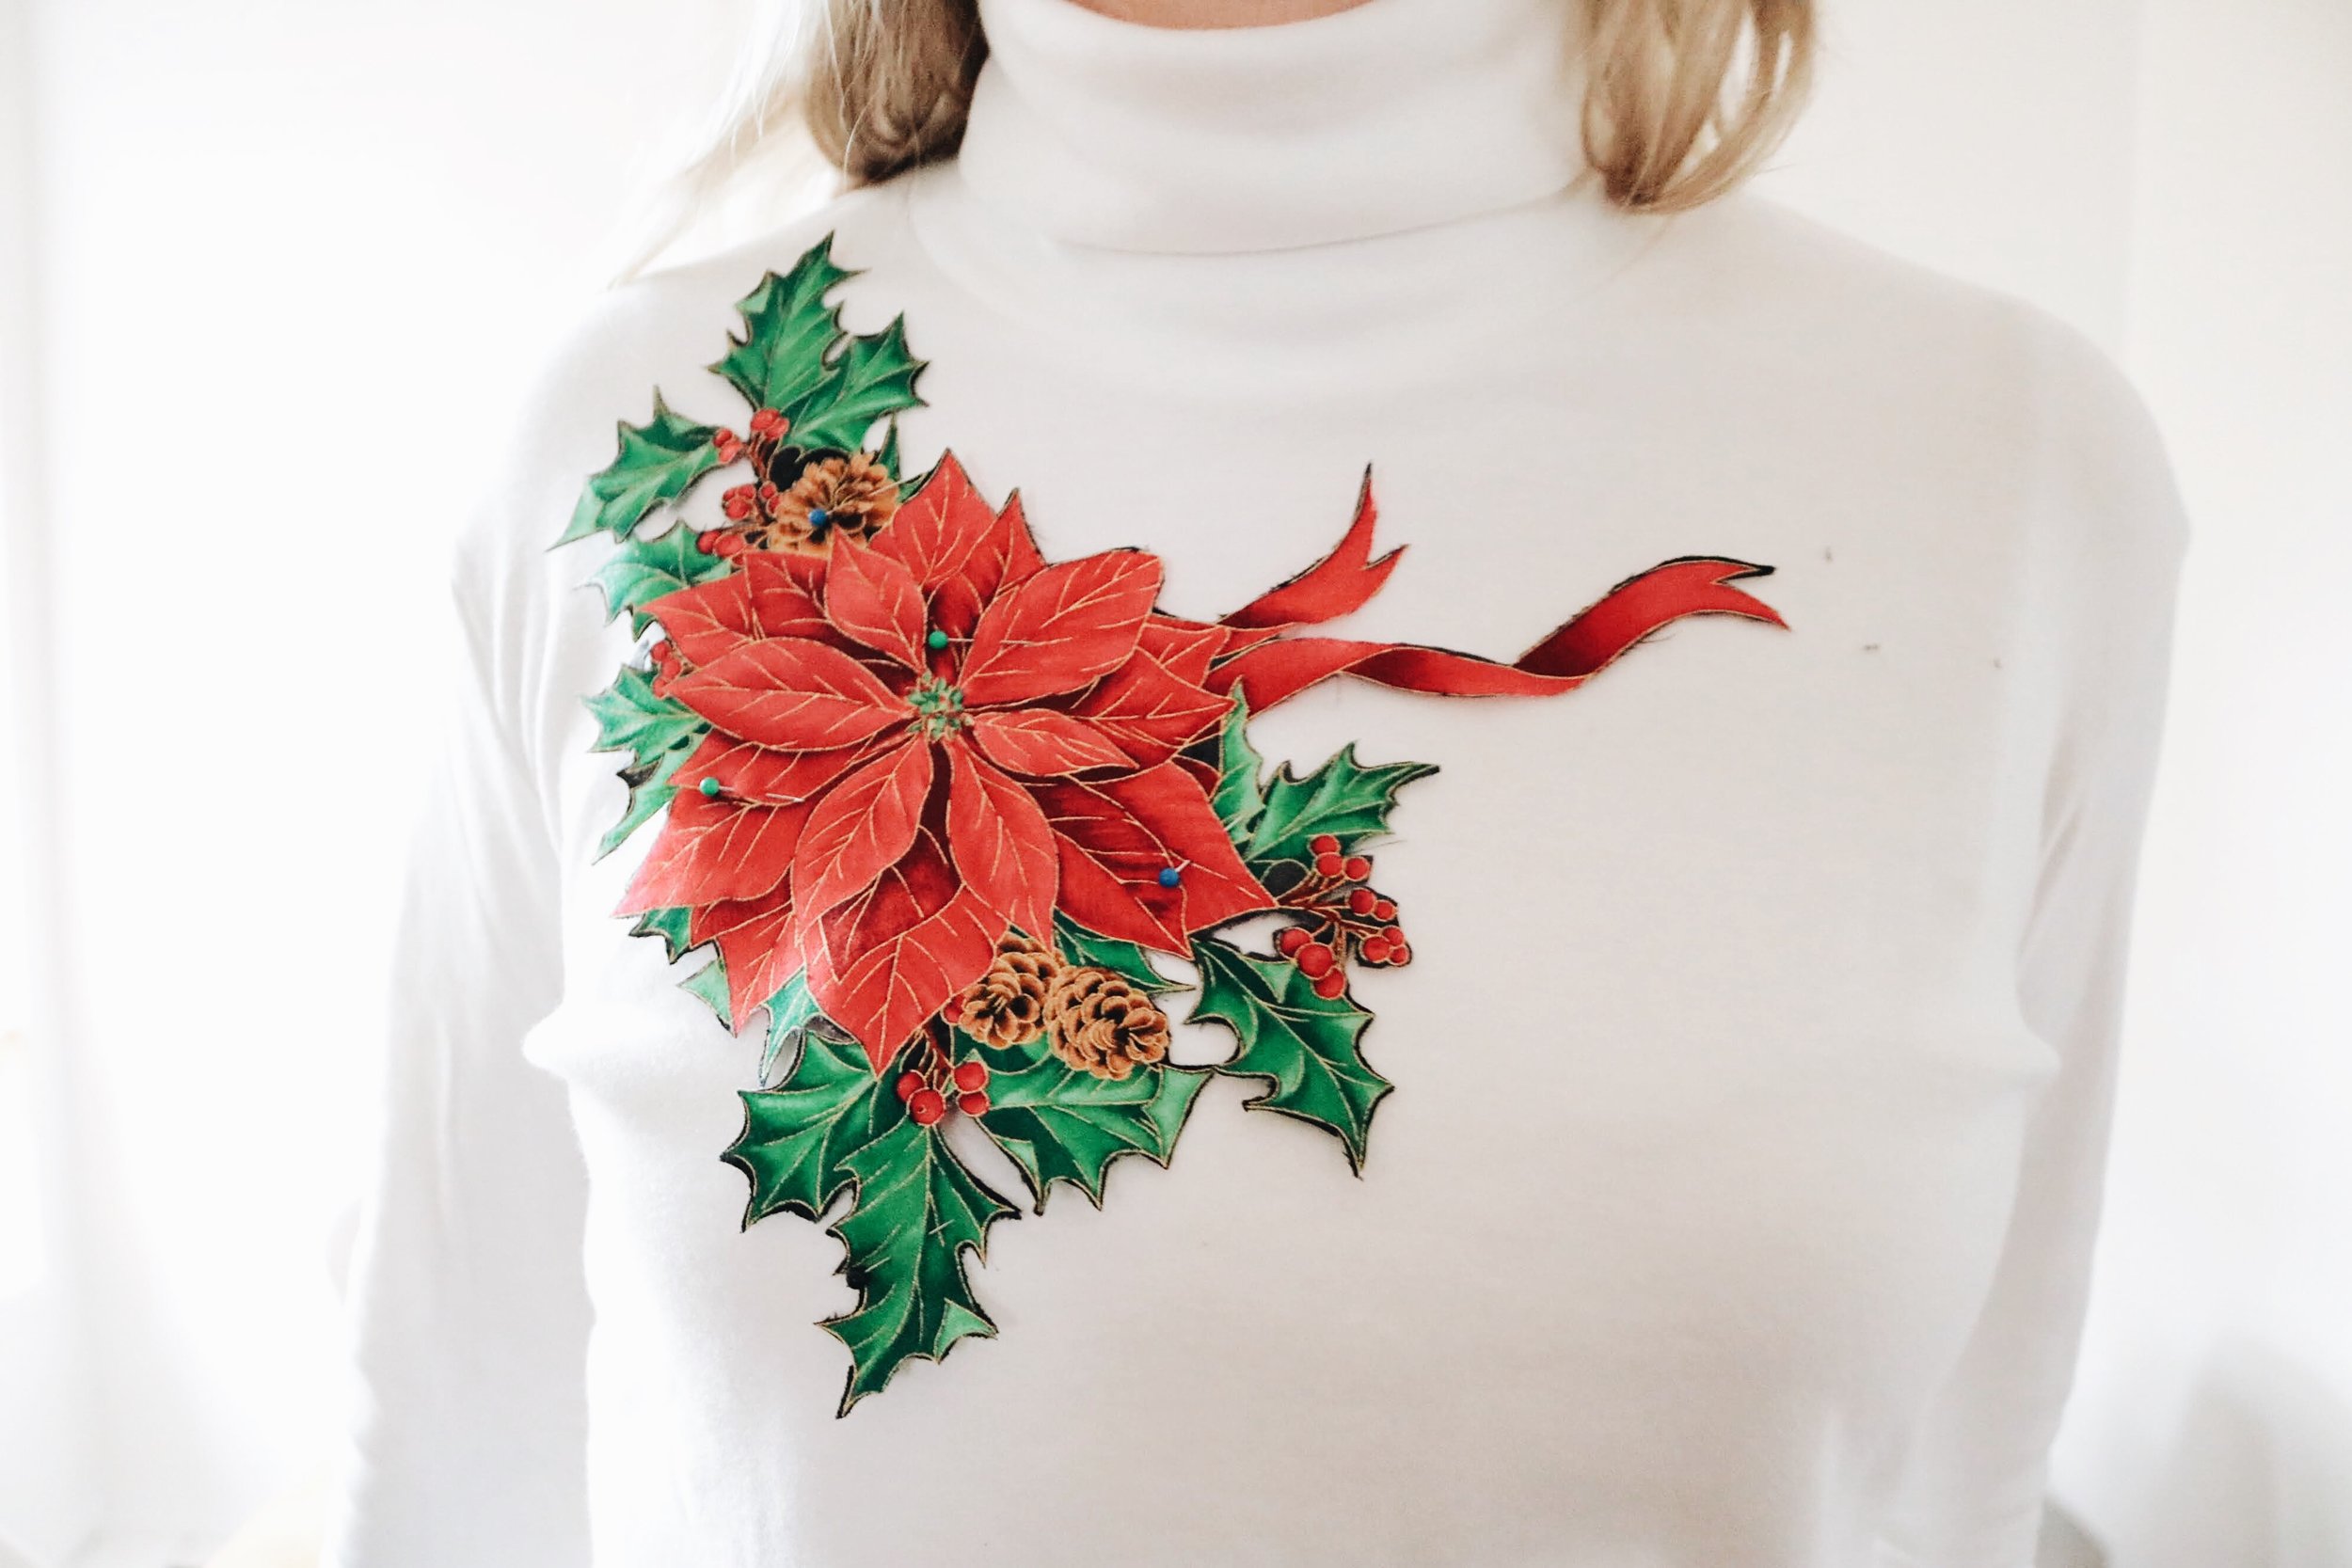
Step 6: puff it up
Outline the edges of your design with puffy paint. It’s really this step that’s going to elevate it to that 90s vibe. I added red + gold and was too chicken to add in the cool stripes and dots my mom added to ours, but I really hope you’re braver than me.
Honestly I’m not sure I’ve ever concentrated so hard in my whole life.
Do not drag your hand through the paint as its drying and you’re adding more to the design. It says it takes about 4 hours to dry which seemed about right to me but we left it overnight.


Step 7: rock it out
Put it on. Take selfies.


It was finally time for us stop dialling in our Christmas outfits and so I made us these stunning little Christmas turtlenecks based on a DIY my mom made for my sister and me in the 90s. Here’s how you can get glorious for Christmas too.