DIY Advent Calendar
I made a new friend. I know that she's a real friend because she came over to do a craft with me and I was wondering what type of tea to make her, but I never got to ask because she showed up with champagne, a 6 pack of beer, and heirloom rosemary shortbread.
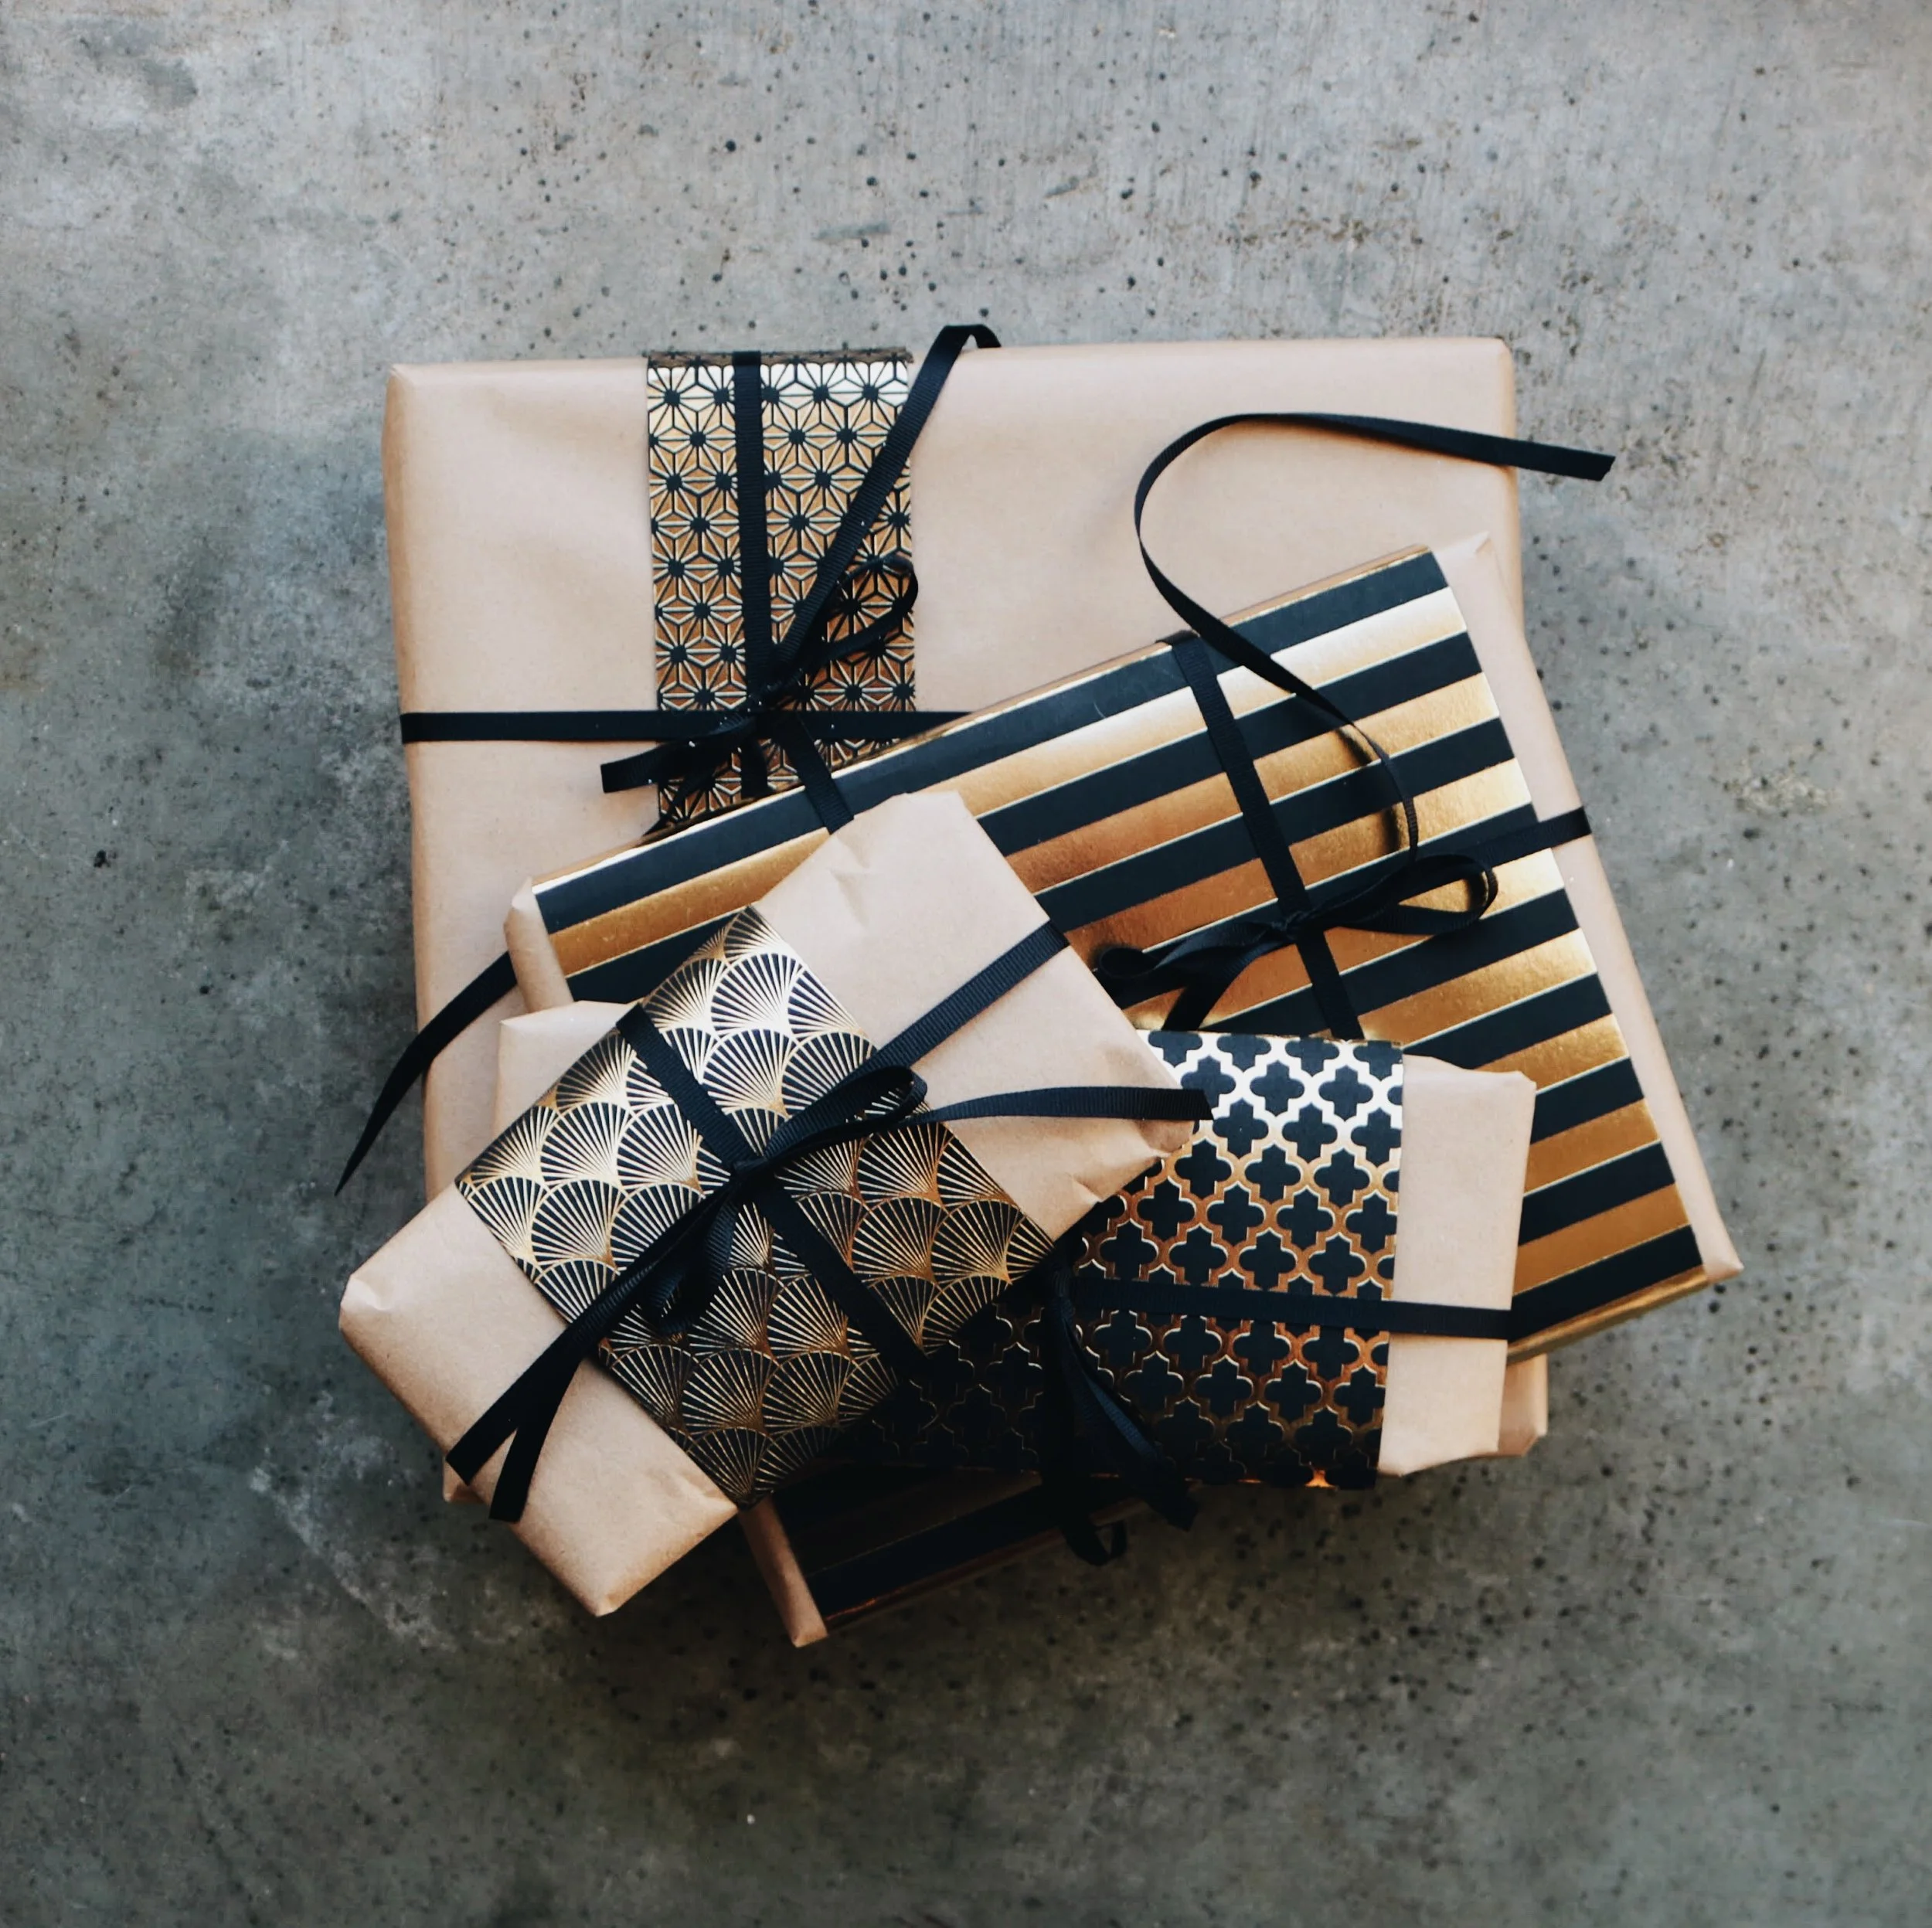
Friends Forever!

We decided to make our own advent calendars and she claimed to not be crafty (but she was totally good at crafting) so she let me be the team lead on figuring out what exactly we were going to do. I'd seen a lot of beautiful DIY advent calendars on Pinterest but hadn't found any instructions so I just made it up.

a simple diy advent calendar to show someone you love as much as chocolate 24 days in a row.
There's not that much too it, if you can tie bows and like to craft it's NBD.
I like to do crafts like this in an assembly line so I did the same thing 24 times in a row before moving onto the next step.
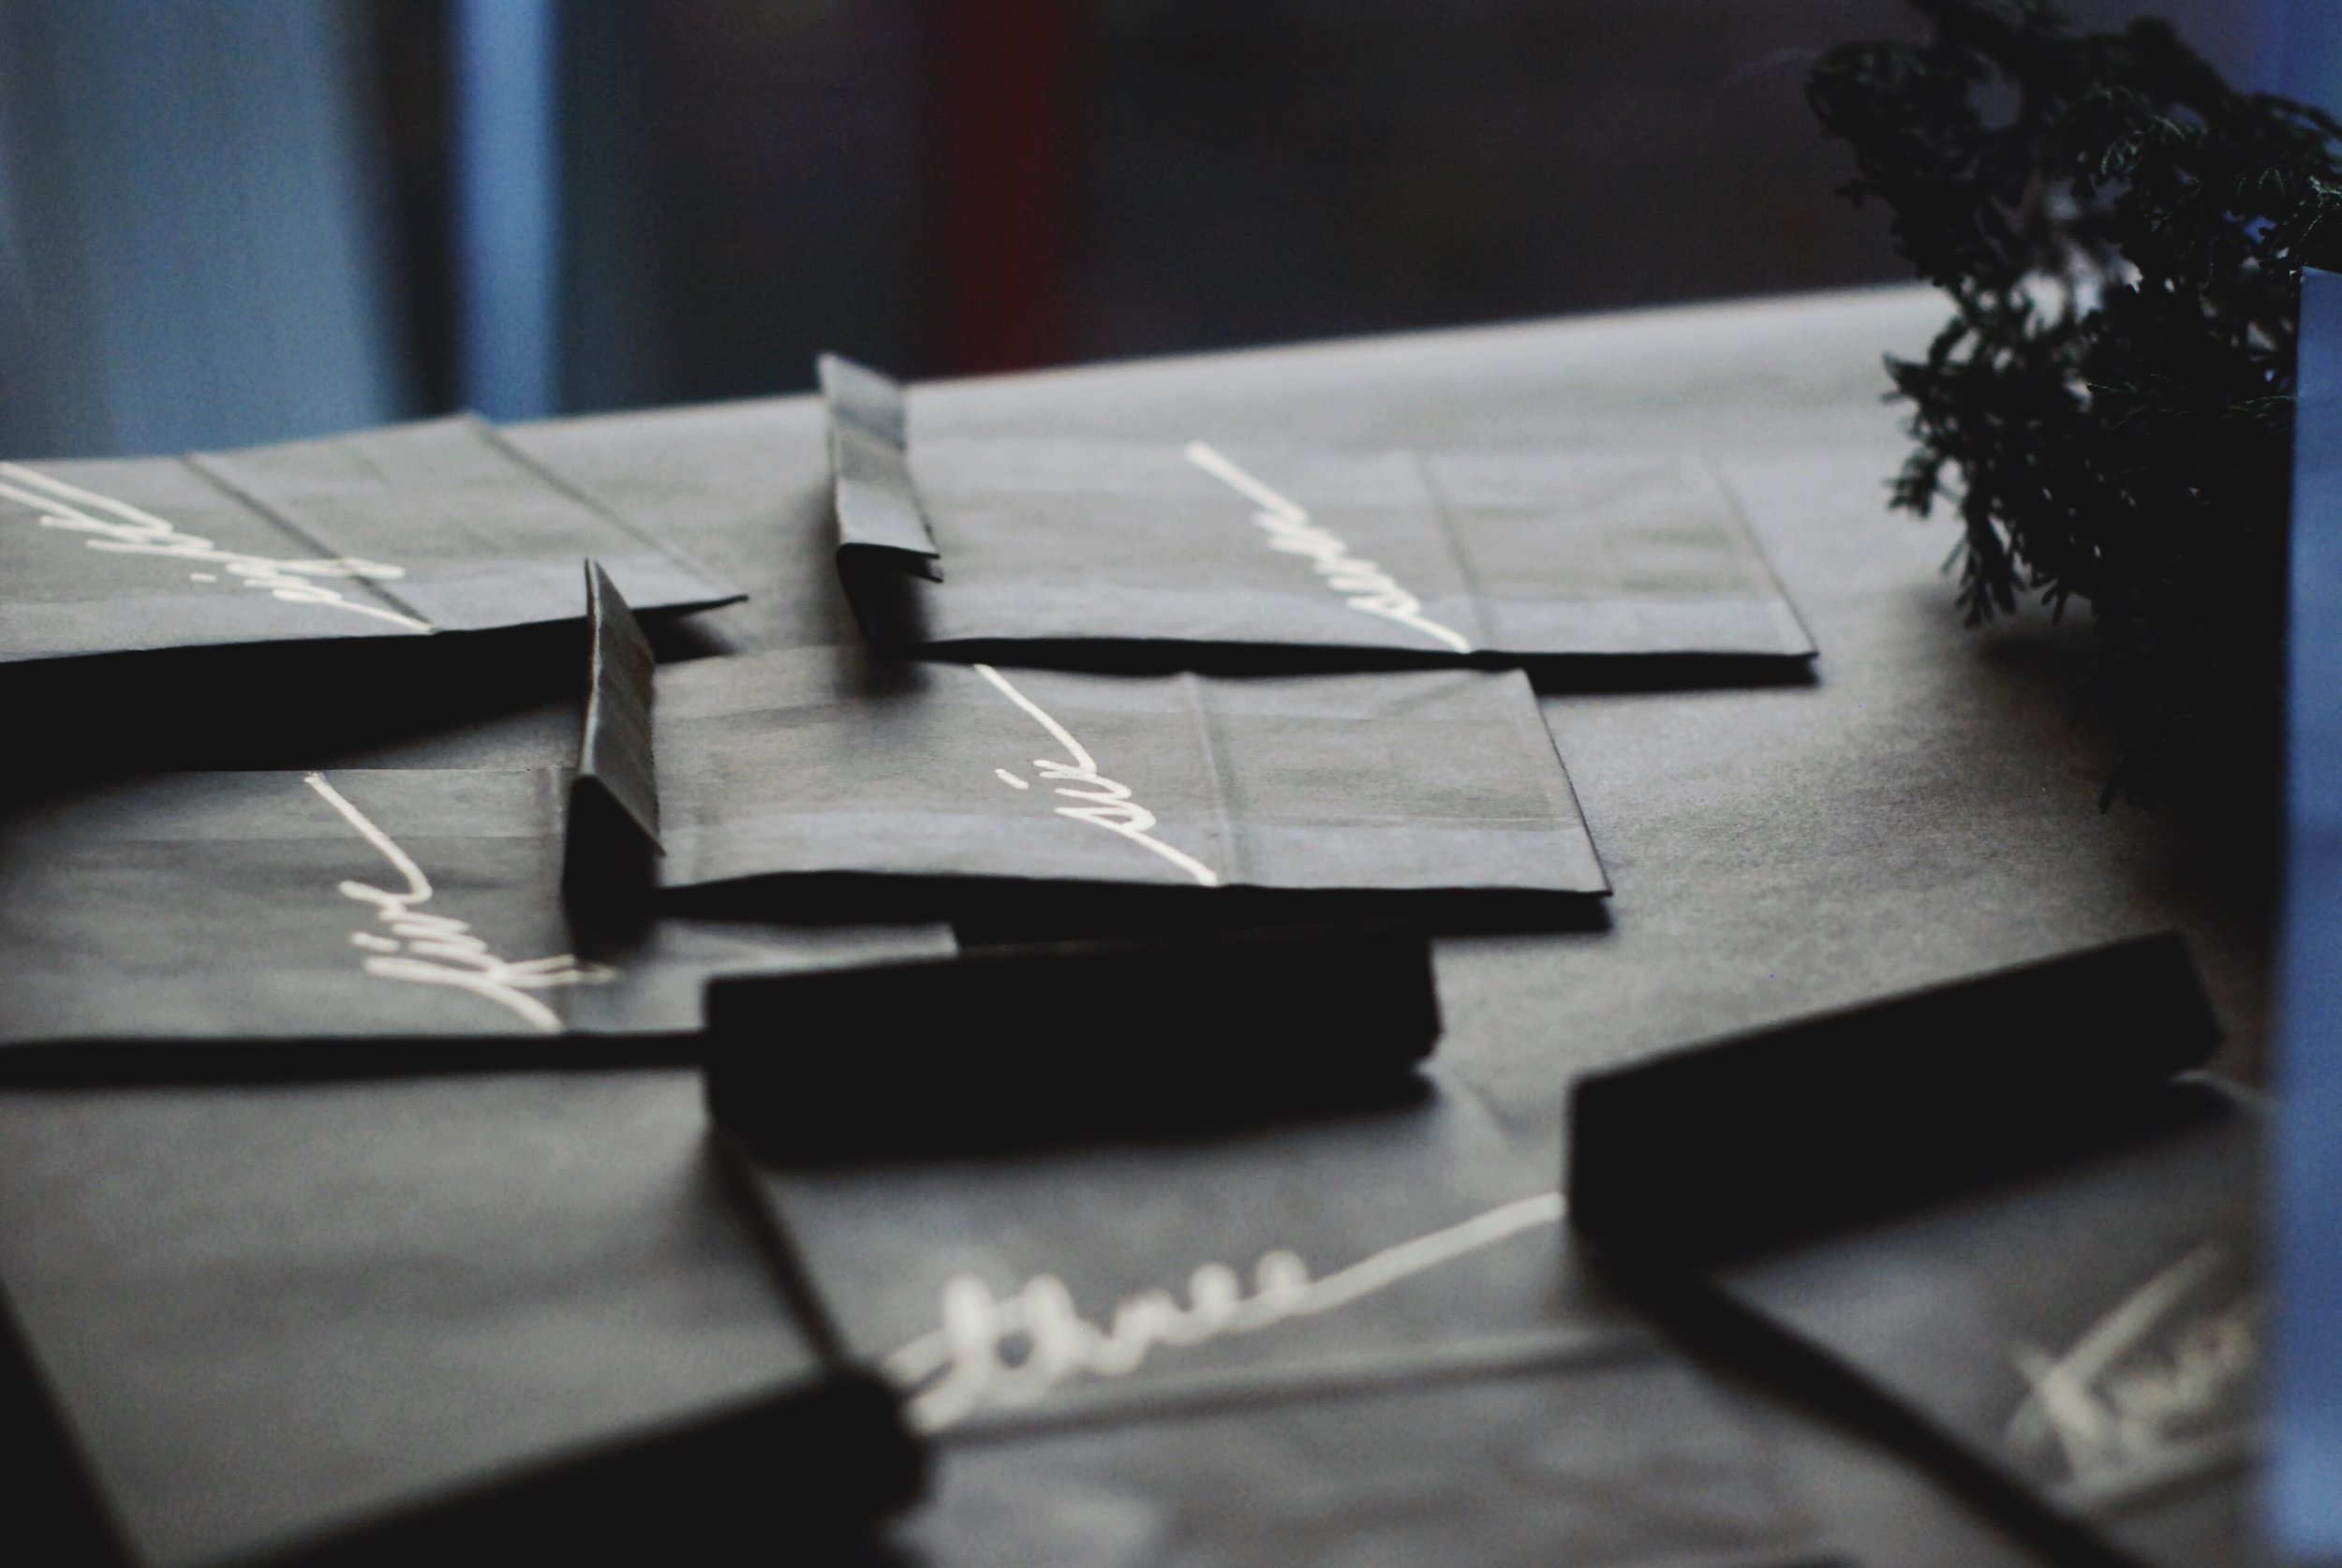
Step 1:
Fold the top of the bag down twice


Step 2:
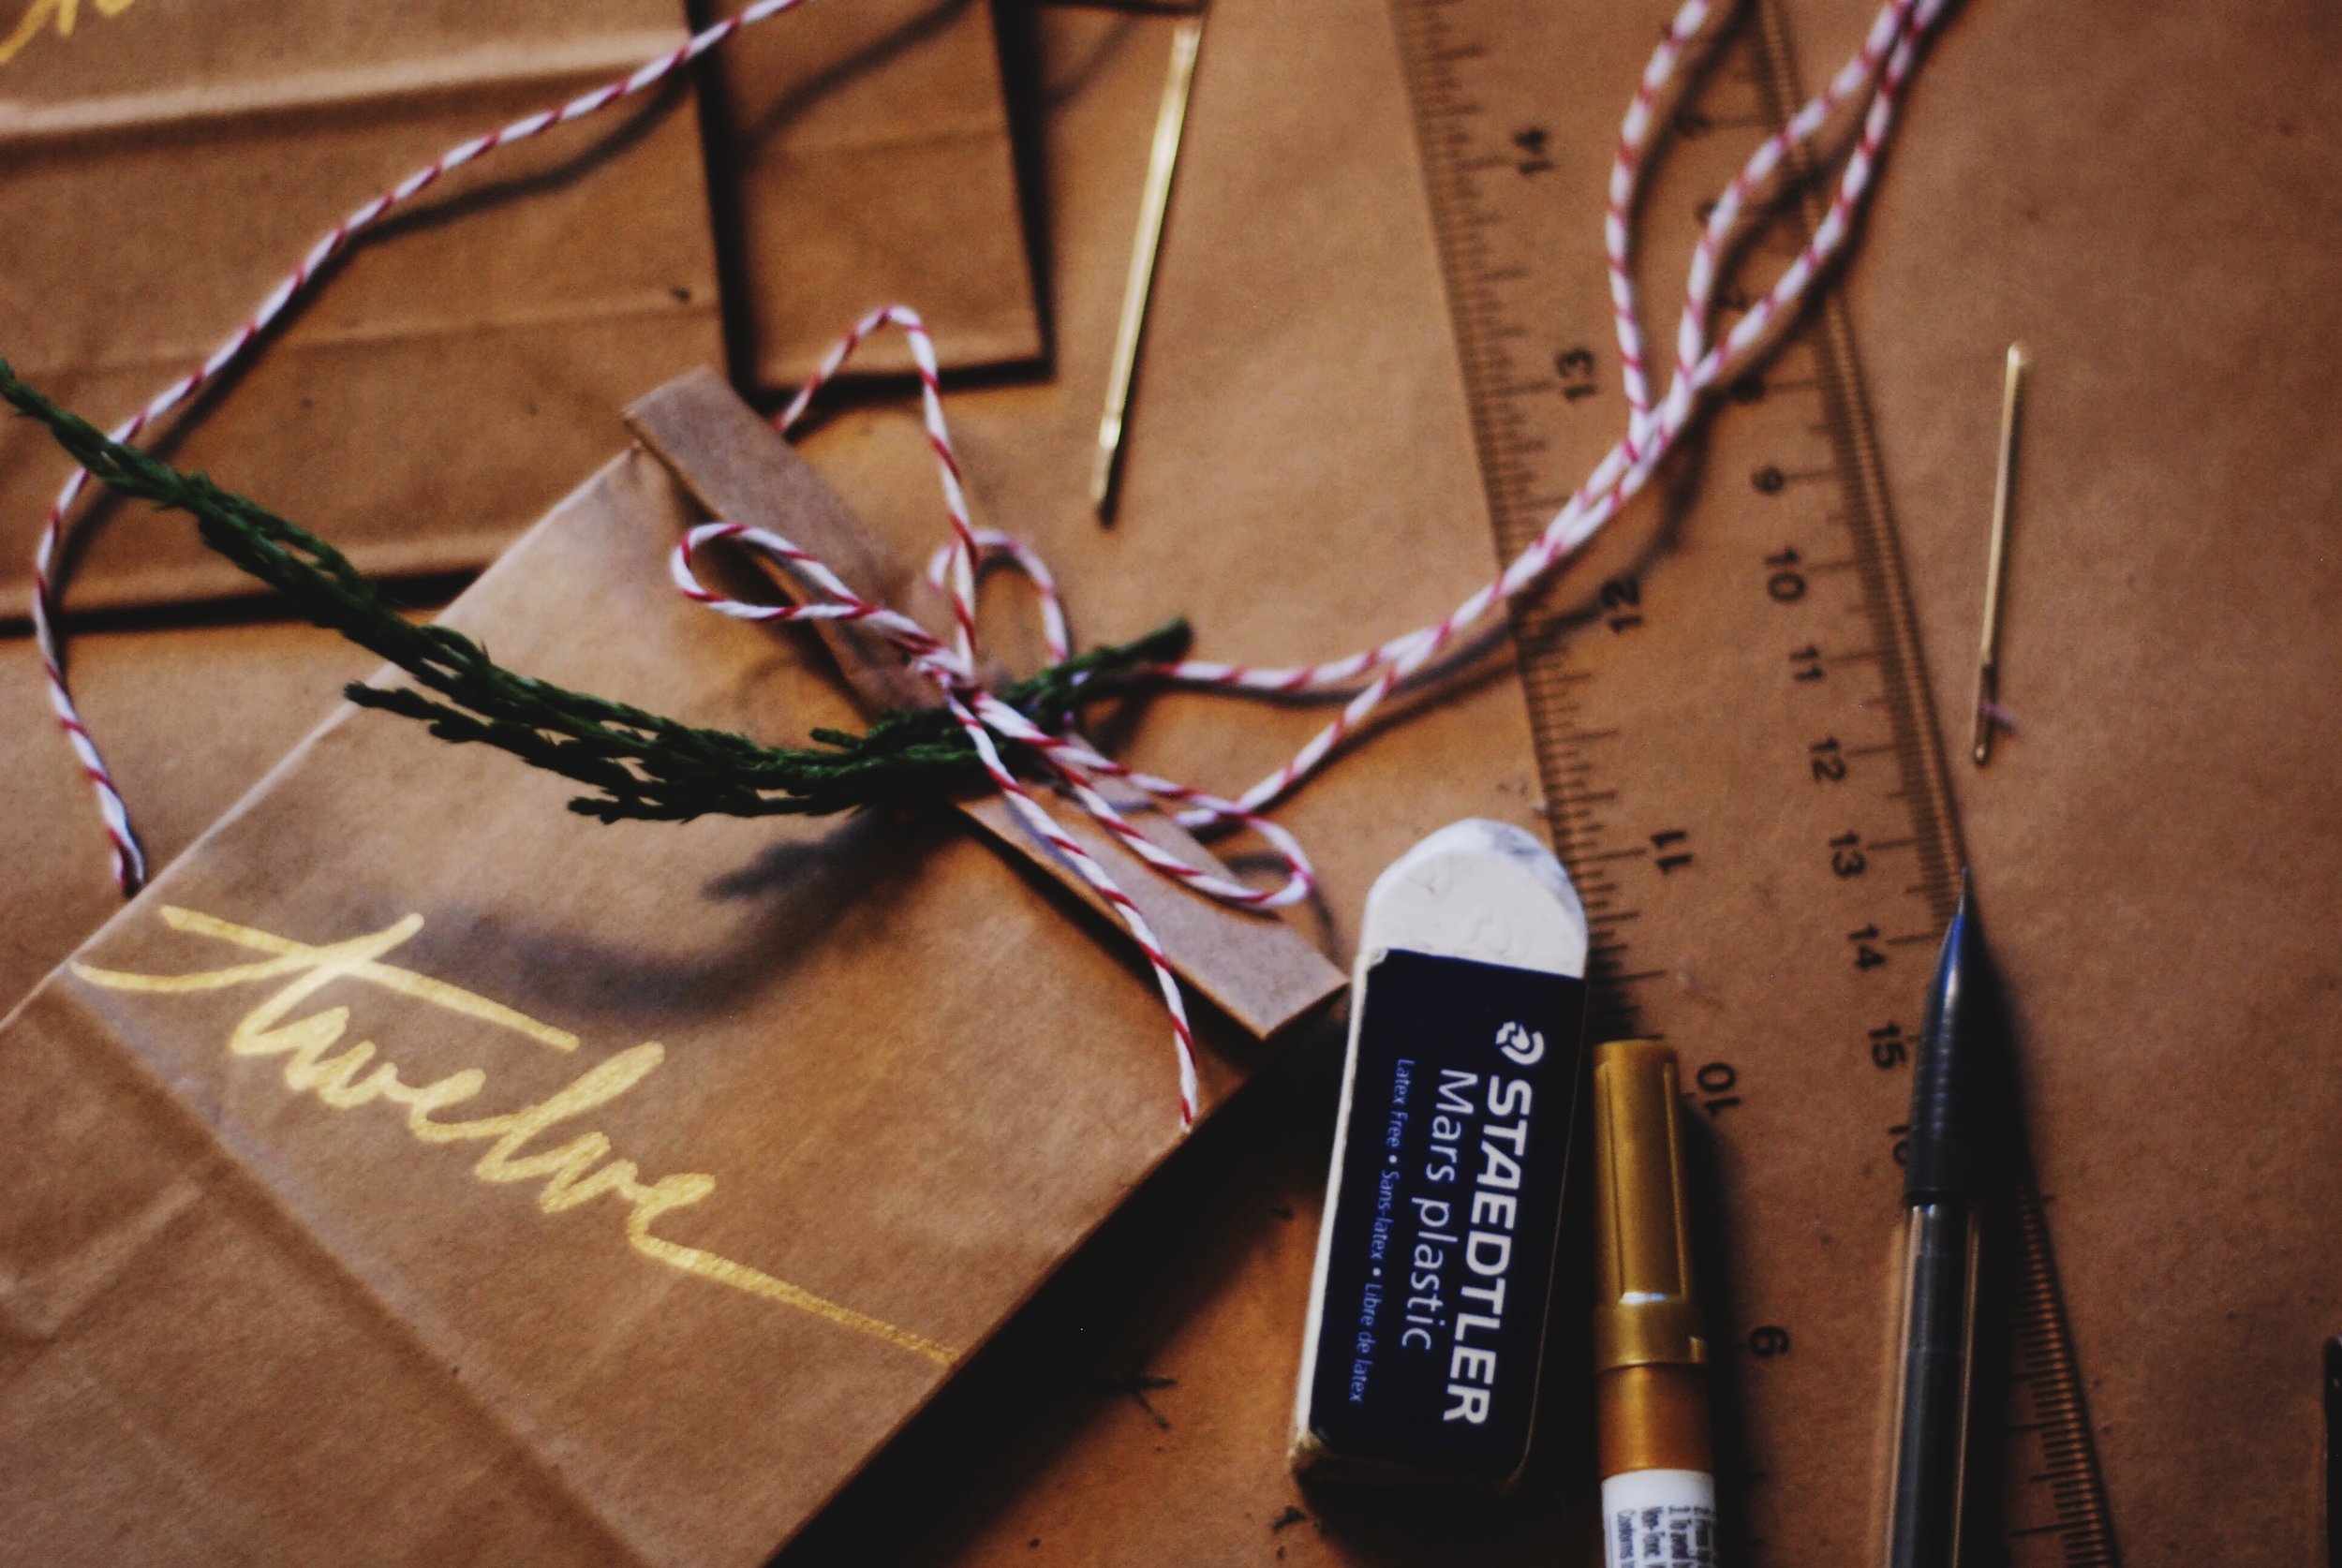
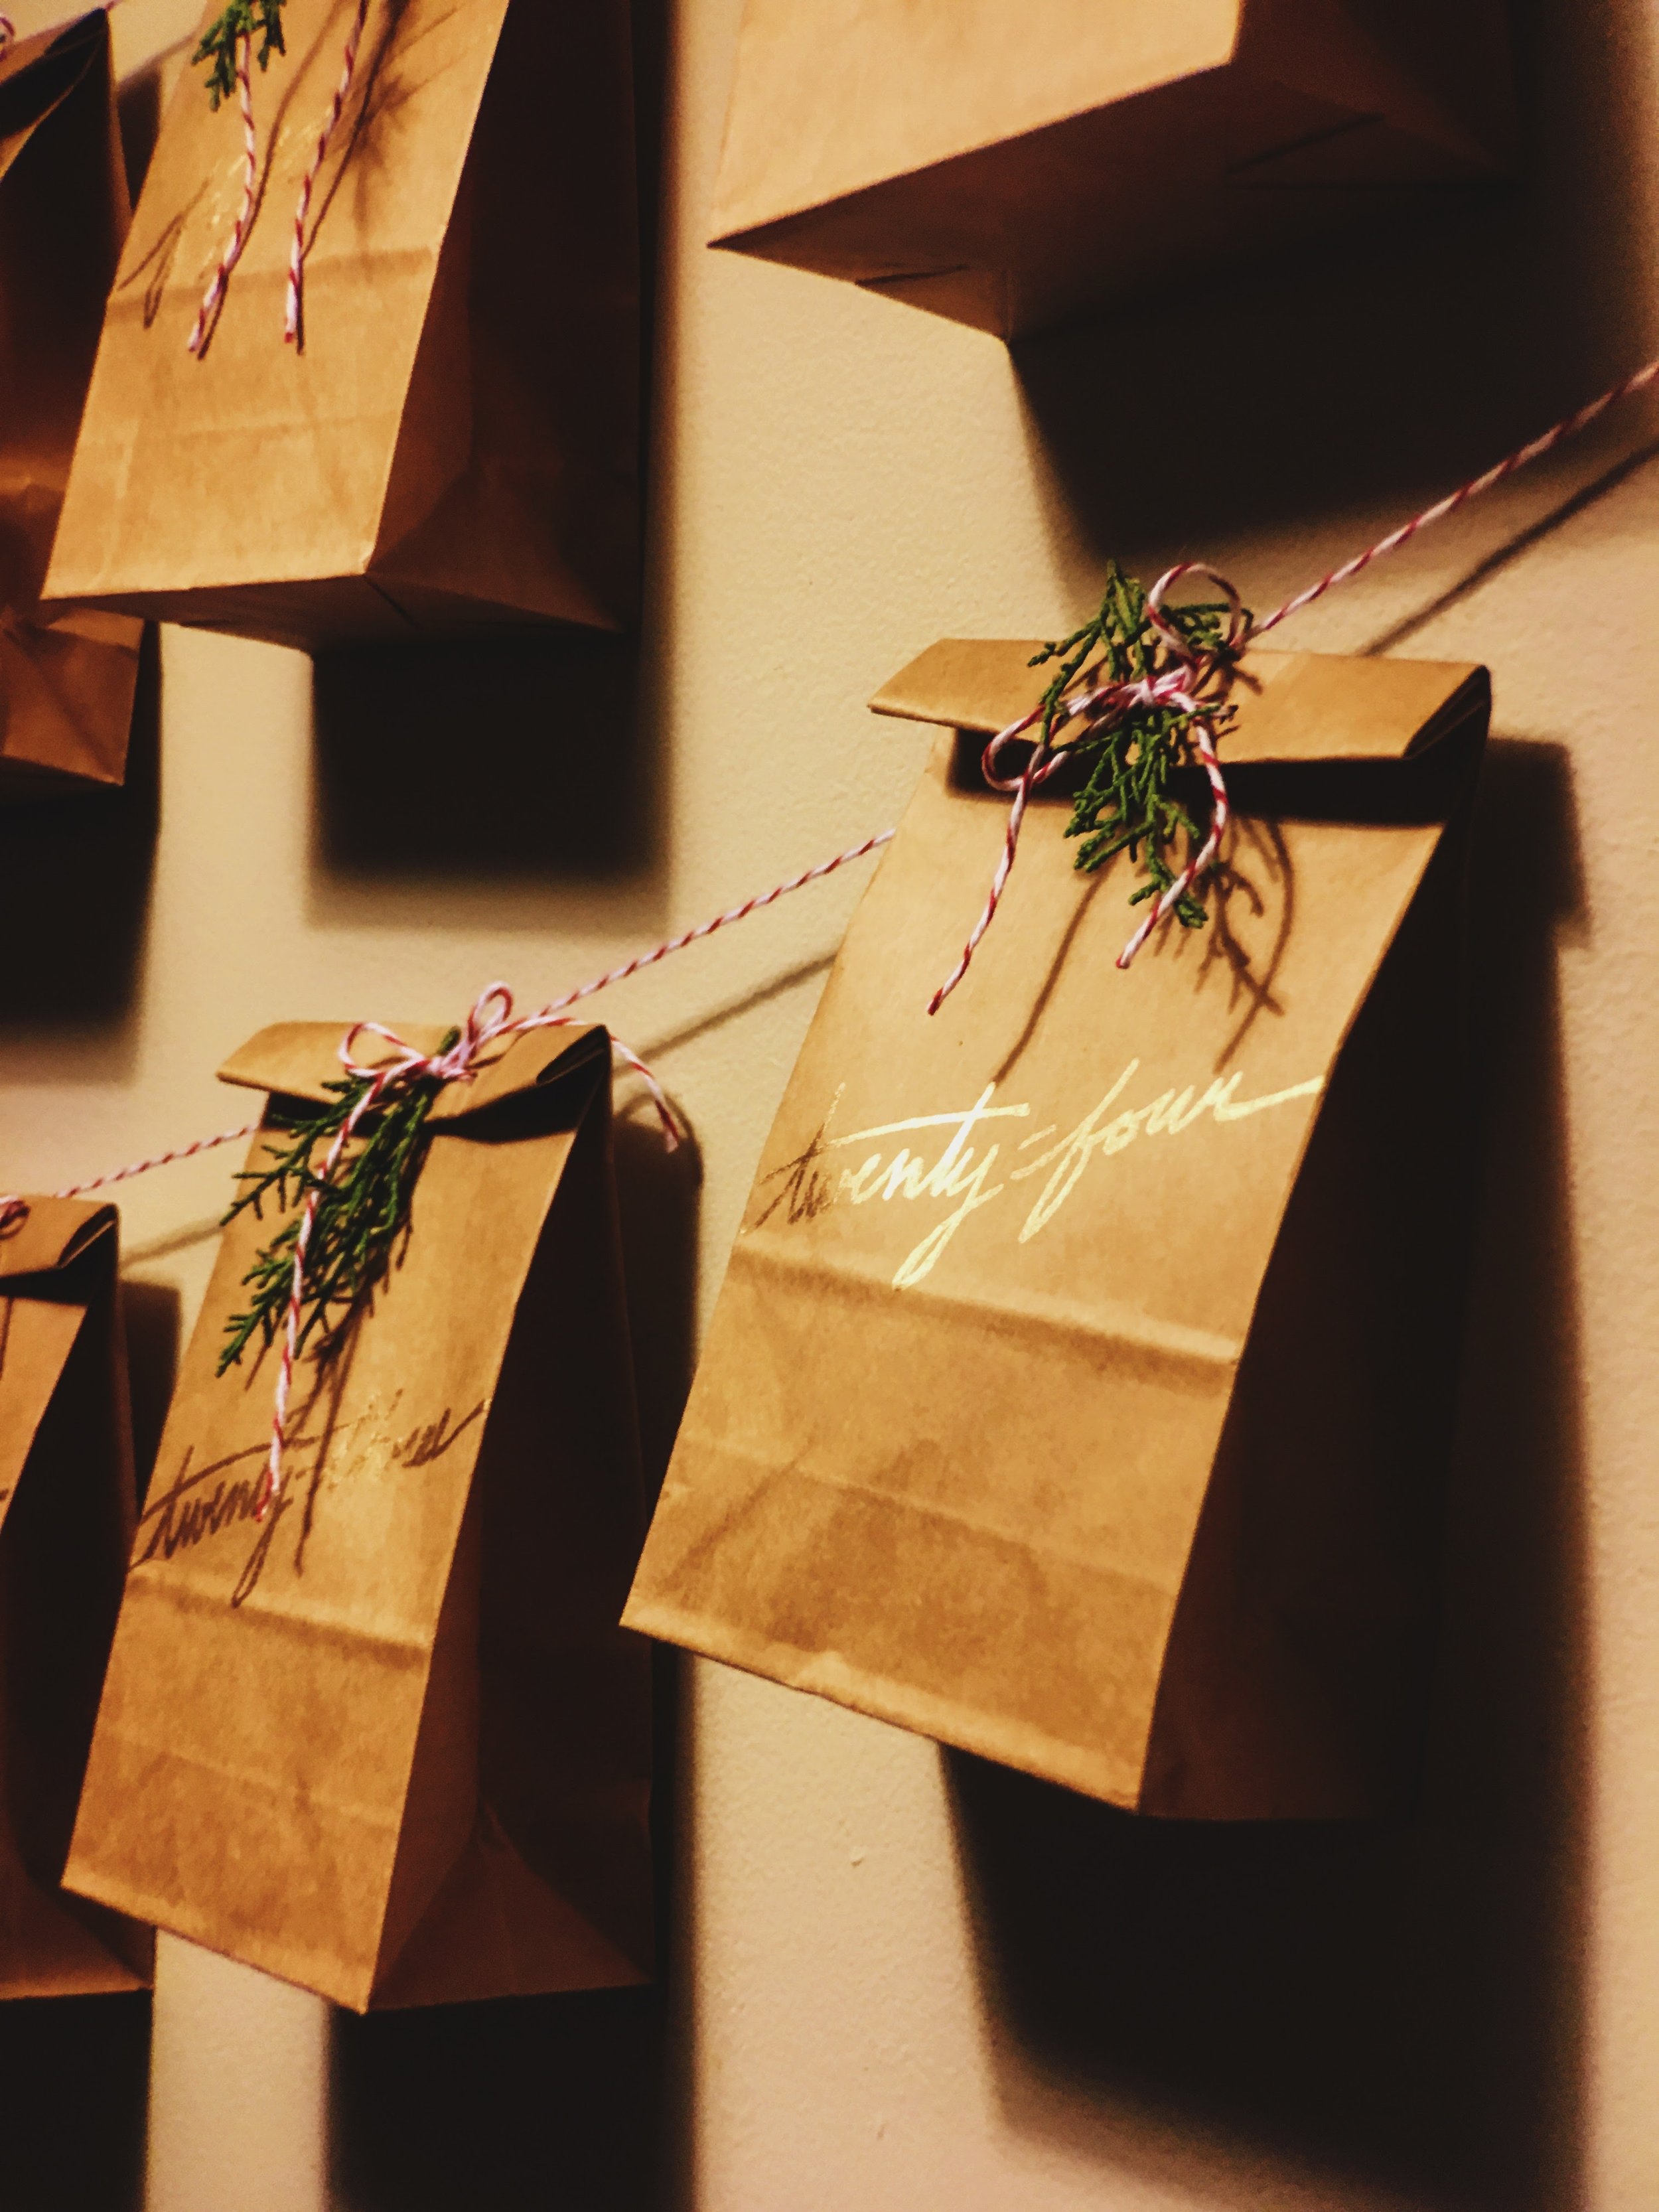
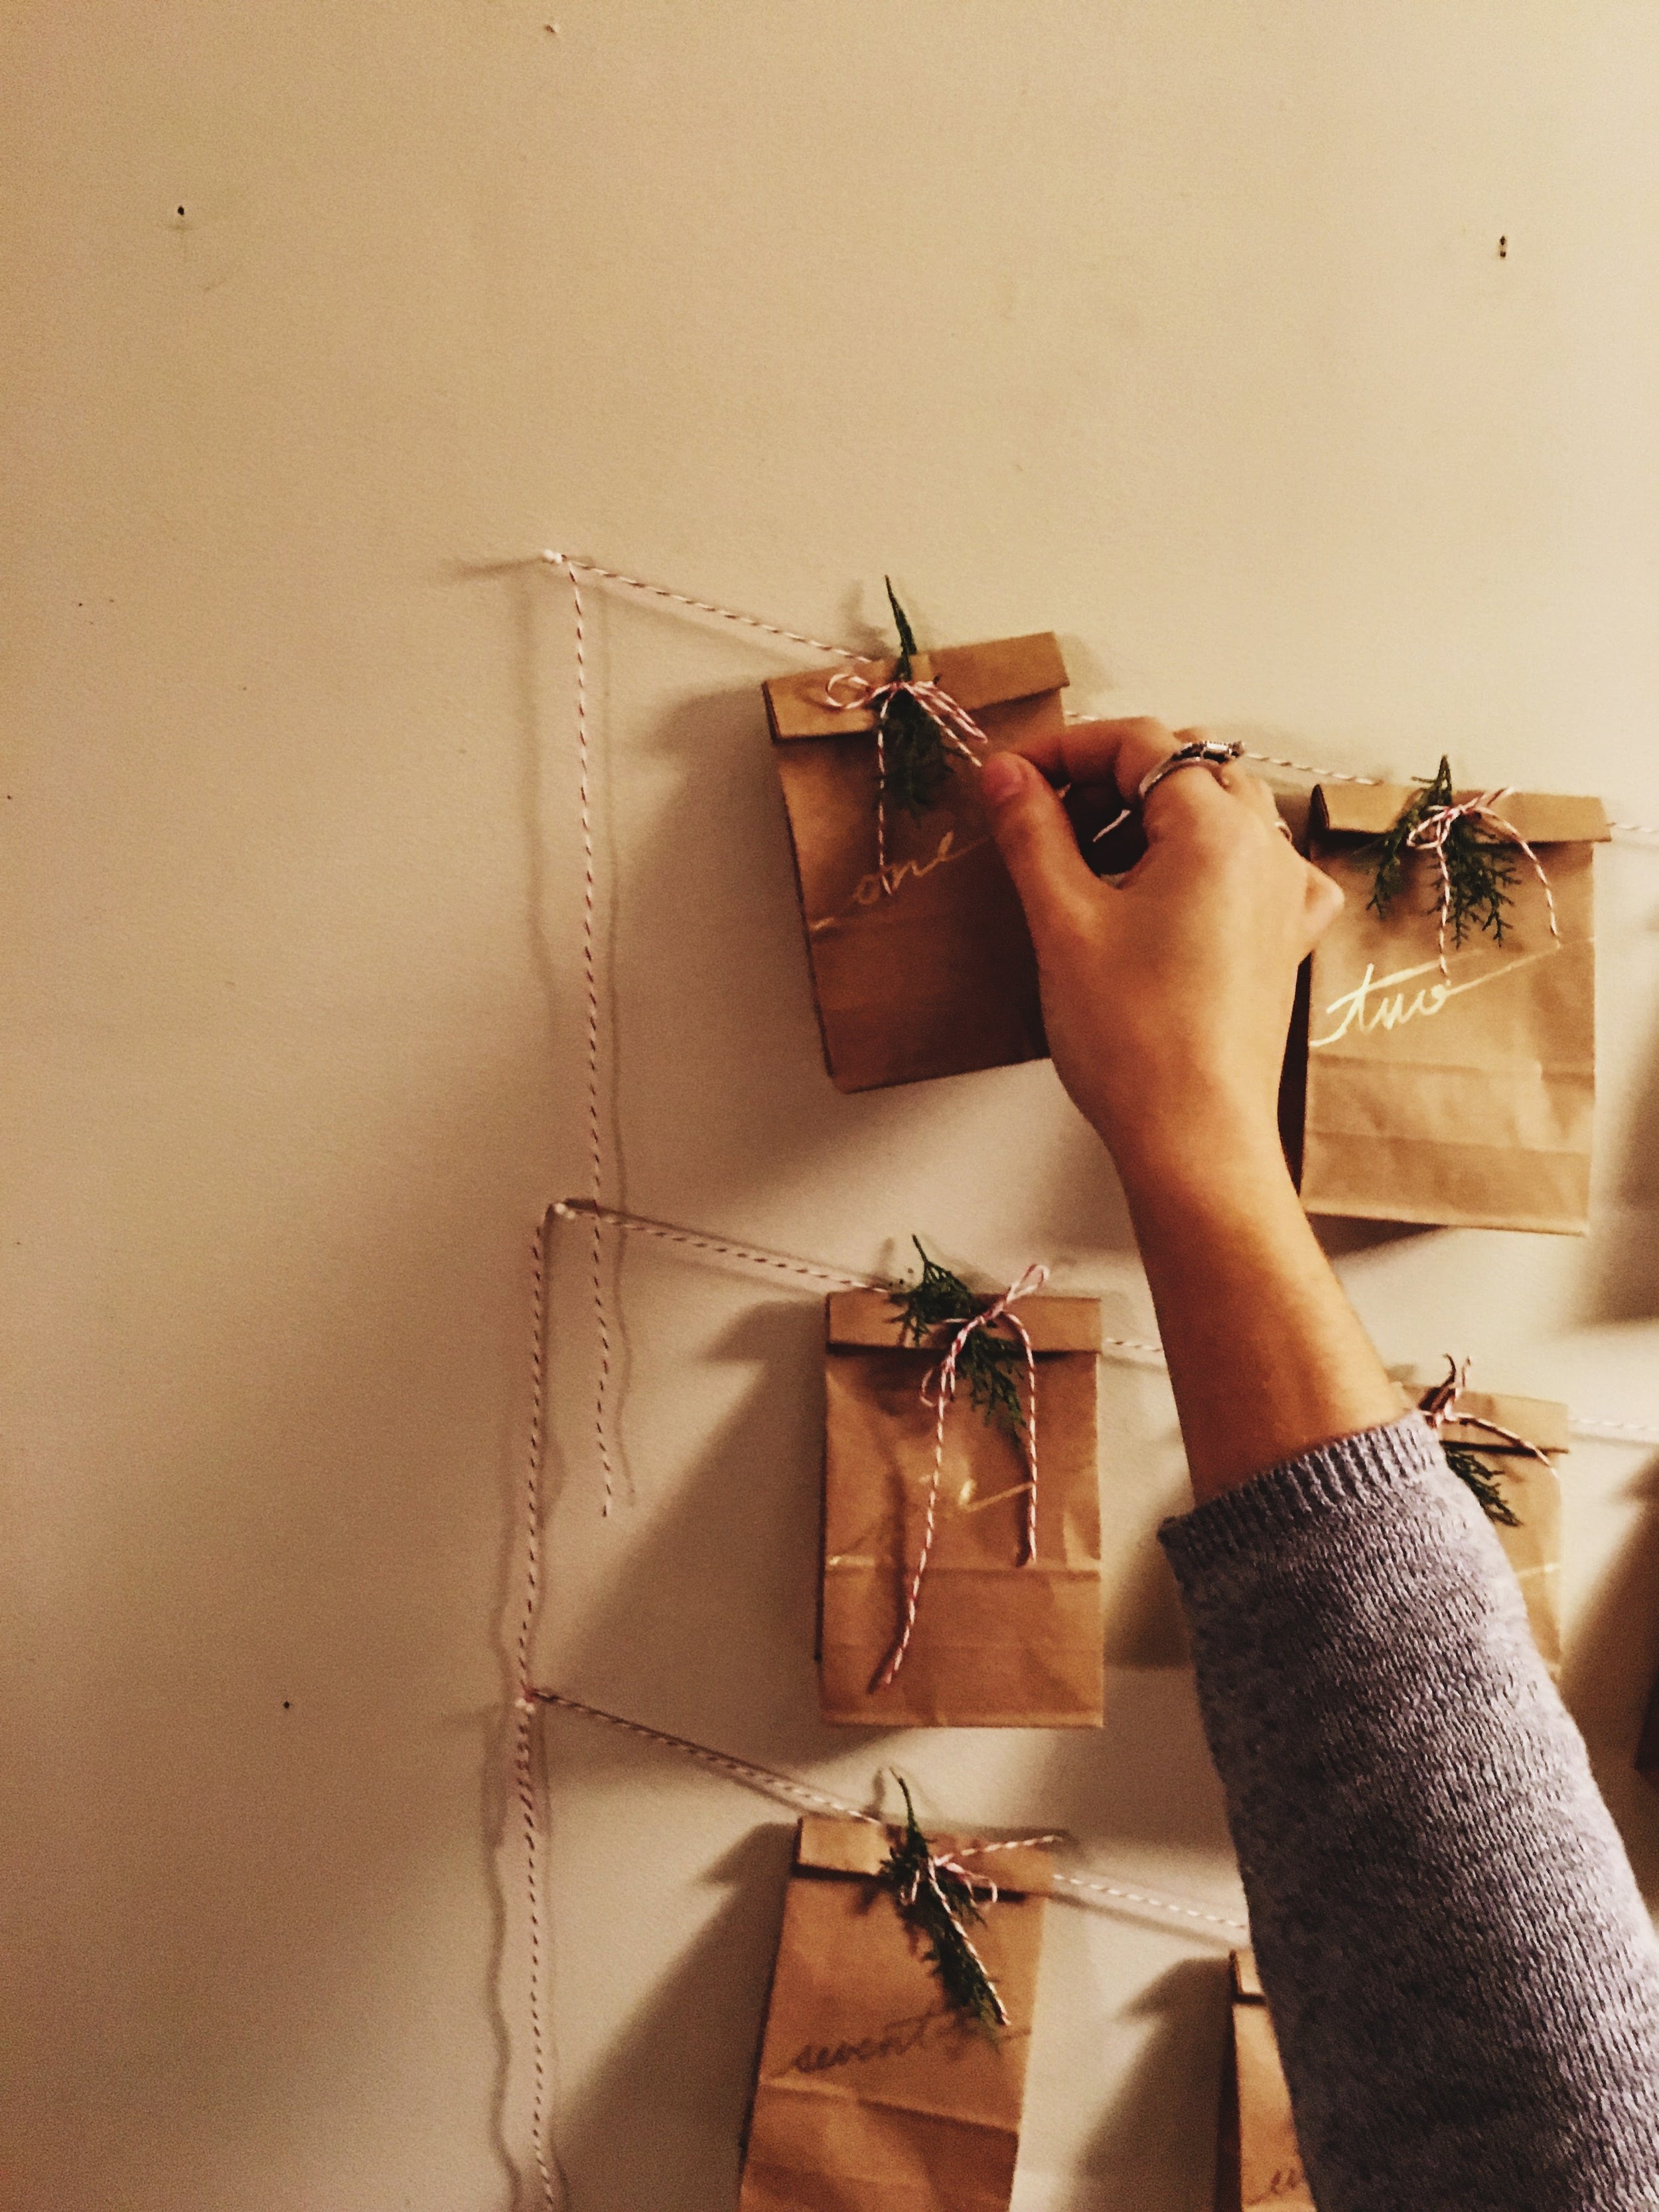
Write on the bags. I decided to go with spelling the words out, but putting the actual numbers, or writing in German or Croatian (as my friend did) are also encouraged. It was my first time using metallic paint pens and they were so rad! They are crazy shiny and went on sooooooo super smooth, and worked way better than metallic pens I'd used in the past, highly recommend.
I wanted all my words to slope exactly the same way so I used a ruler to mark the same height on each bag and then drew a line with pencil and erased it afterward. Because I used a paint pen the line disappeared but the writing stayed perfectly in tact.
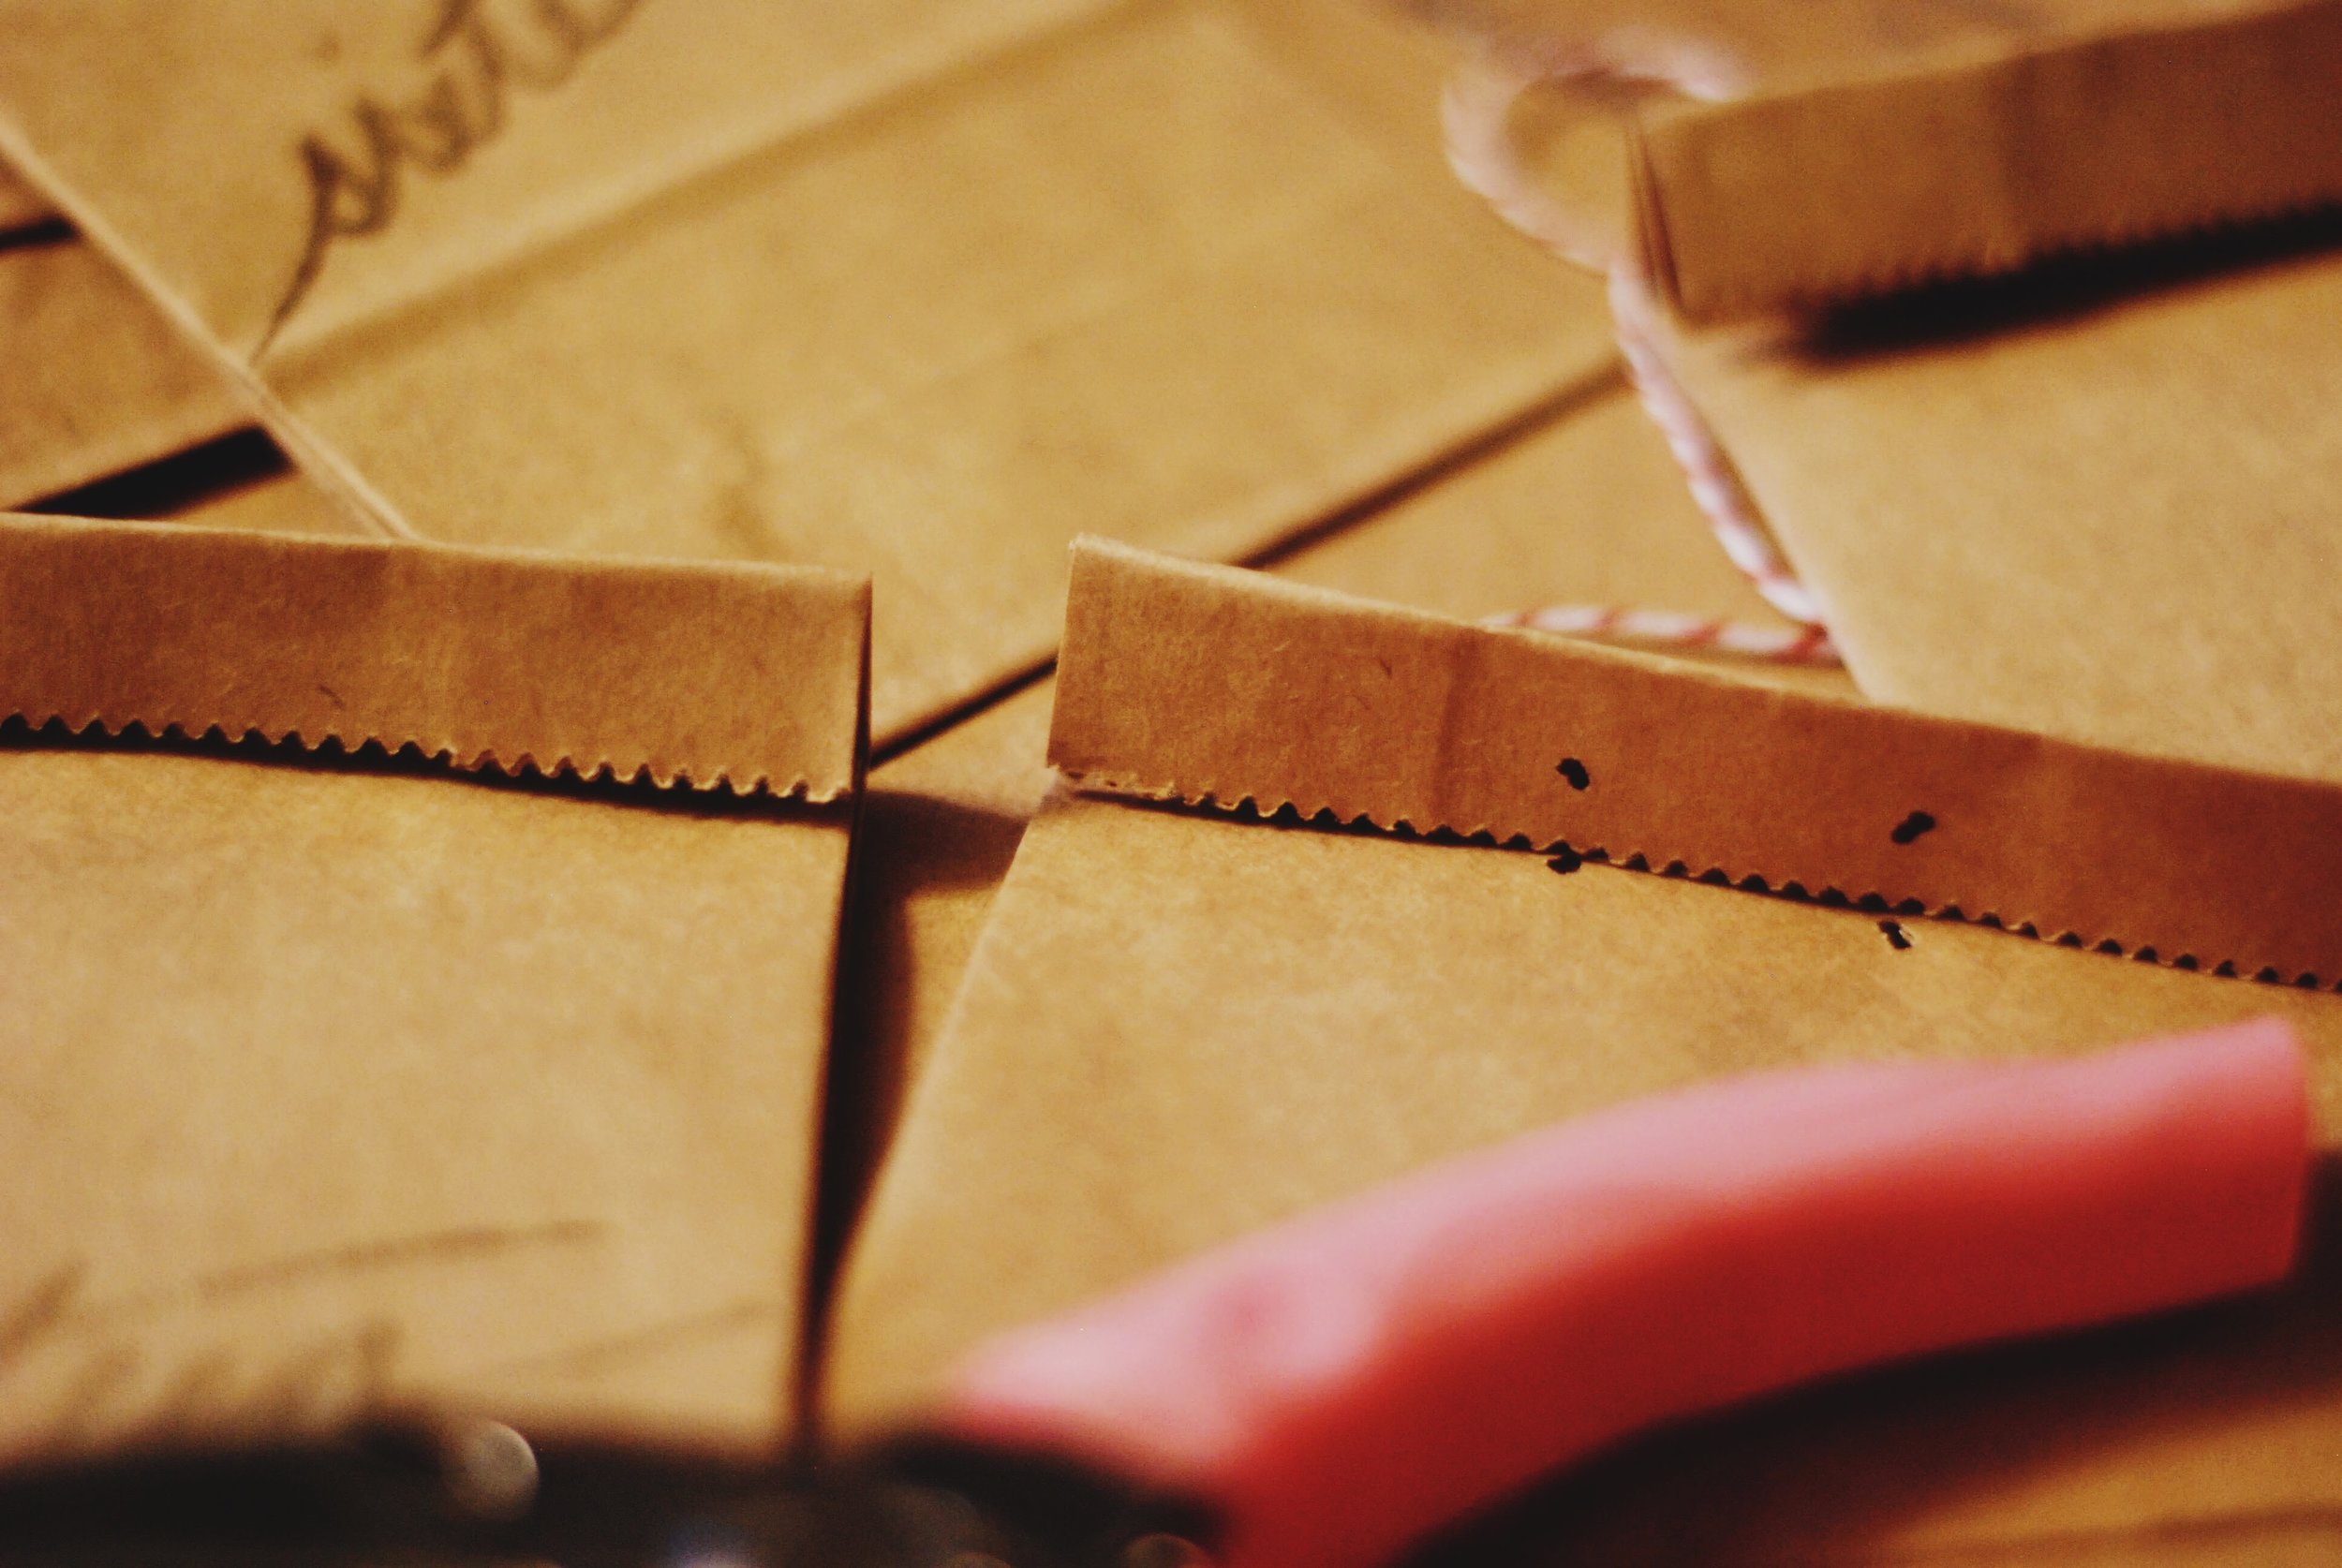
Step 3:
Punch holes in the bags where you want to put the thread through. Make sure the hole is big enough to put the thread through without losing your mind, but not so big it gets ugo.
Step 4:
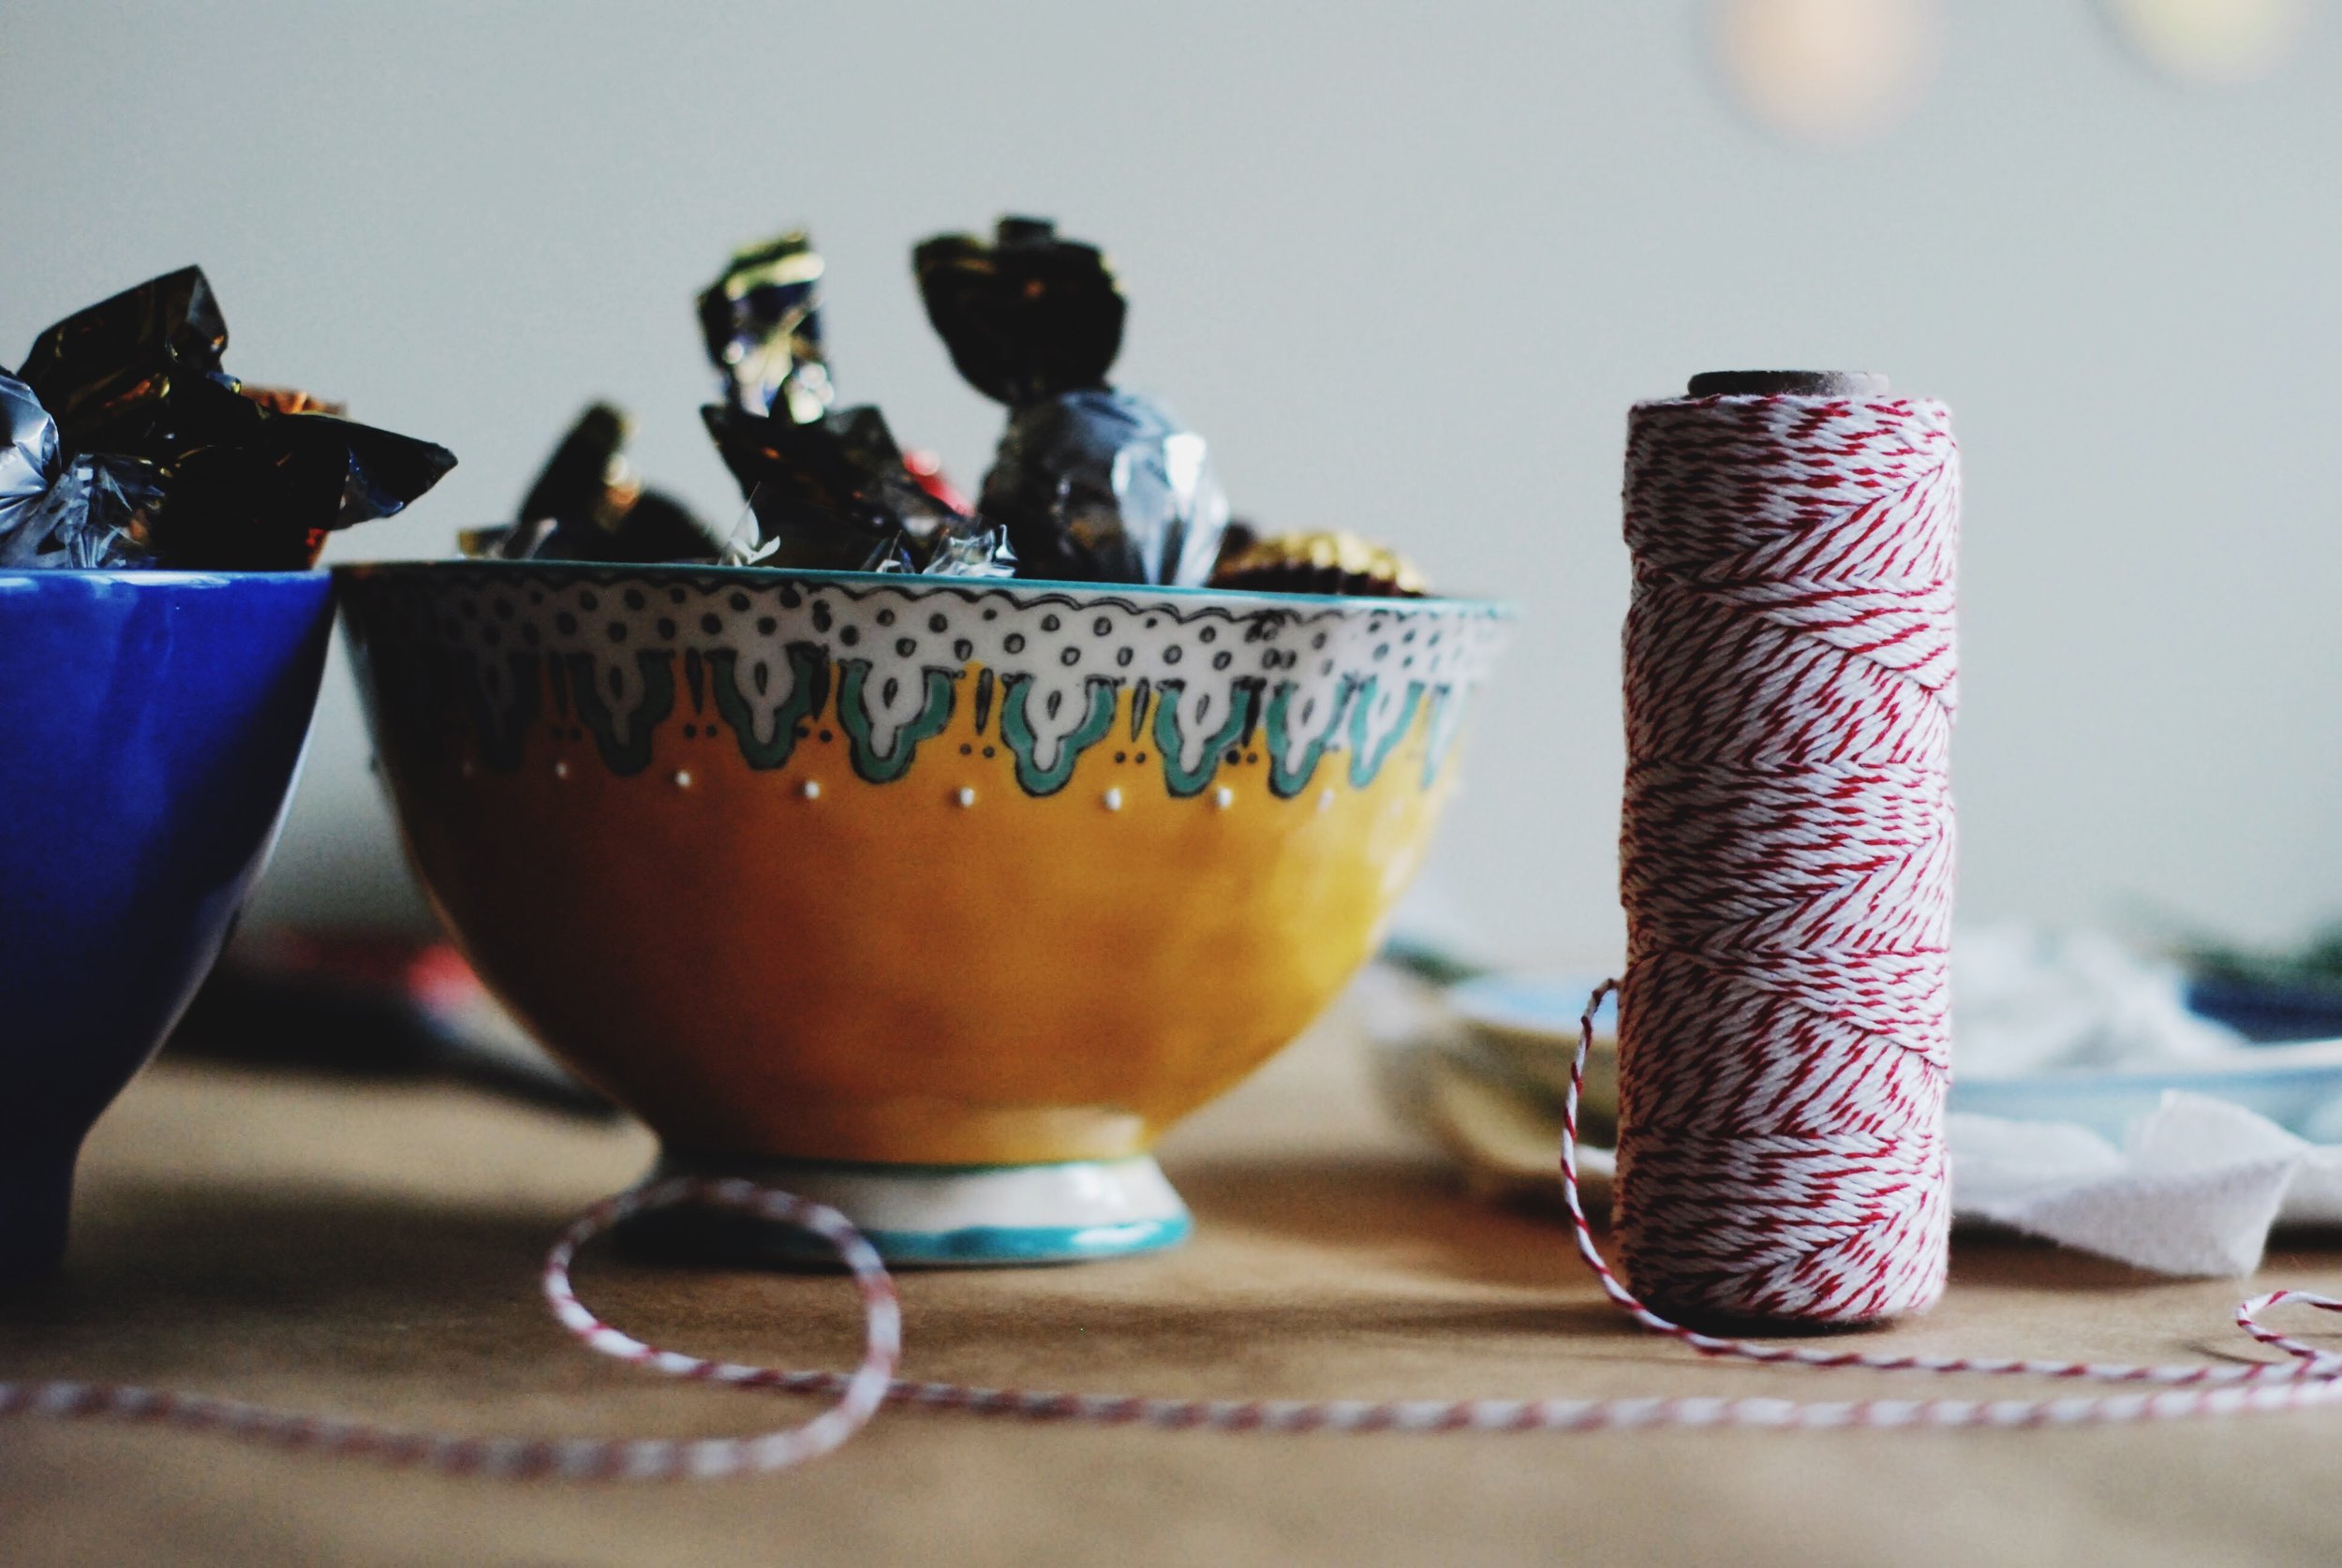
Fill with goodies!
STEP 5:
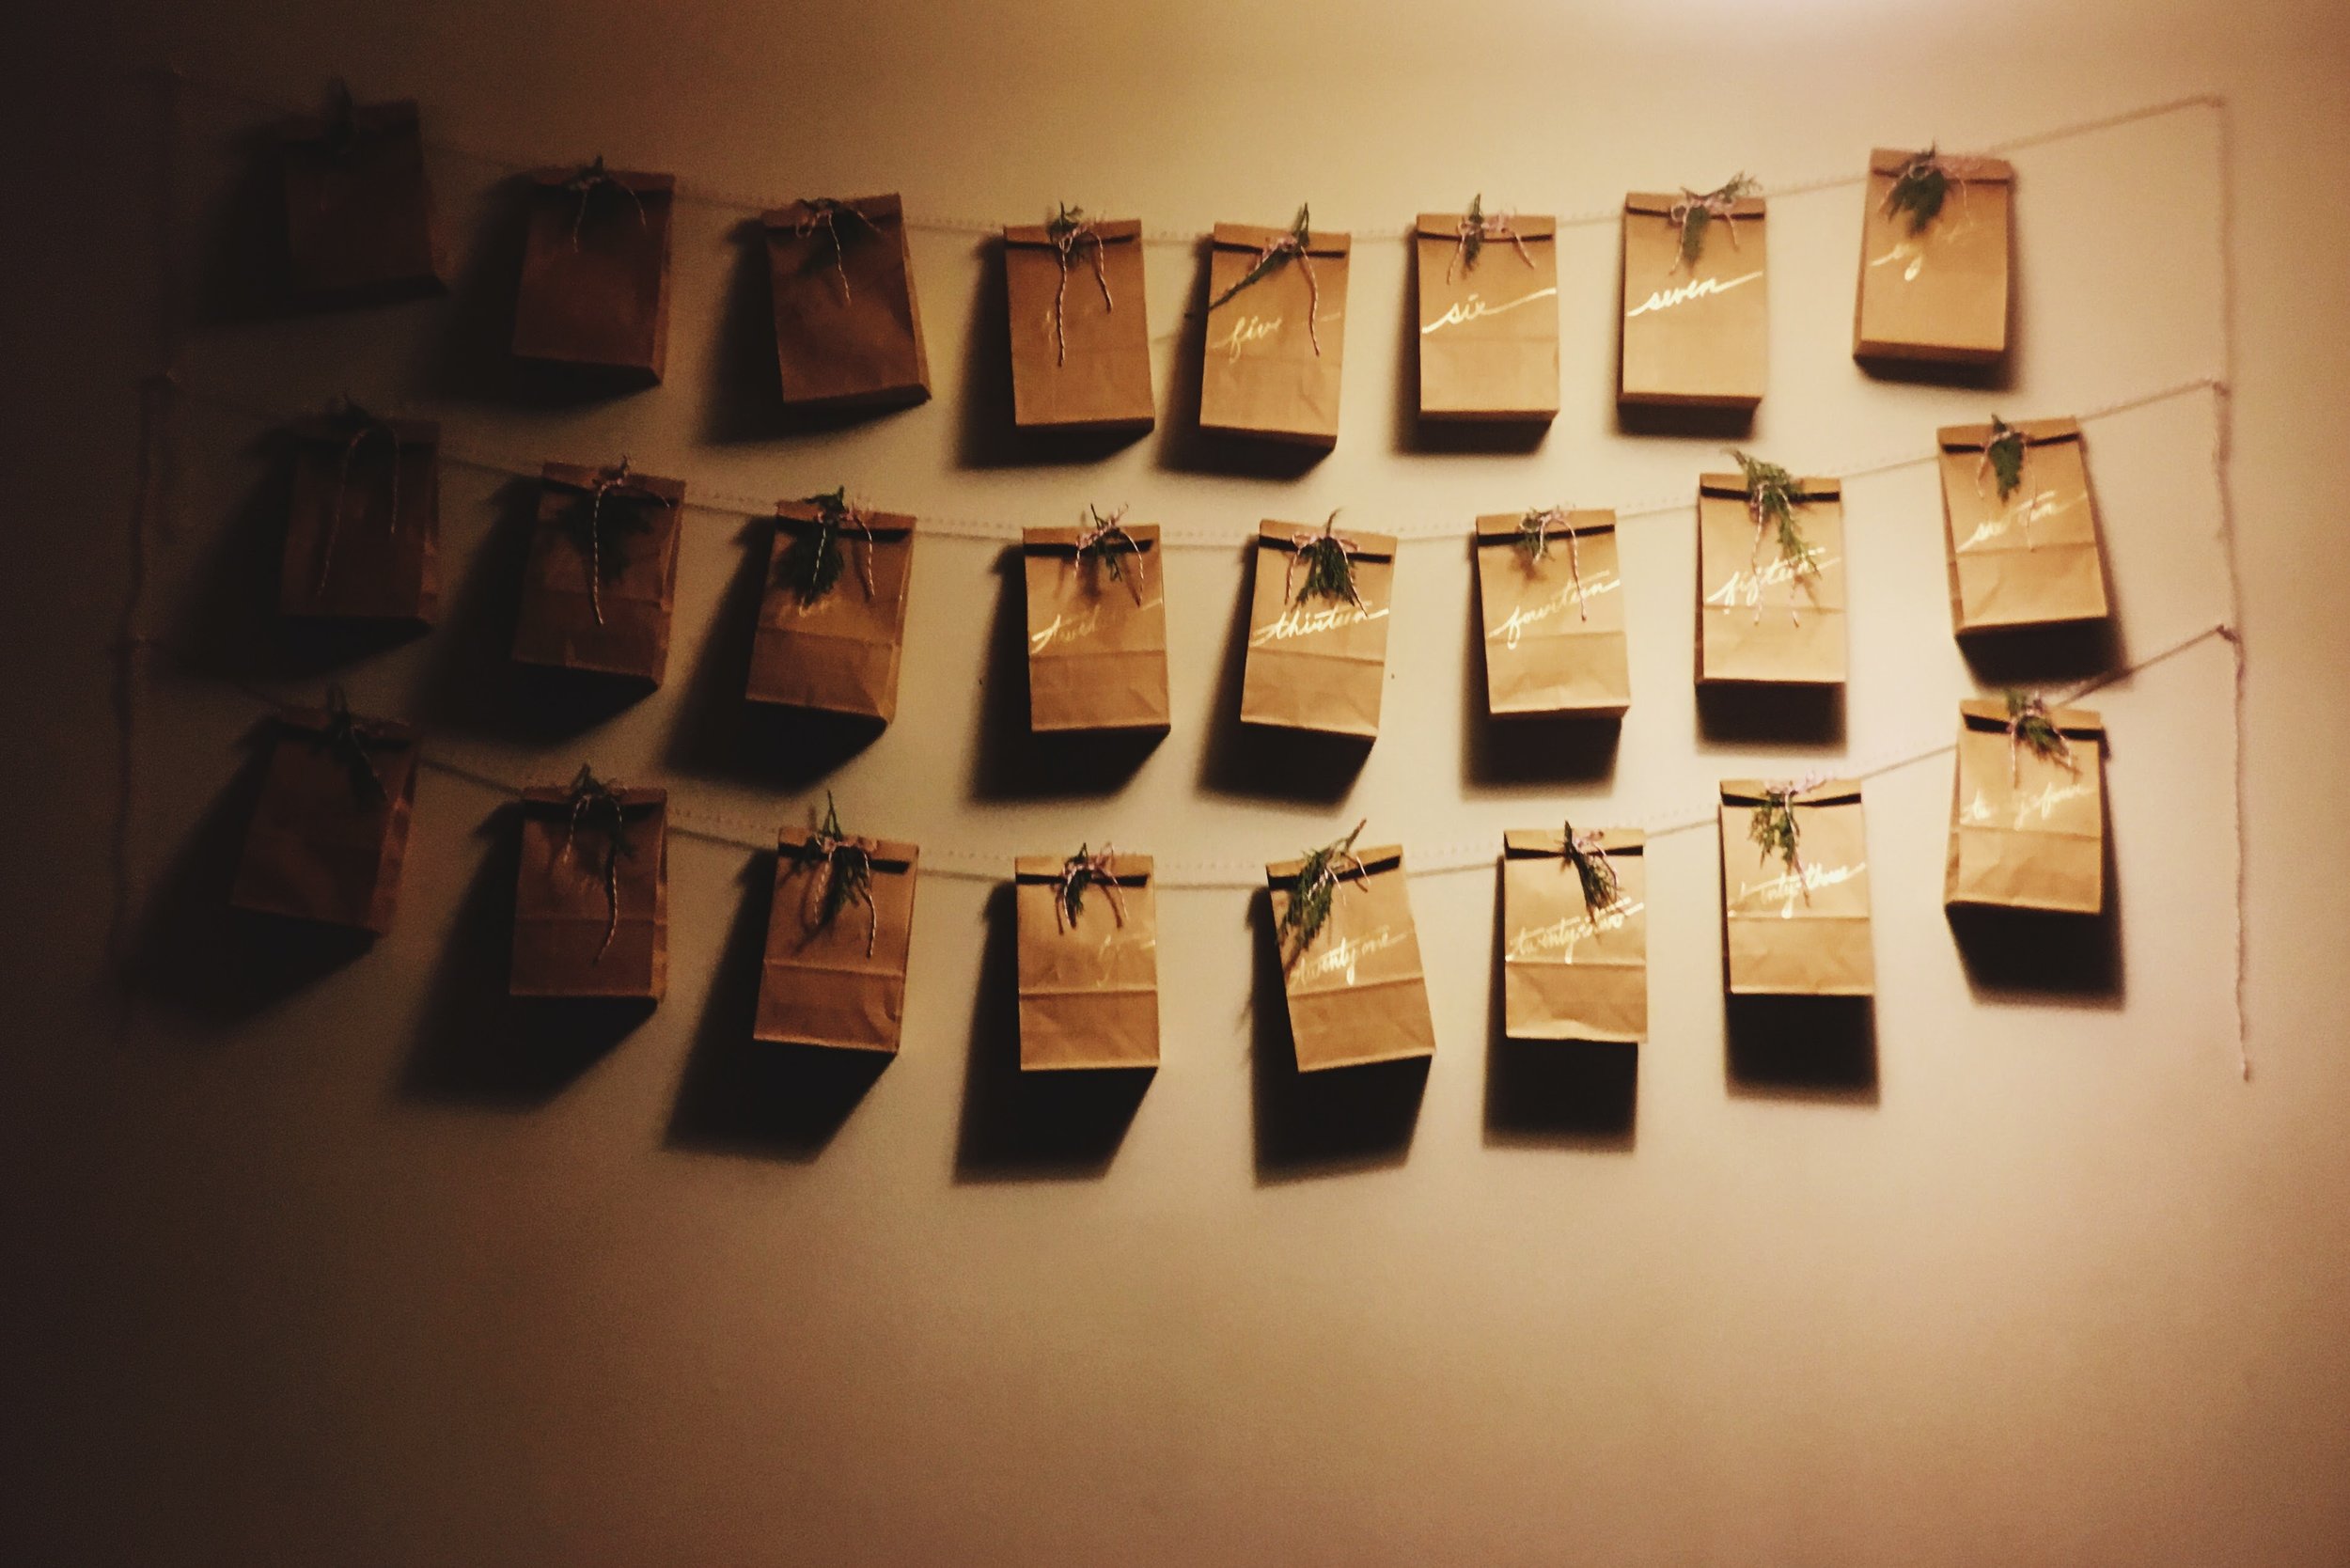
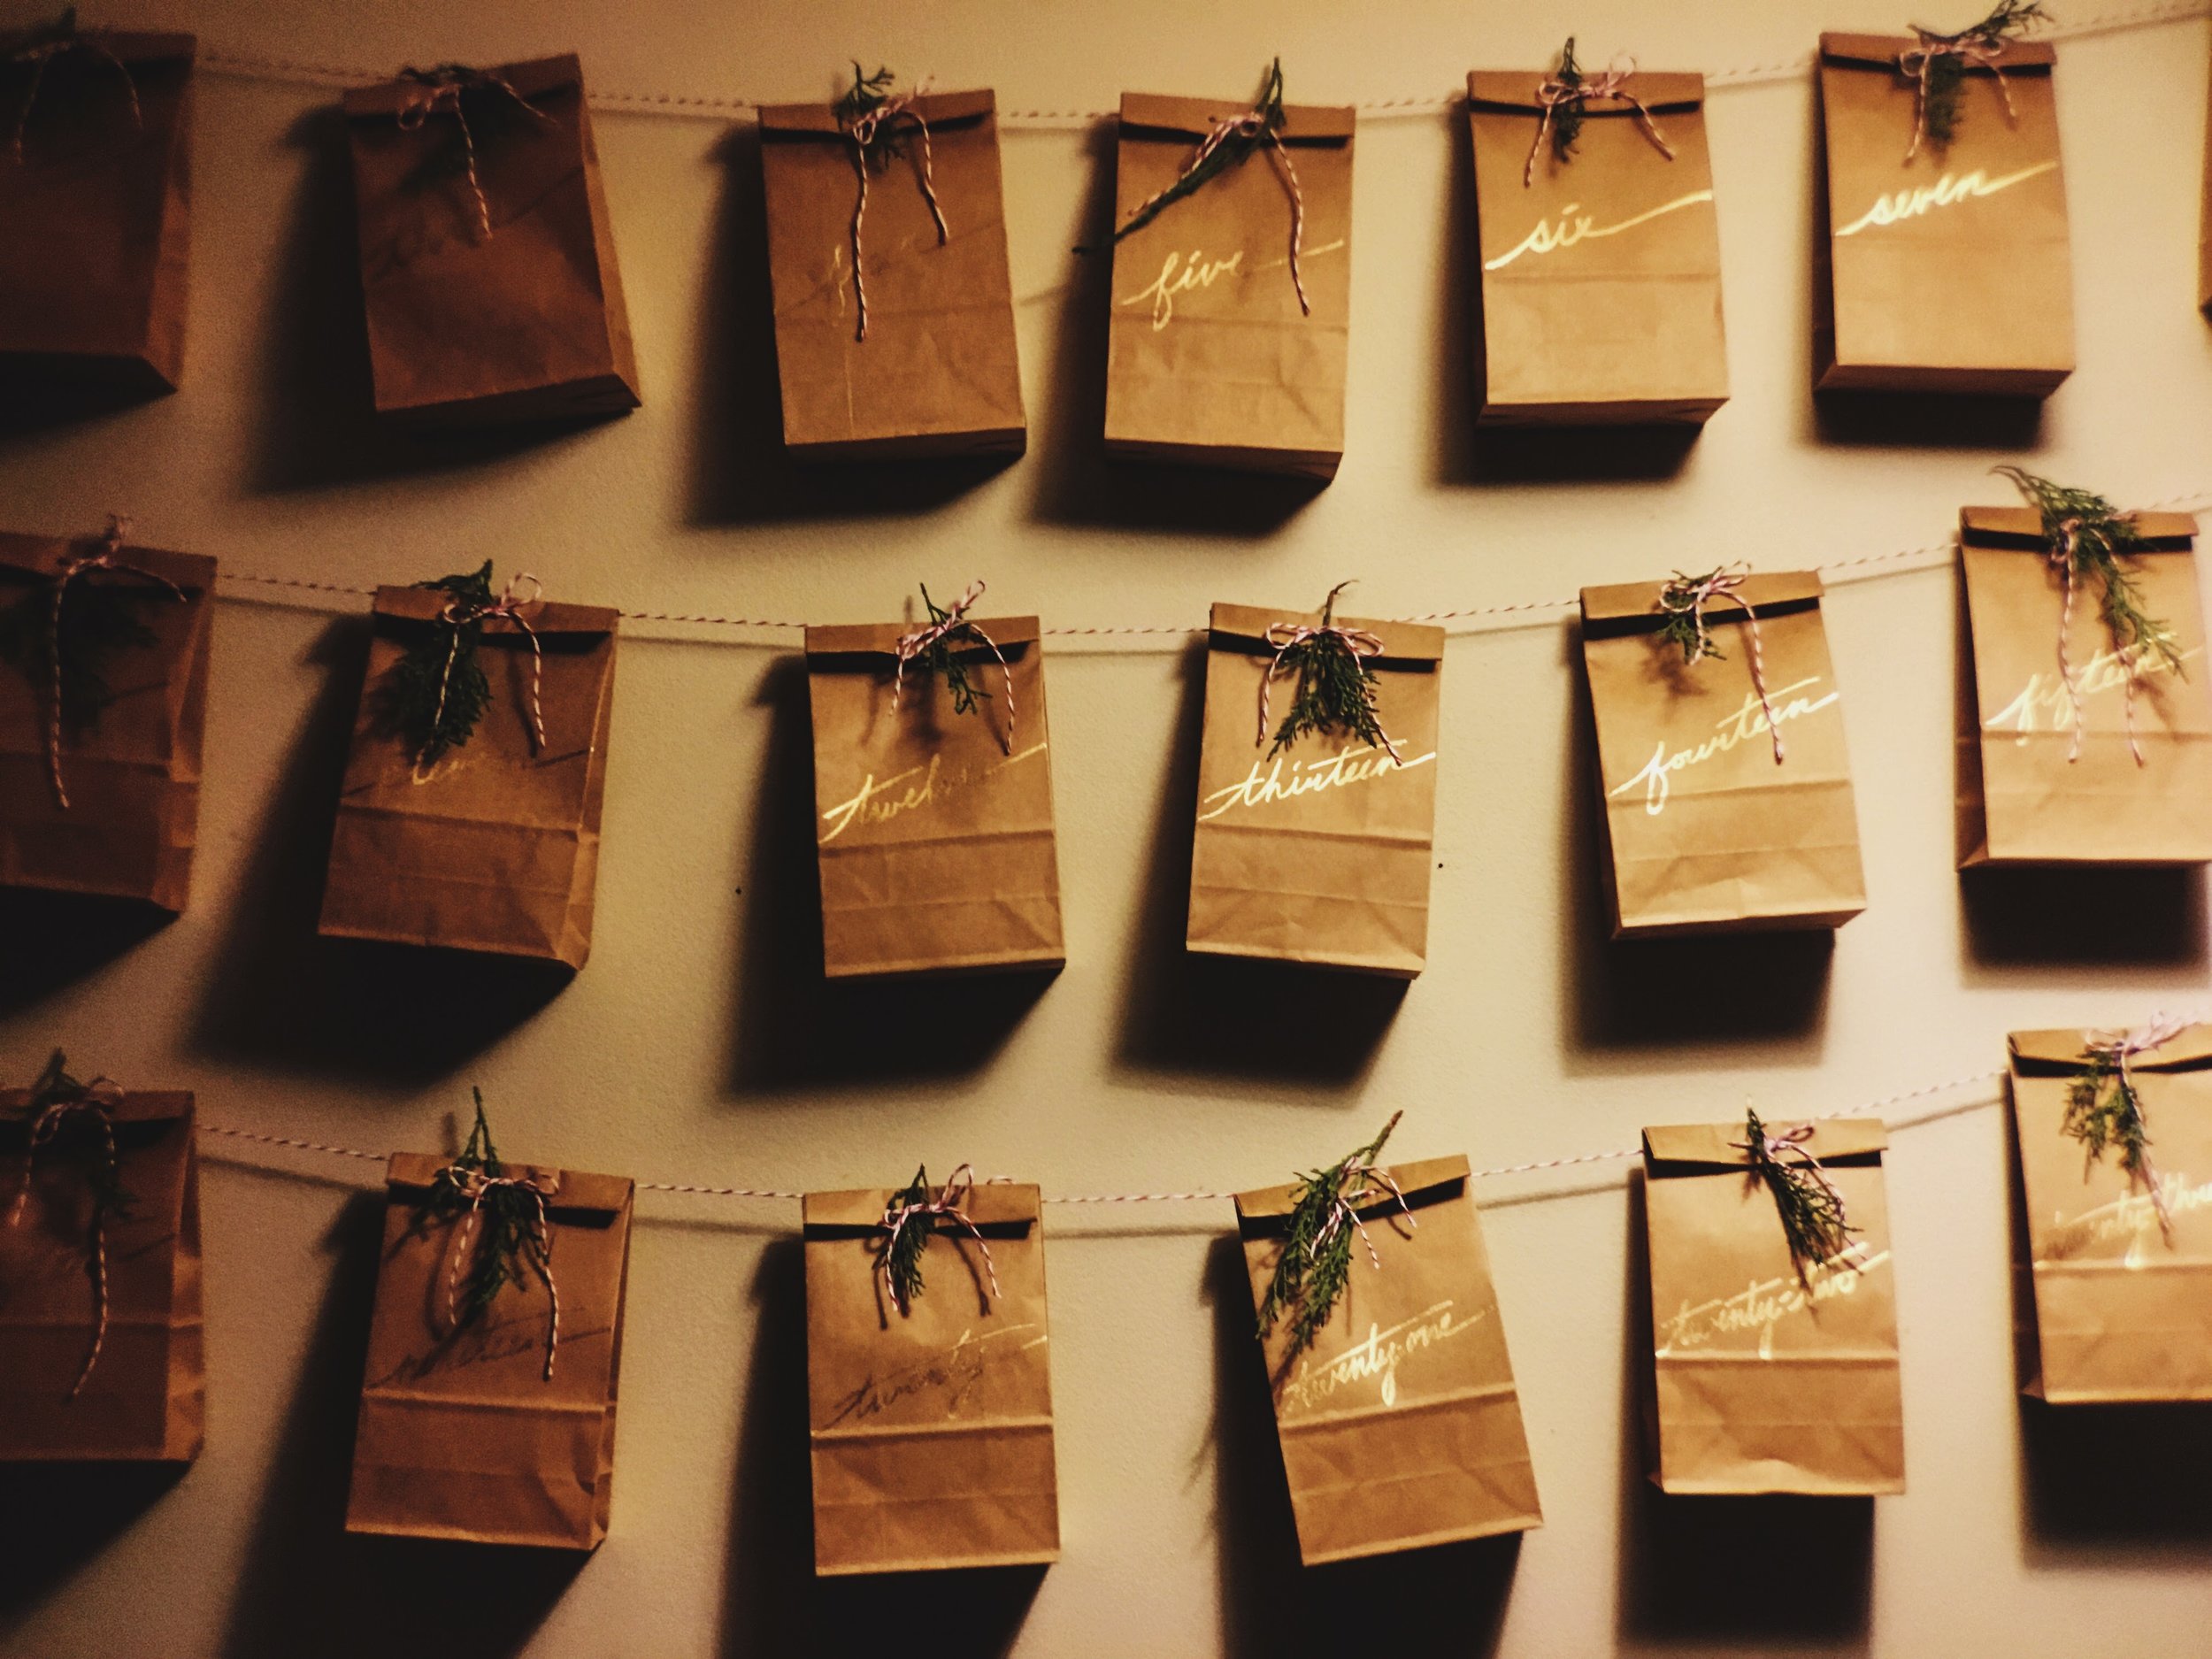
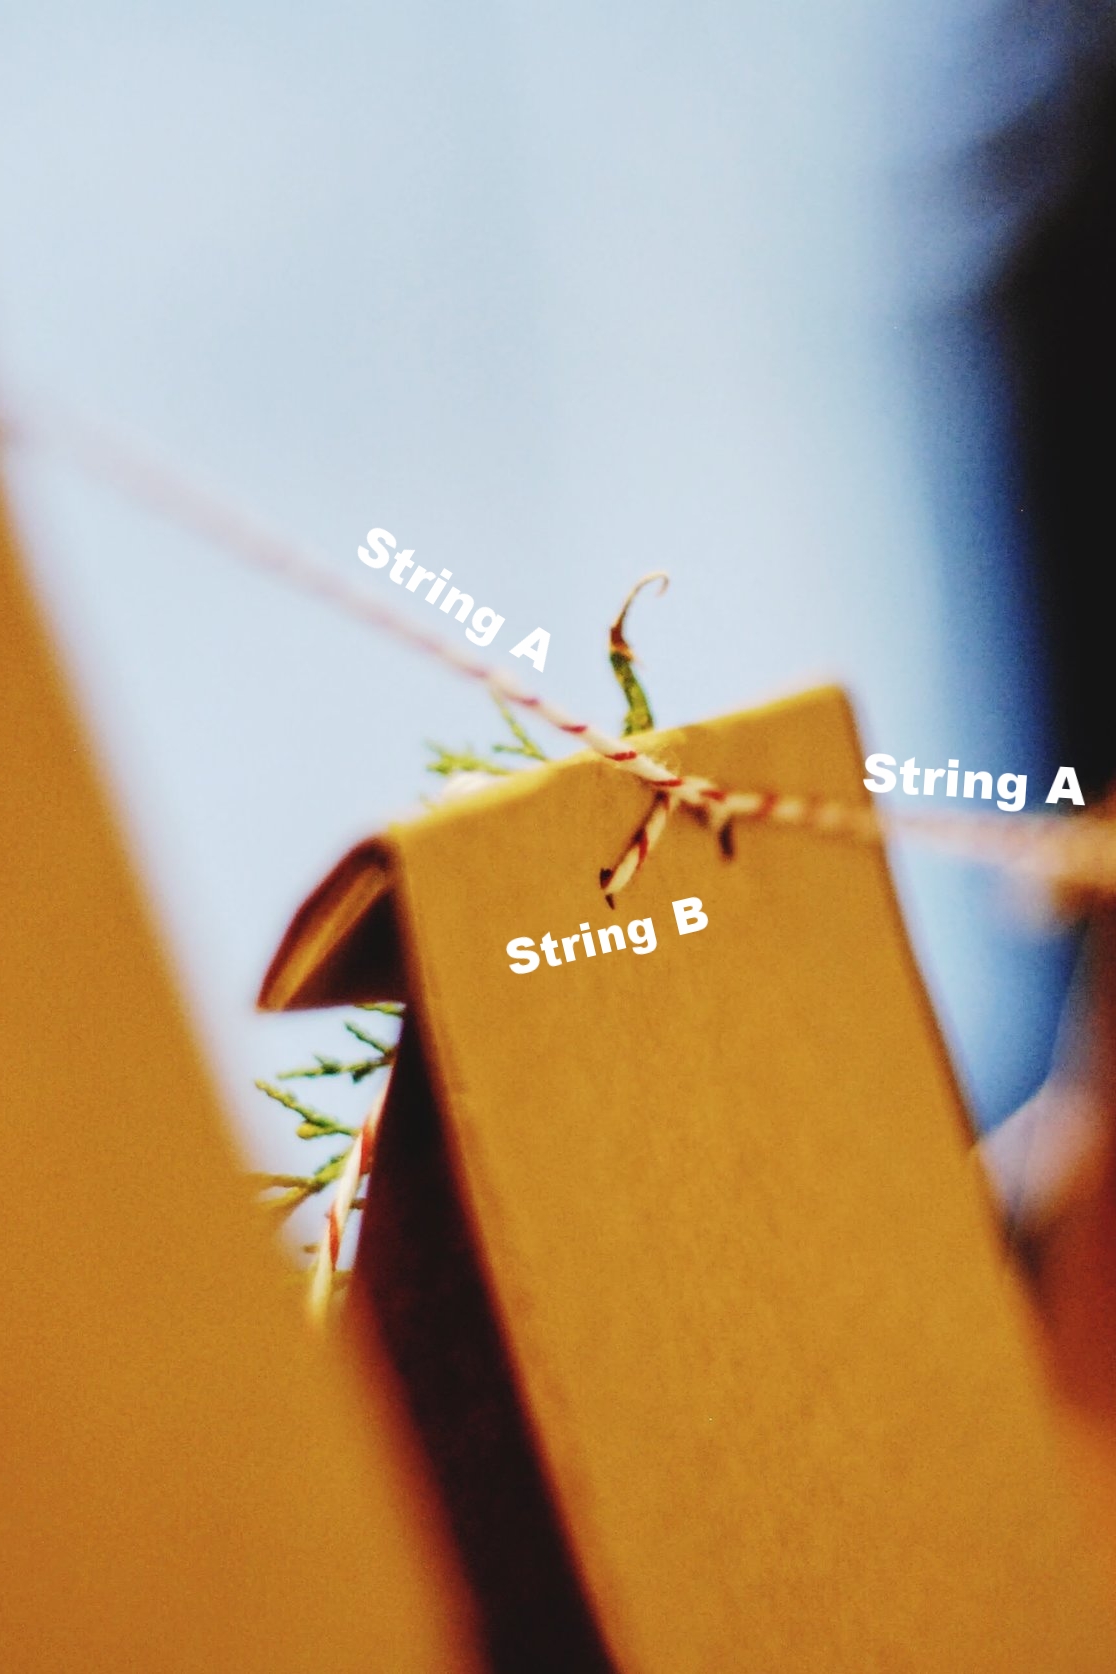
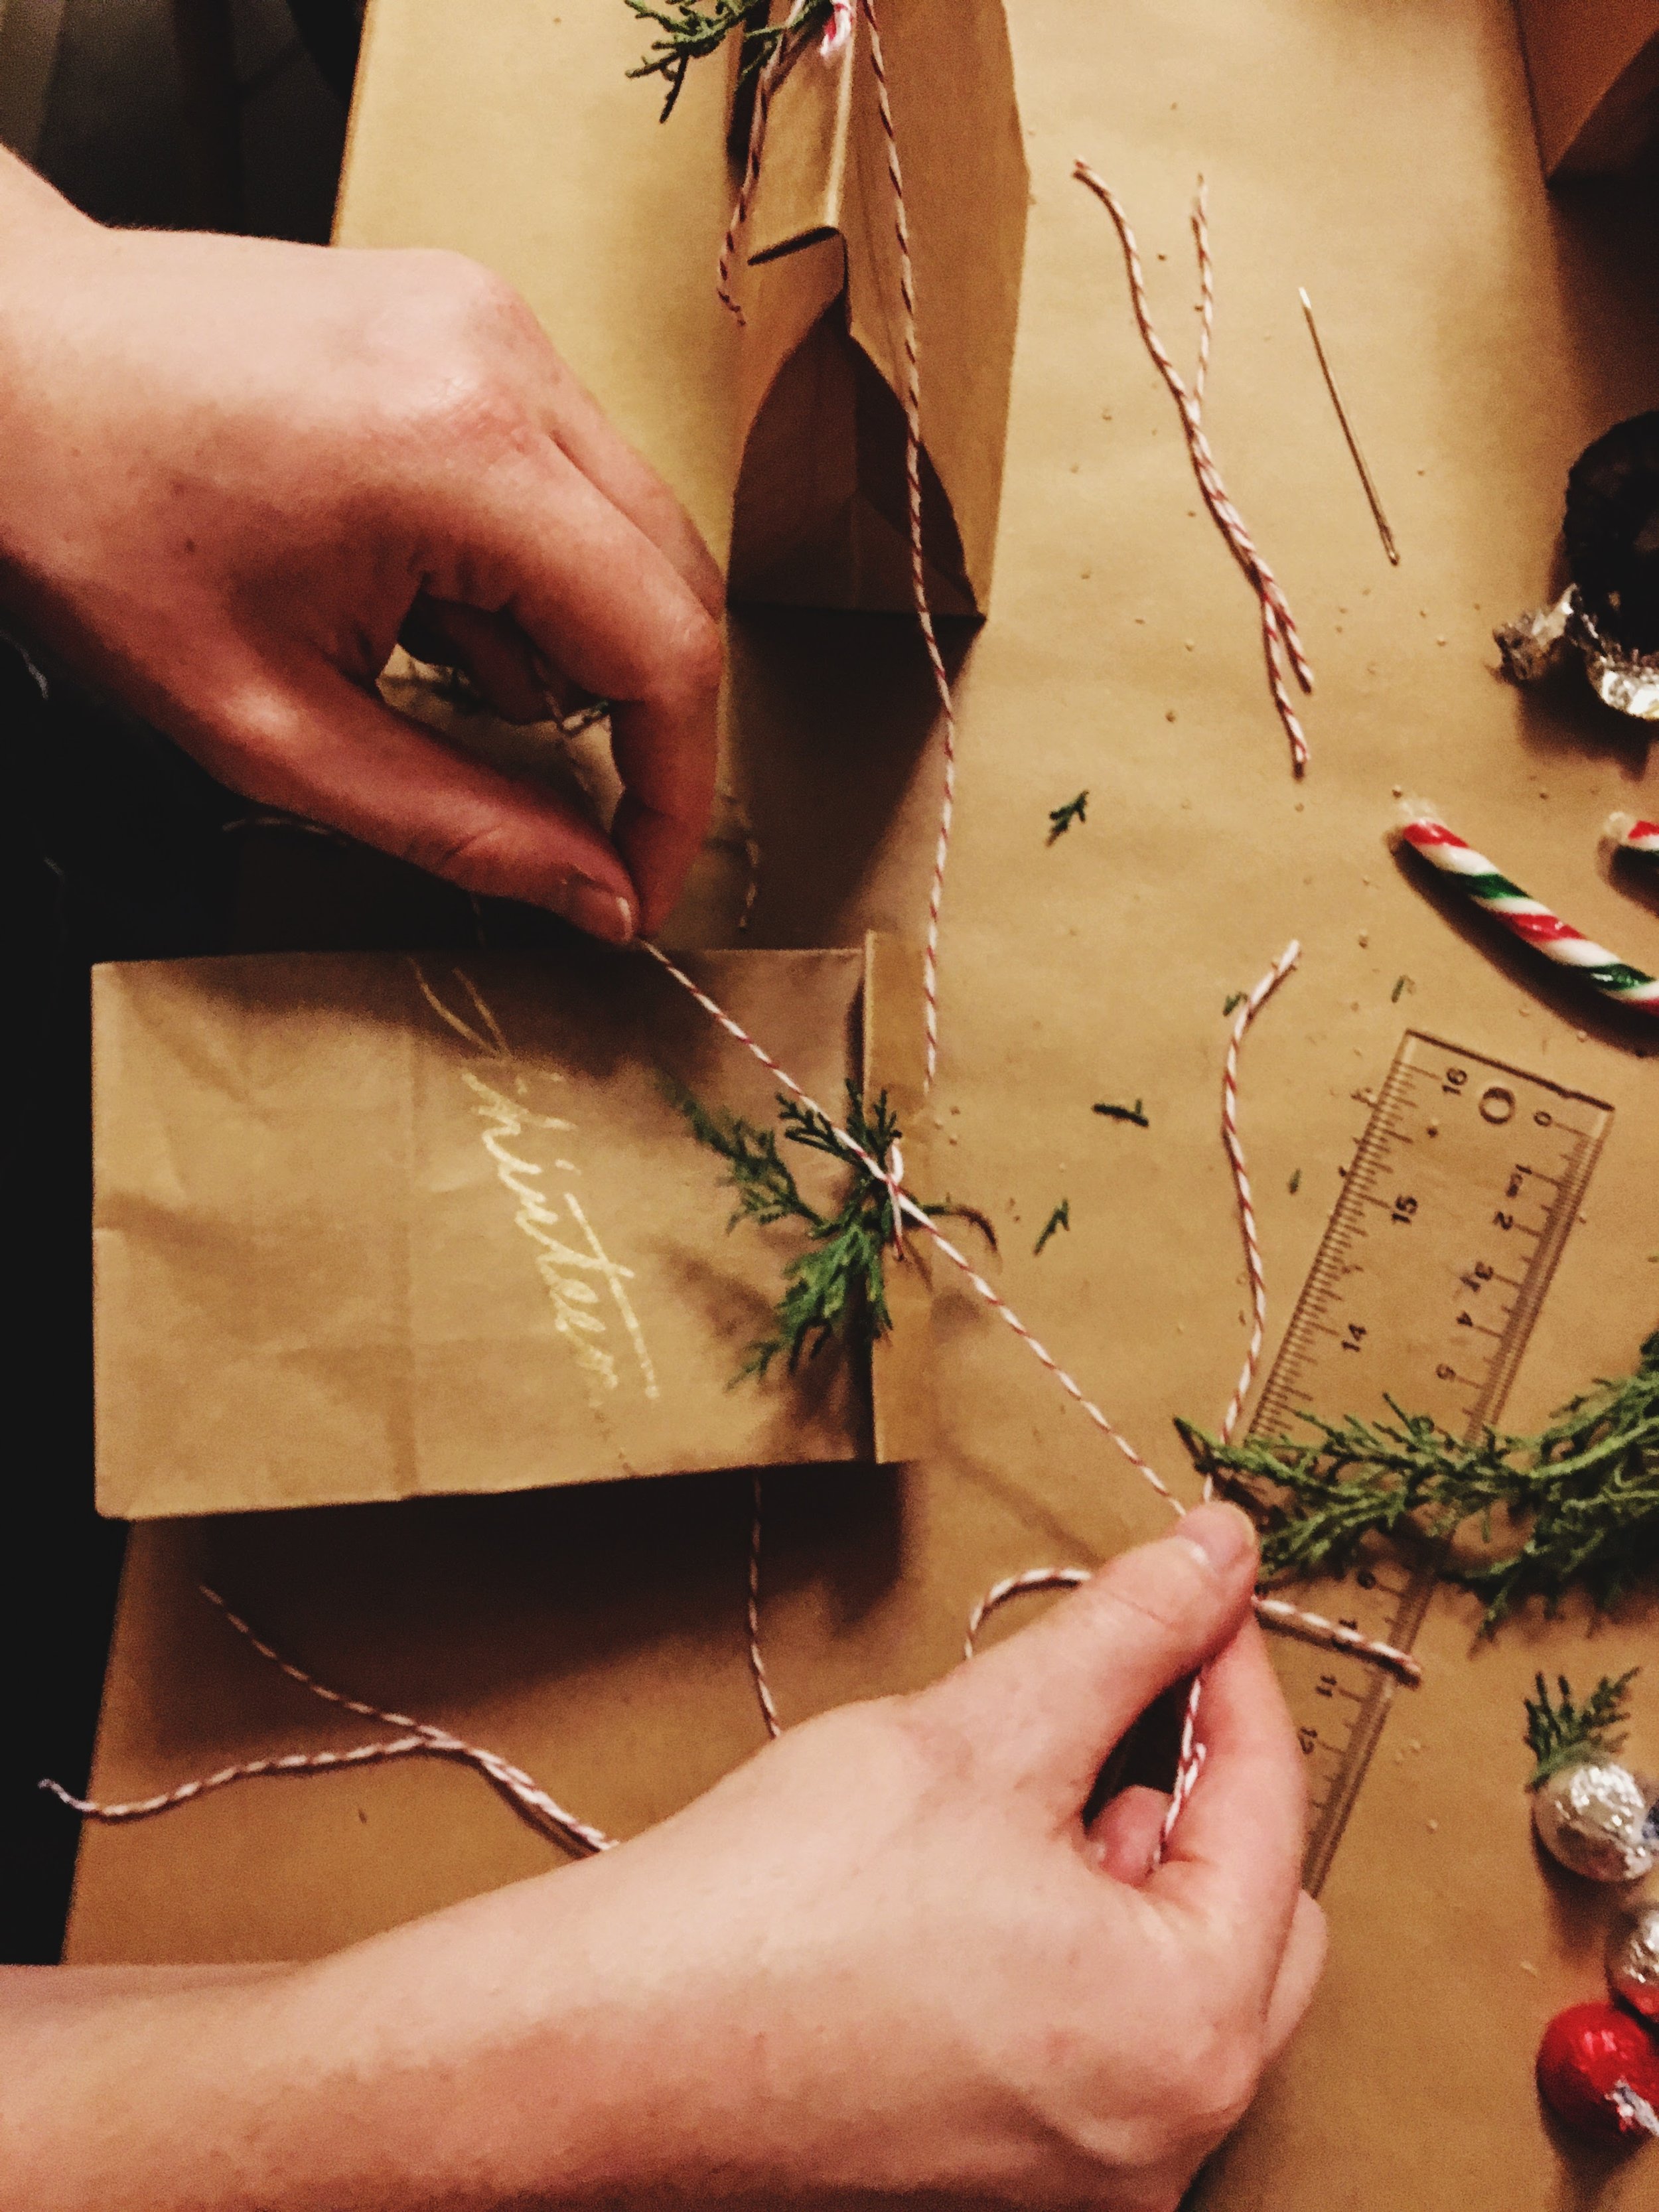
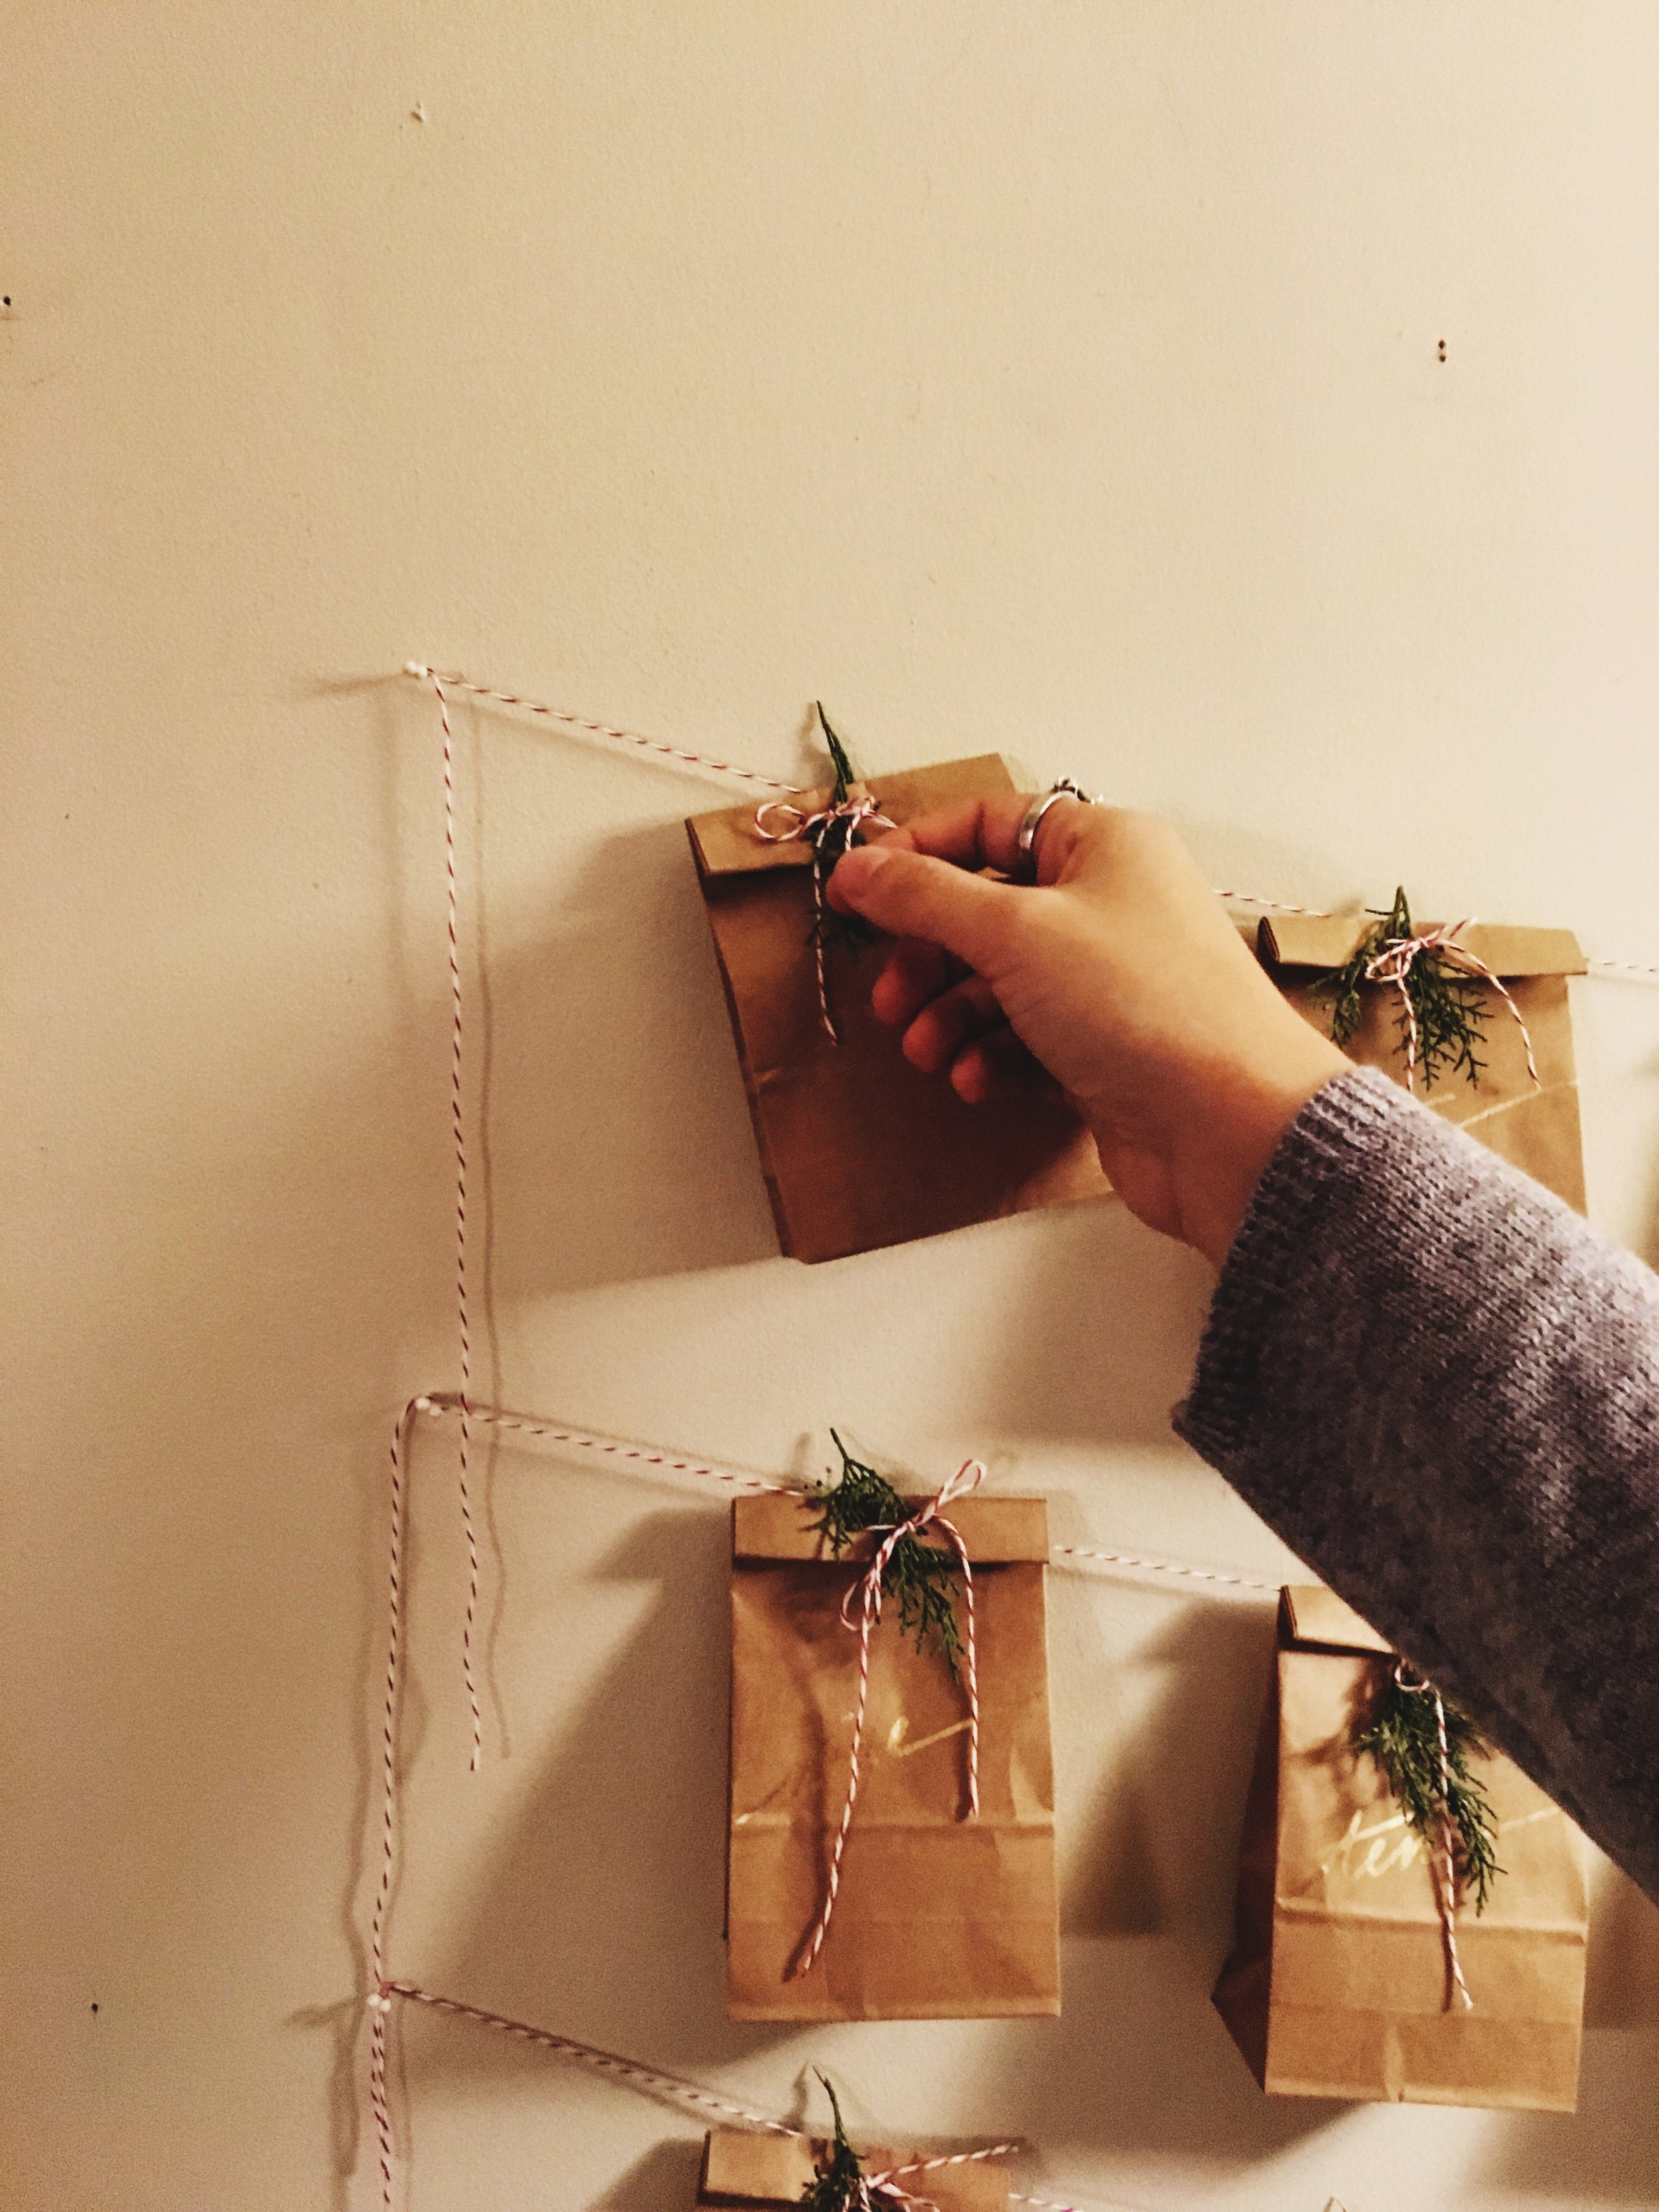
Cut a string (String A) long enough for your bags to hang off of. It's the "background" string that you will attach all the bags to. I did three rows, but my partner in crime did 2. We measured the amount of wall space we wanted them to take up, then added measures for draping and for tying on the ends.
Each bag is going to be tied on individually with it's own string (String B.)
The most tricky part (not that tricky)! String B is going through the left hole in the front, and then through the other hole in the back so you can tie it in the front. You want to put Sting A up against the back of the bag and loop String B over String A so that way the bag gets attached. Tie String B on with a piece of juniper (or rosemary, or a decoration, or leave it simple, or use your imagination!)

Step 6:
String all 24 like that and you're done!

Step 7:
Hang them on the wall. About 2 years ago I started using map pins to hang things because they have big heads and leave almost no mark and it's highly recommended. I just poke them in the wall, wrap the string around and done! I used two pins on this project as it was a bit heavier than most.
-Fill them with adventy things-
I went to the bulk food section and got a whole bunch of different Christmas-themed candy like candy canes and red+green+silver kisses and random other delicious chocolates but there's a million different things you could fill them with. Love notes are always a nice touch too!
If I had a bigger budget I would love to have filled them a wide variety of wonderful of local goodies because I think Vancouver has really cool stuff, and also buying local is the best. It keeps local artisans in business and let's them bring vibrancy to your hood, you reduce your environmental impact, the stuff you own is unique, and it keeps your neighbours in business.
So here's some of the little things that you could fill your calendars with-

1) Holiday Chocolate Collection // Salted Caramels // Sun-Dried Okanagan Cherry Pebbles from Beta 5
2) A bottle opener from Brand Iron
3) Soap bar trio- Amour // Cinder // Flora from Woodlot
4) Knuckle rings from Foe and Dear
5) Temporary tattoos from Banquet
6) Blood Orange & Cardamom am mi lado Luxury Lip Butter from Penny Frances Apothacary
7) Wild Craft Salve - Red Cedar Leaf from Harlow Skin Care
8) Beeswax Alphabet Candles from Noble Candles could be in your beloved initials or spell something out over the course of the adventing (like I - L-O-V-E - Y-O-U)!
9) Organic Cove Rain Tea (and other types of tea) from Sunnyside could be packaged into daily servings
You still have time to pull it off! Happy crafting + gifting!


Can’t even wait to start wearing my metallics and sequins and match them with red lips - but before I treat myself to another shade, I reveal my tried-and-tested hottest tips for picking your bold red lip this holiday season. You’re going to want to rush out and buy some for your holiday party too.