Sunnyside Up Easter Eggs

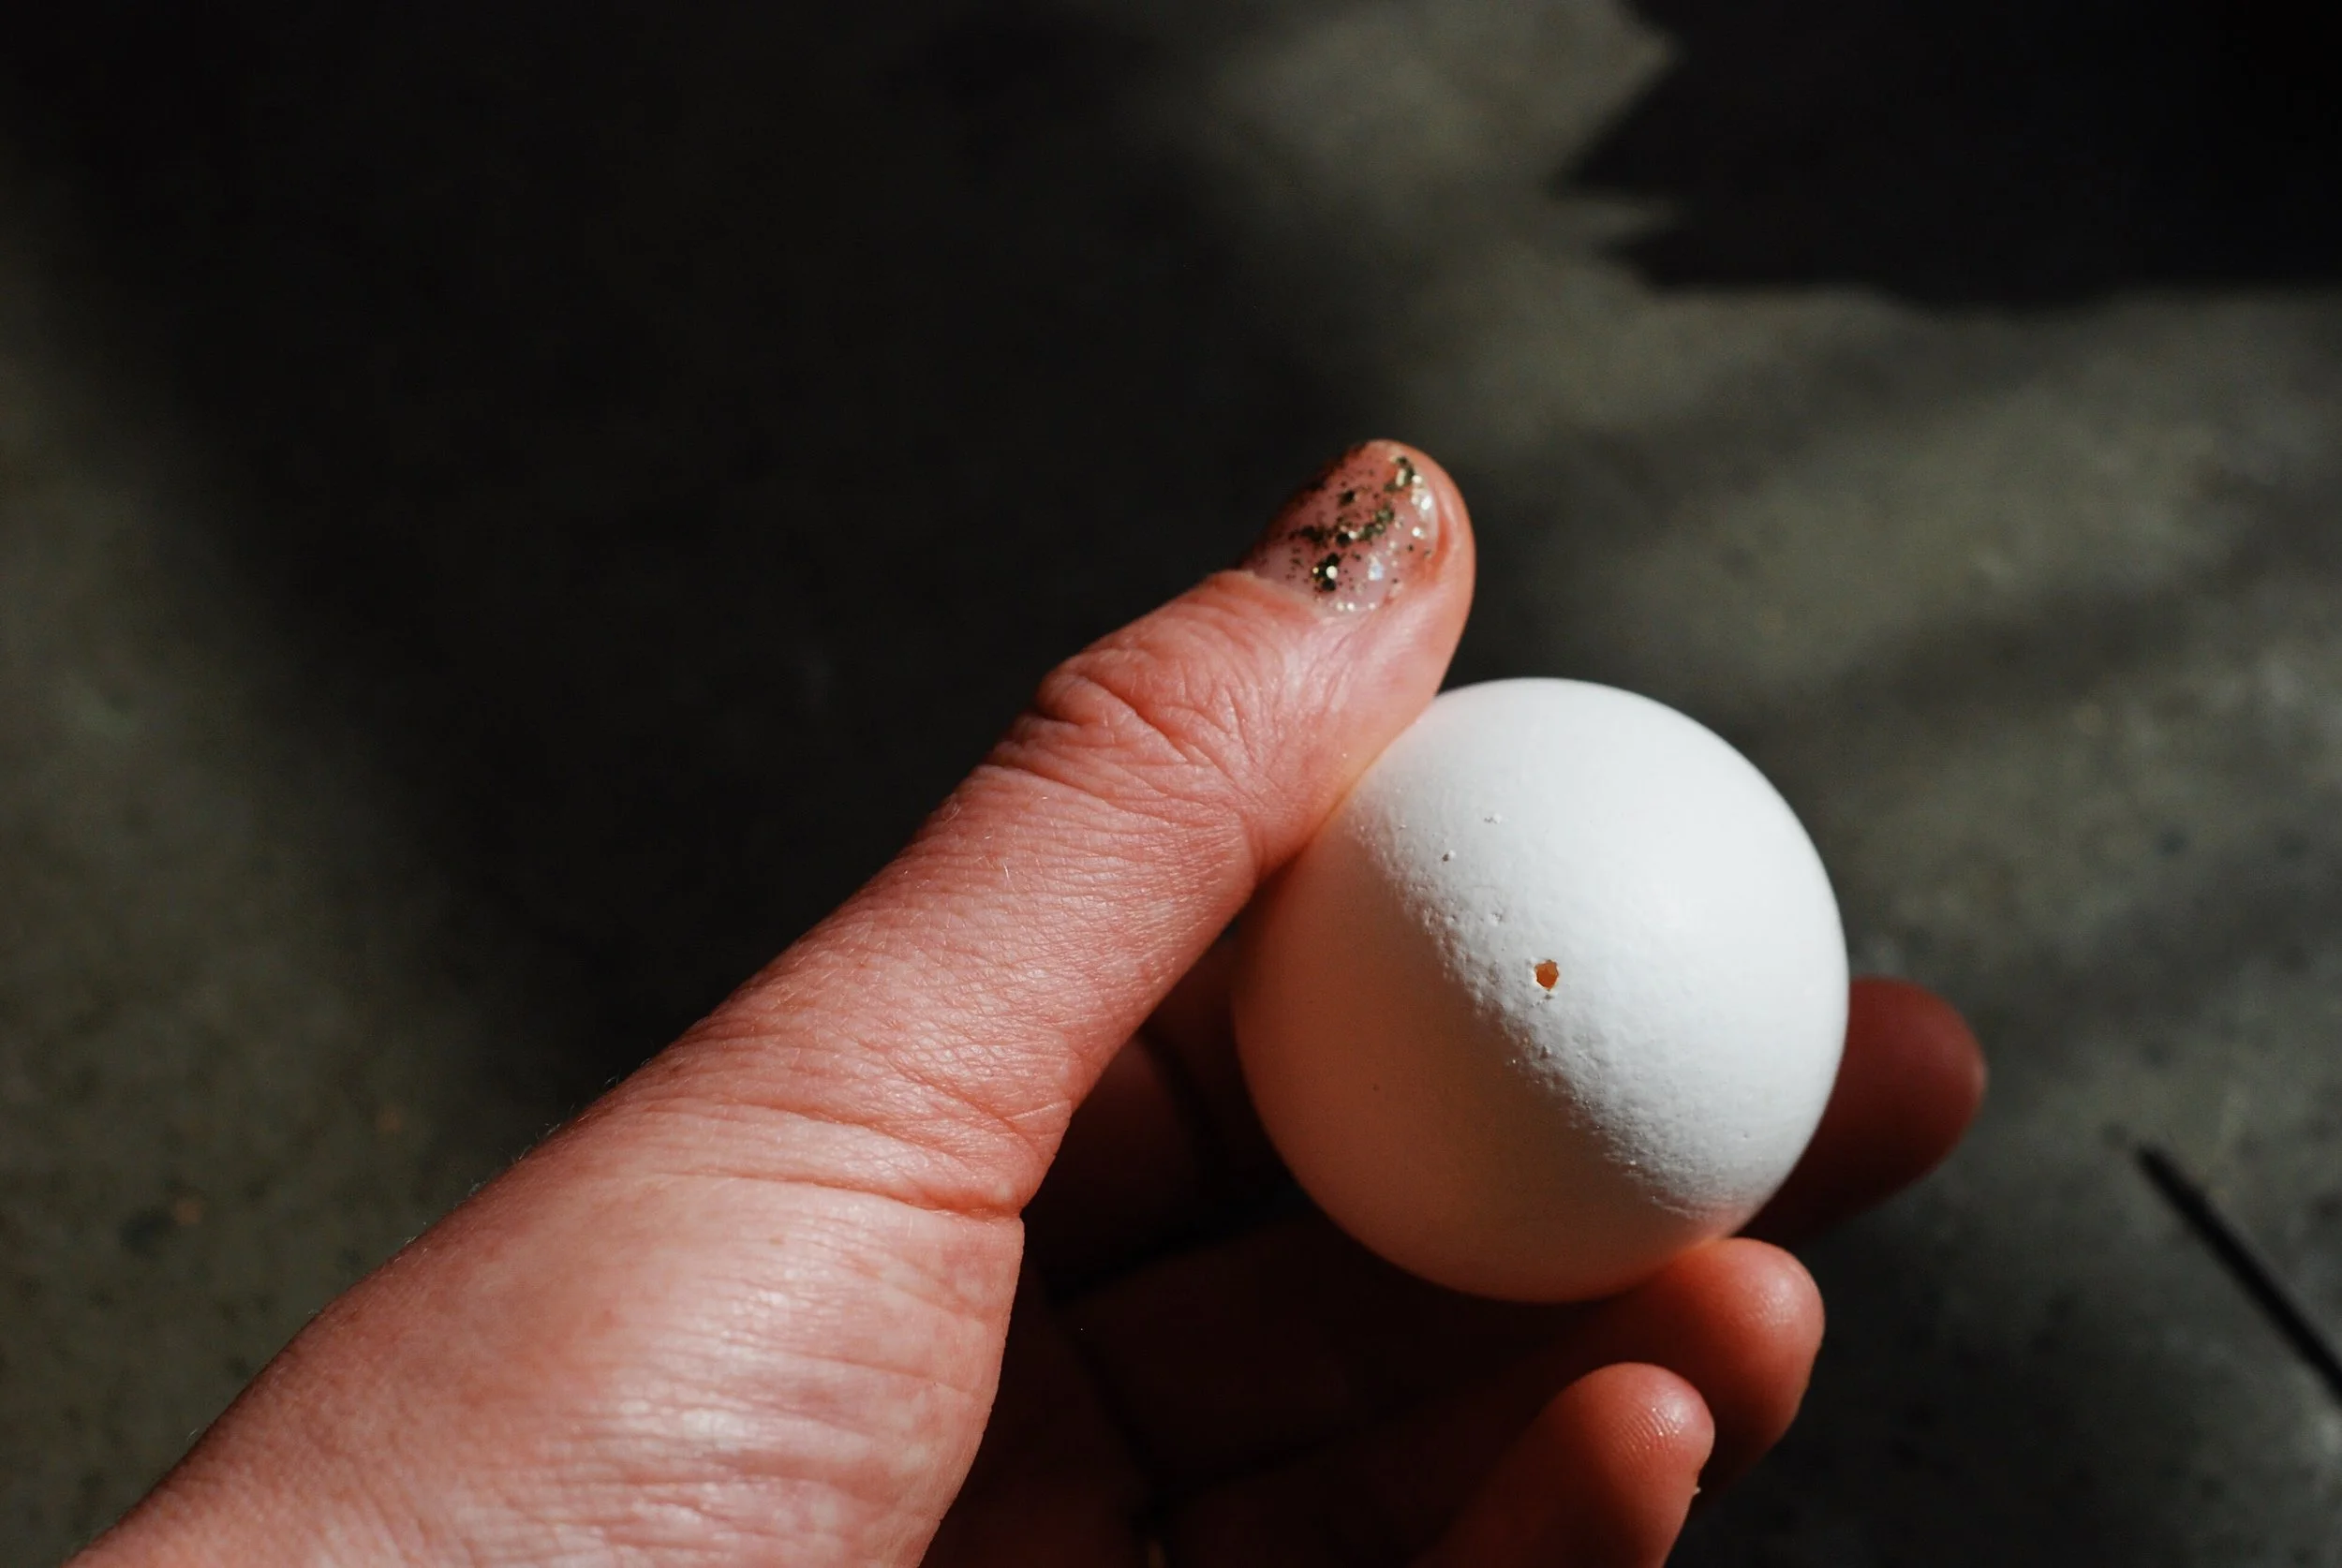
I decided I was going to try blowing out an egg for the first time so, suspicious that the egg was going to shatter + splatter my entire house with egg goo, I set up on the cement floor + got the doggy cleanup crew in position. As it turns out, other than being time consuming it's a pretty easy thing to do and you probably already have the stuff at home to do it.
how to Blow out an egg
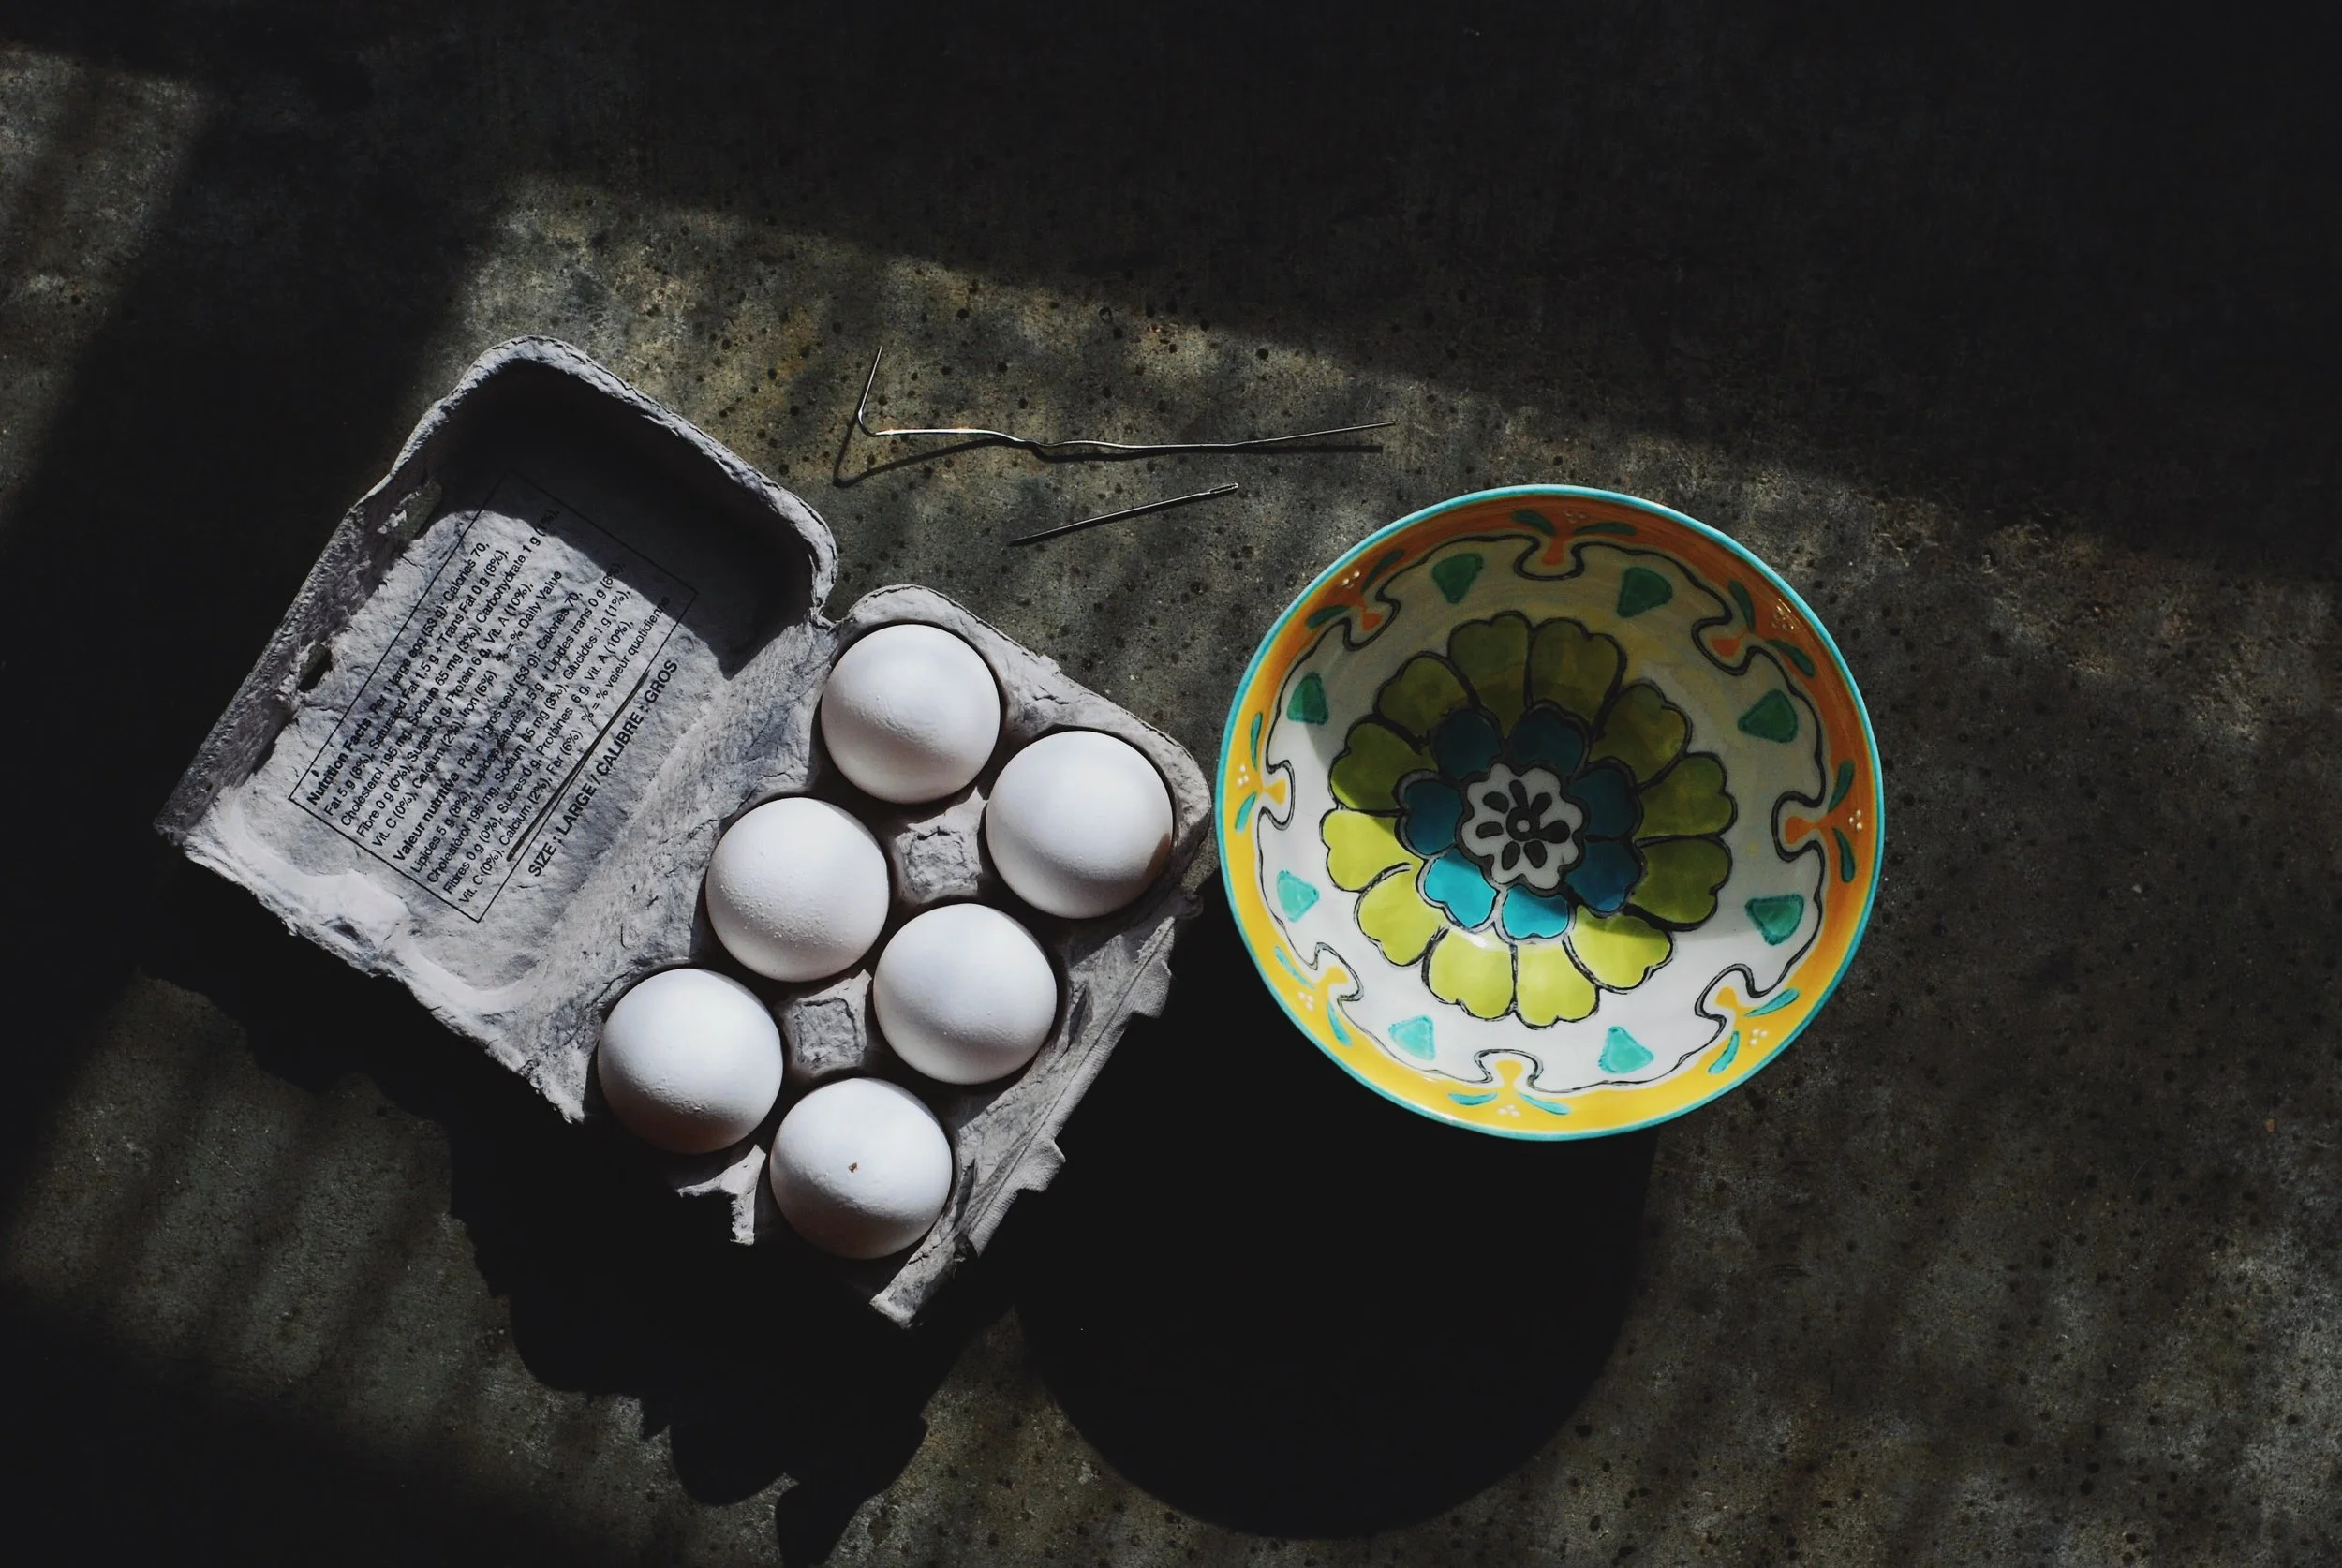
Supplies:
- Embroidery needle or thick pin
- Paper Clip [unbend it]
- Egg
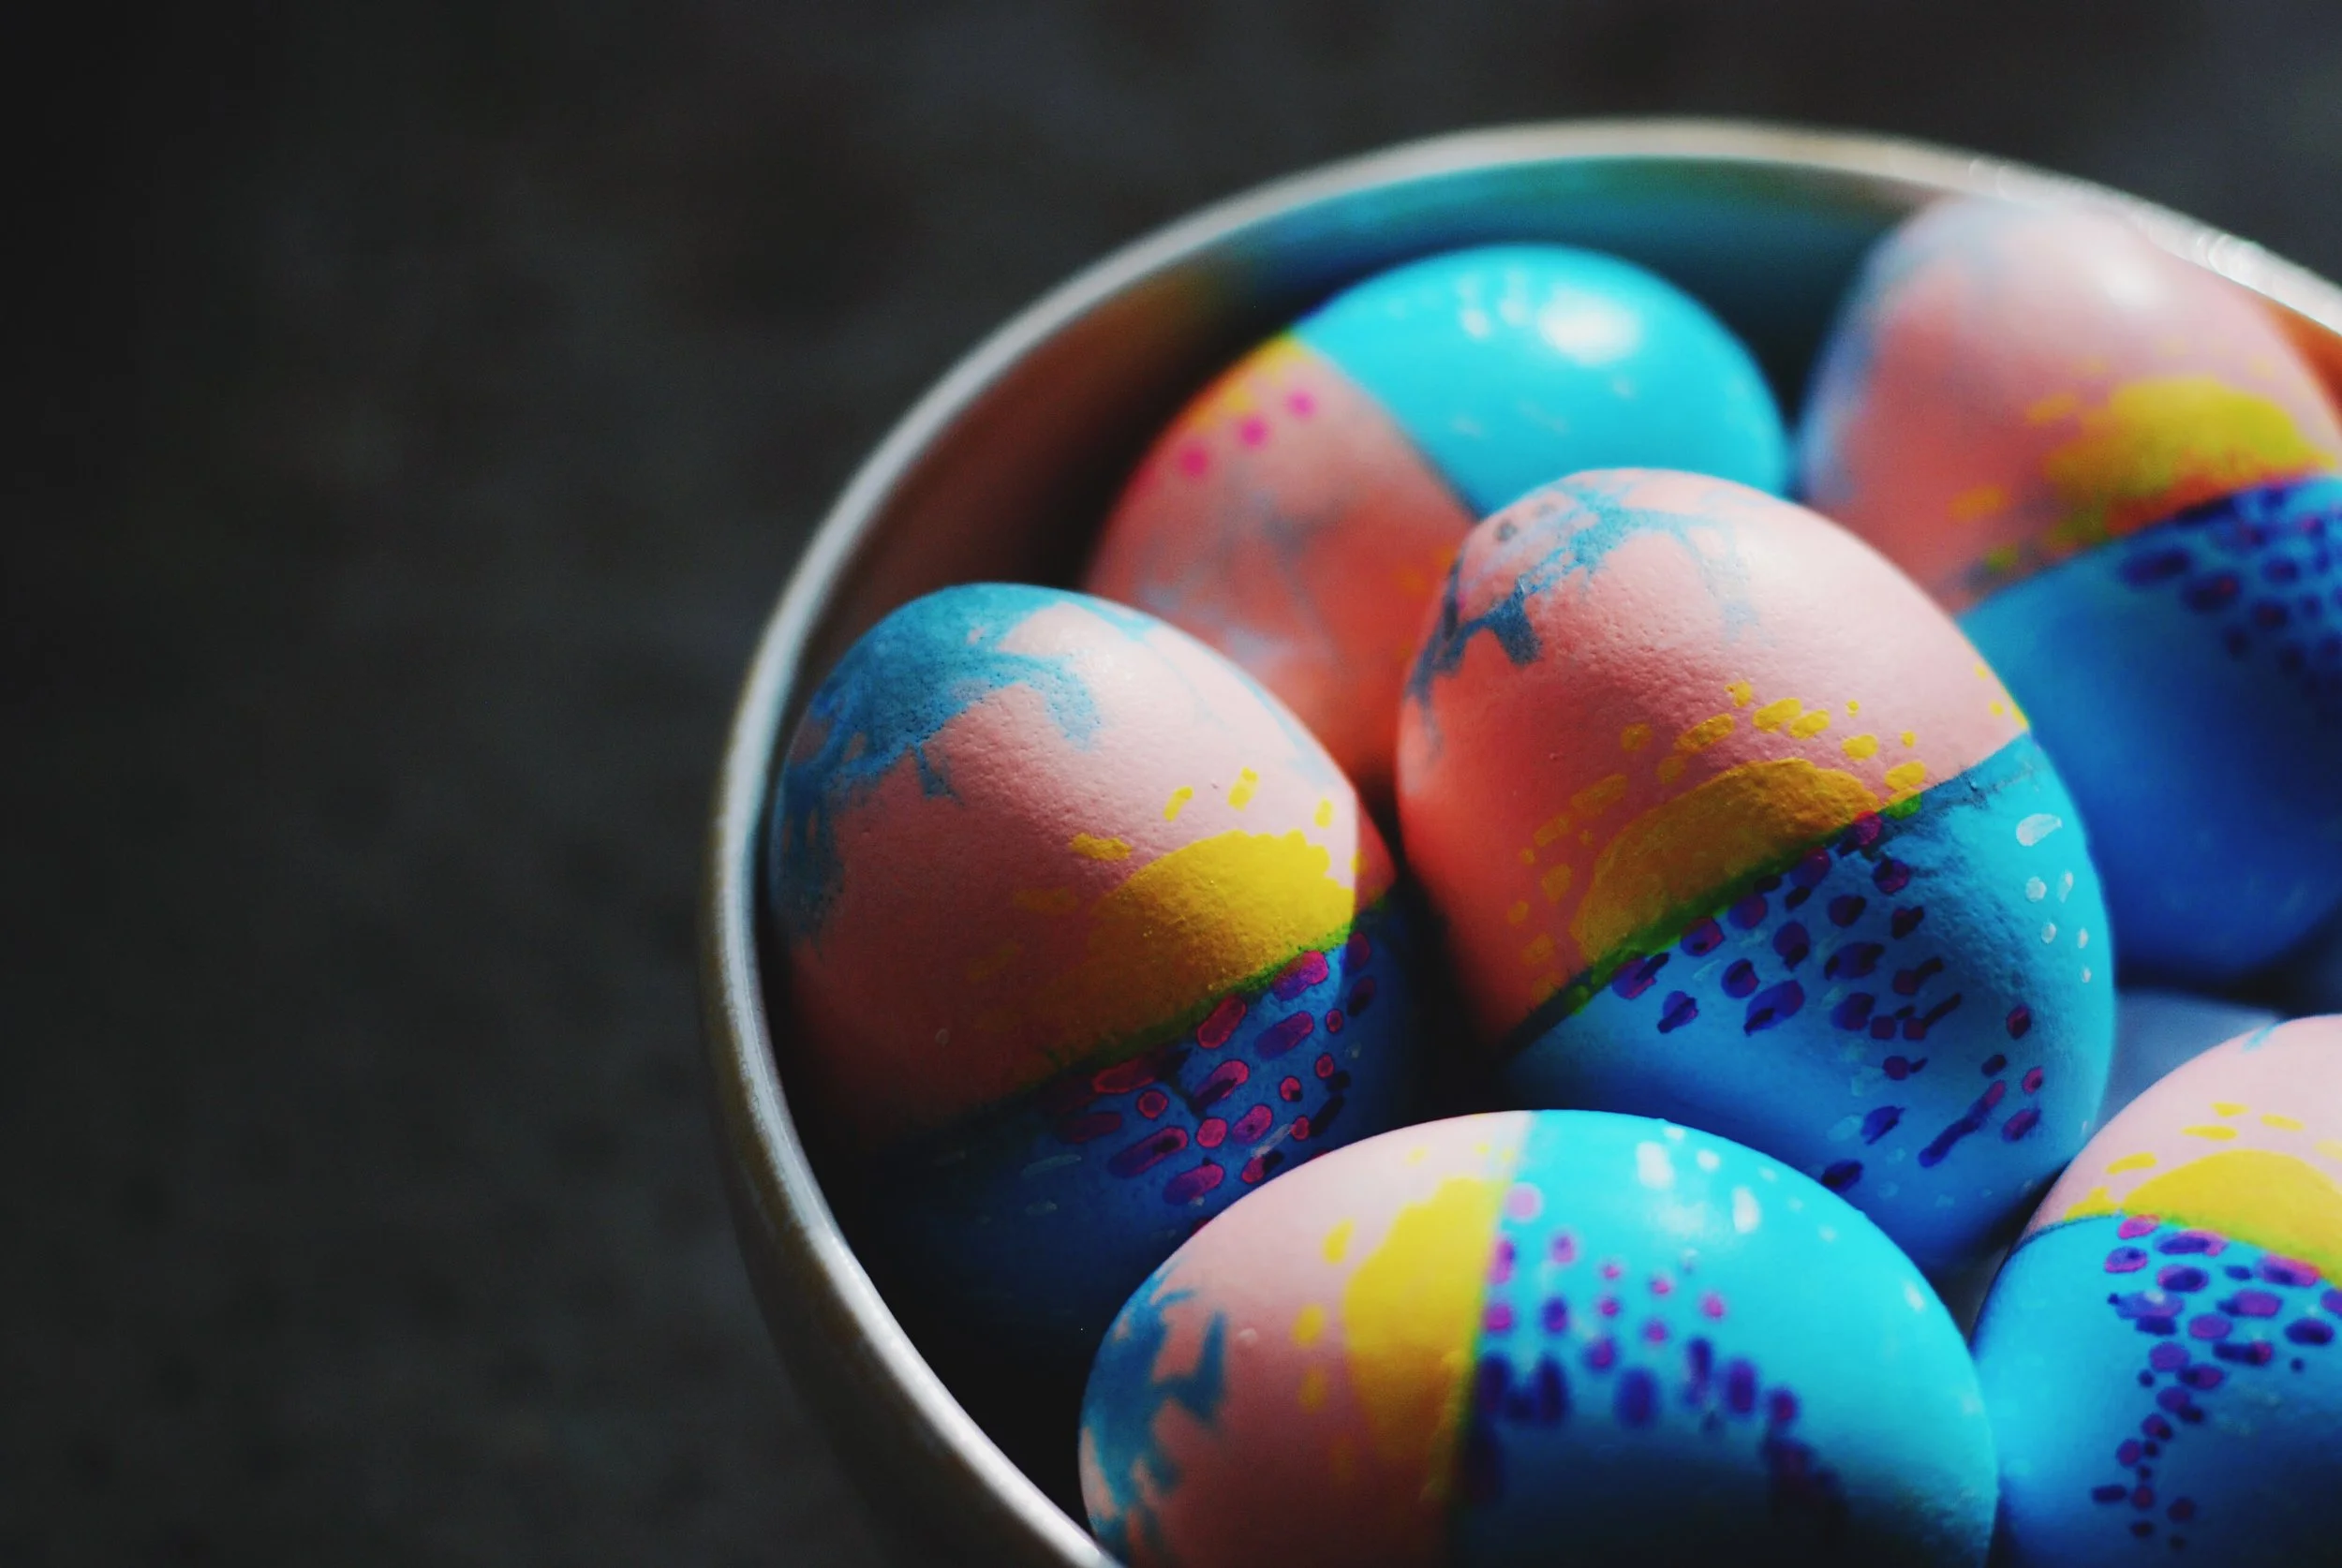
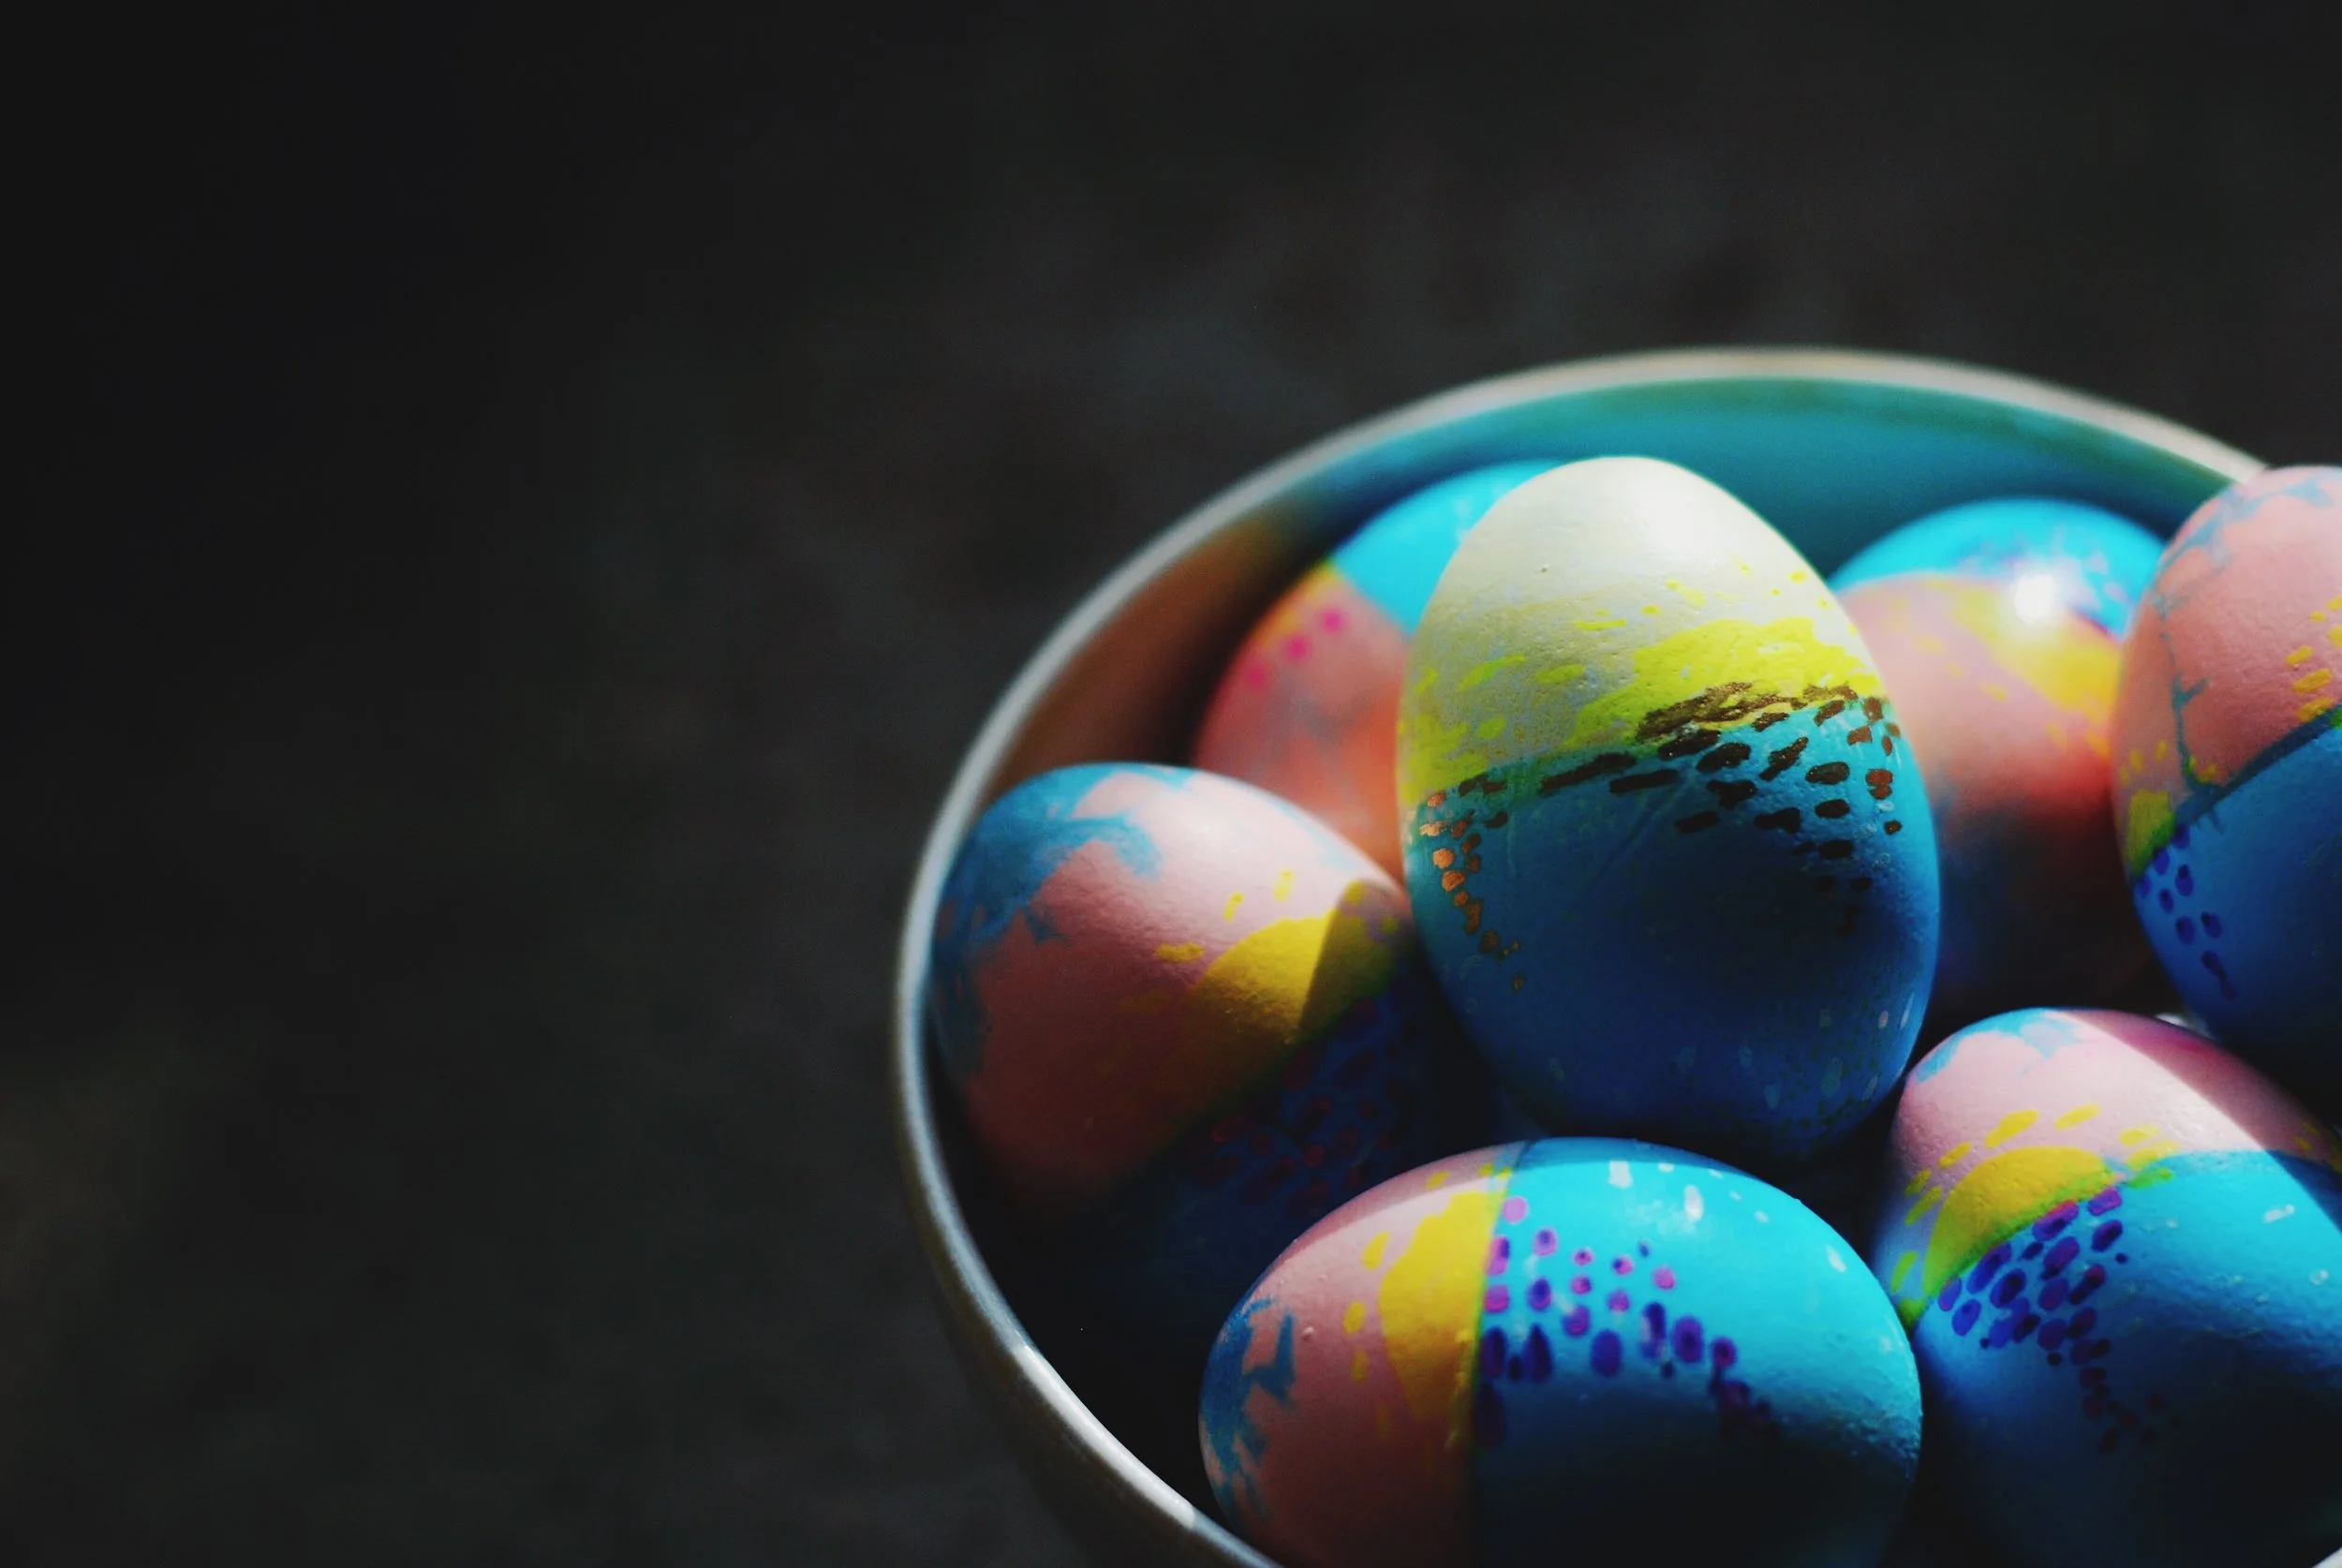
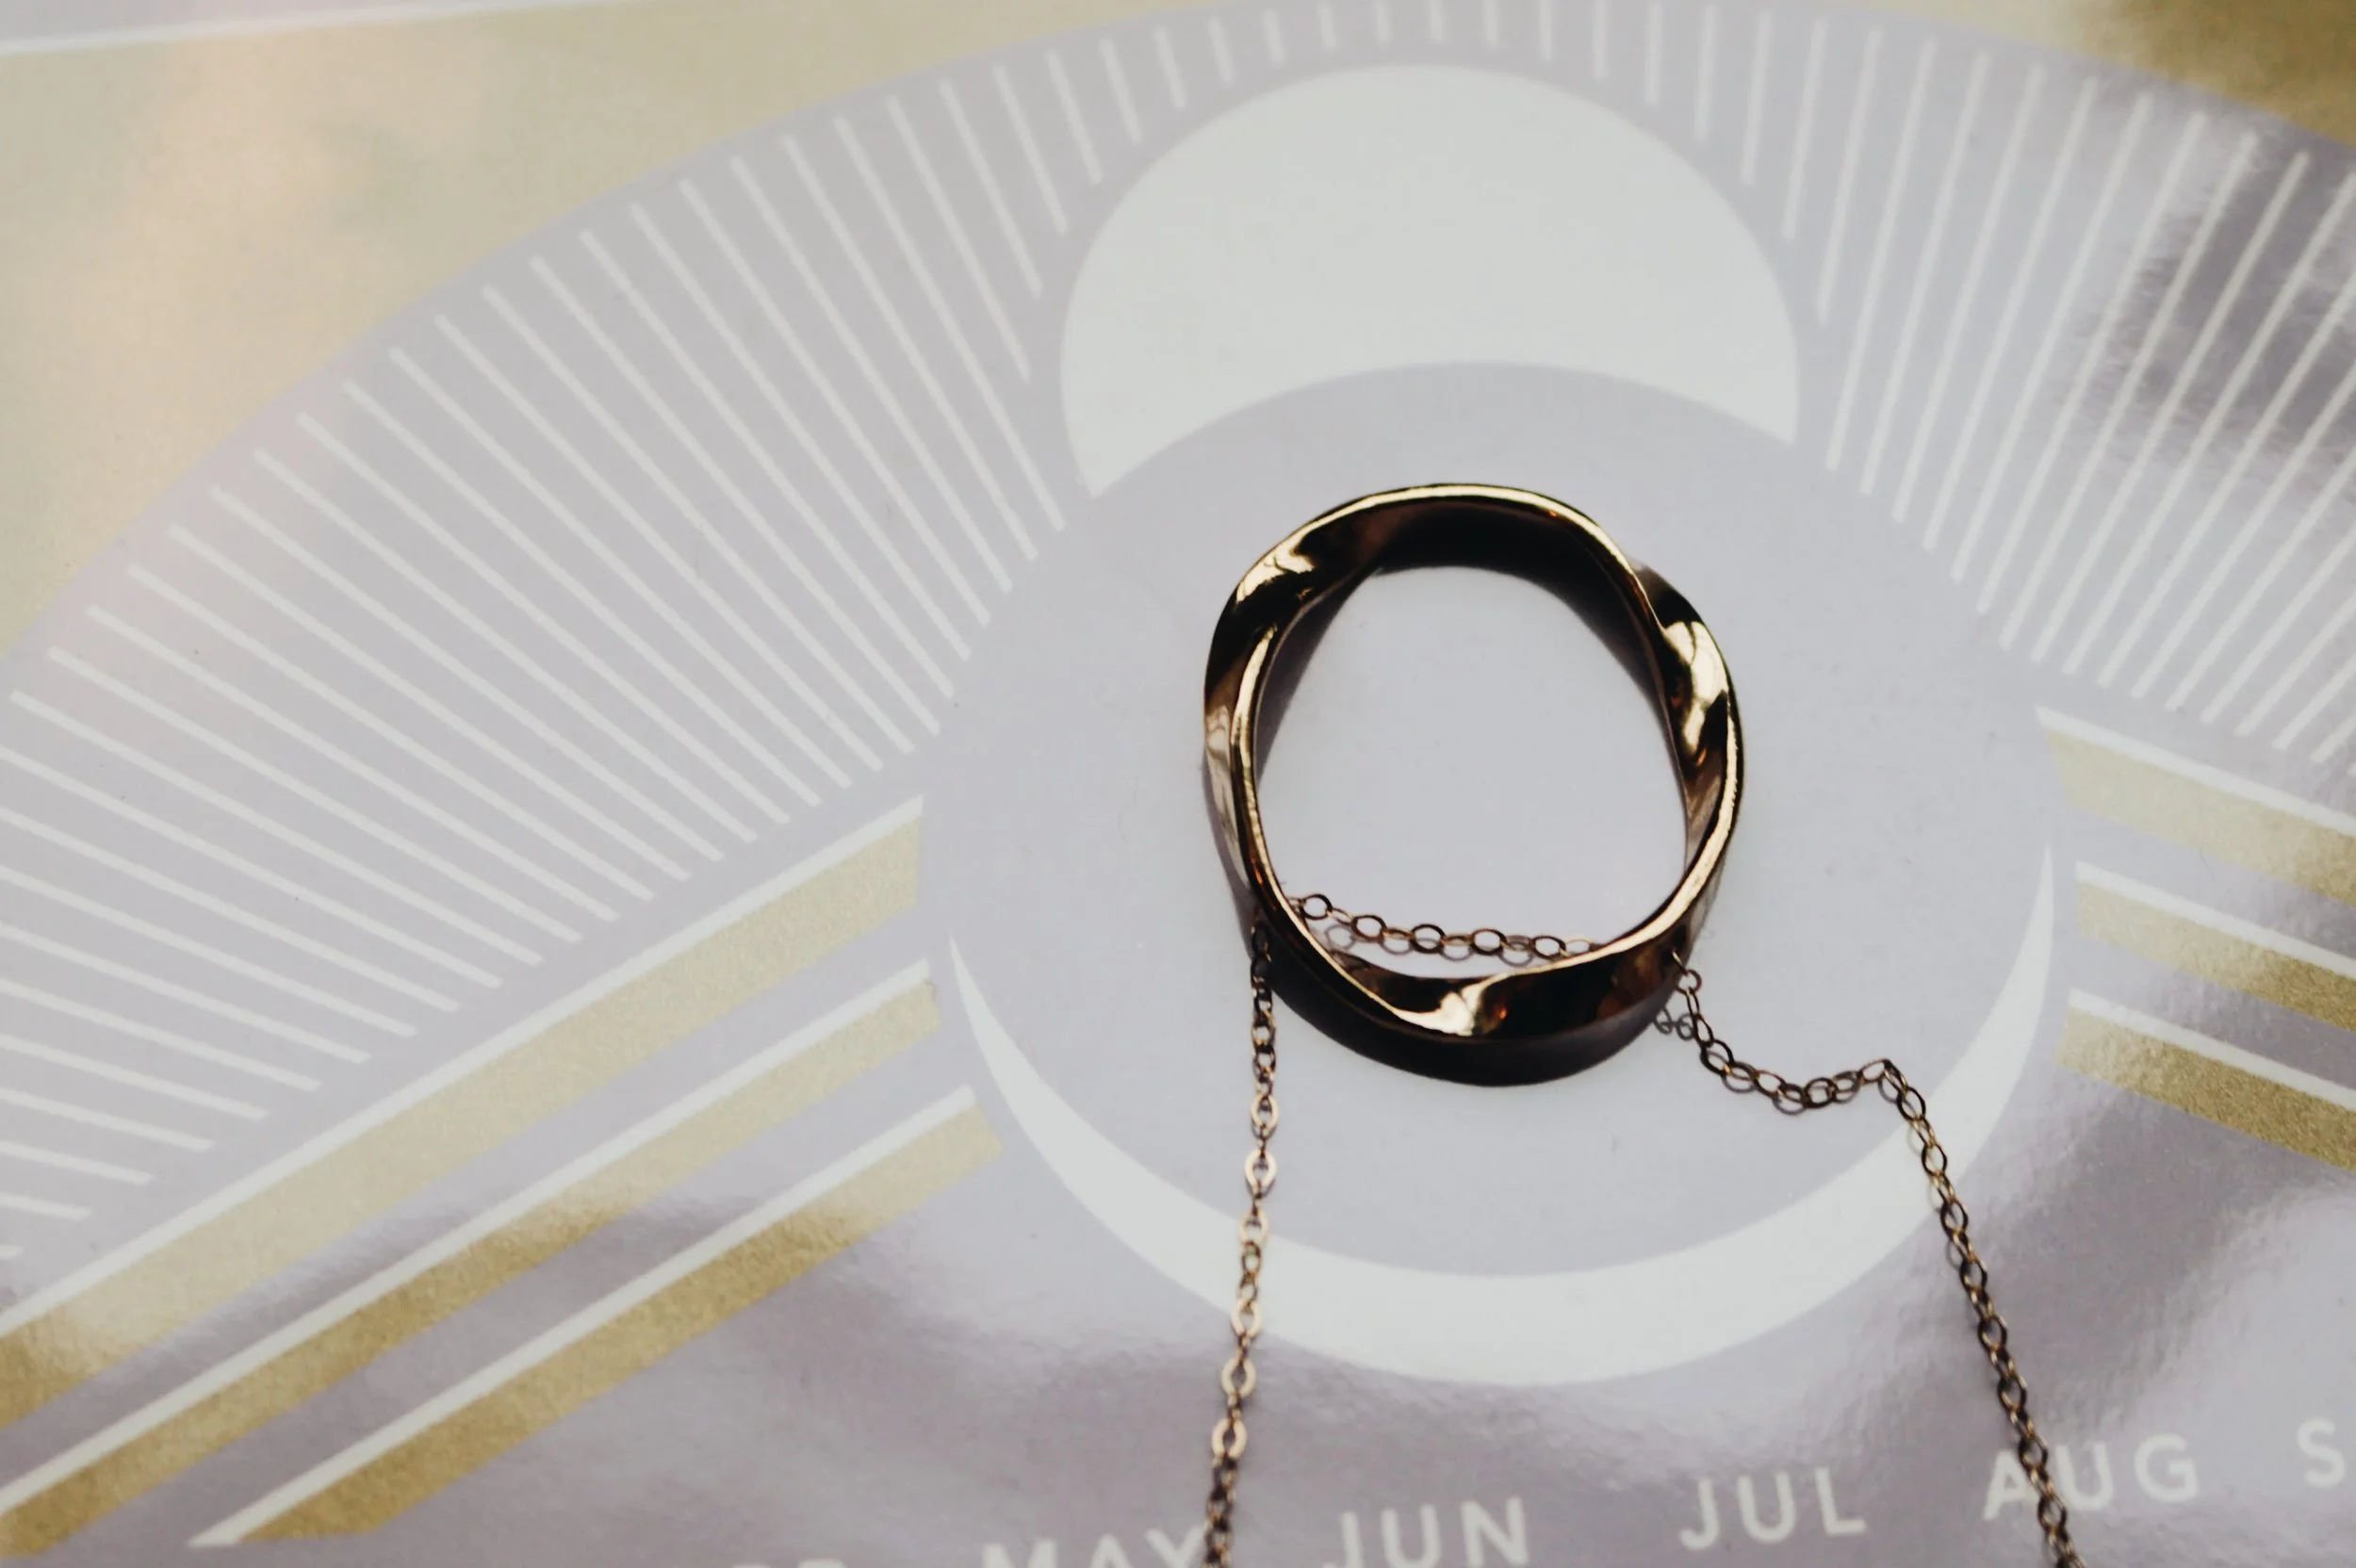
- Springtime Bowl [similar-ish style here] [obviously you need a springtime bowl because then it's way more fun. I guess you could get an egg blowing kit instead, but the bowl is much more practical + joyful.]


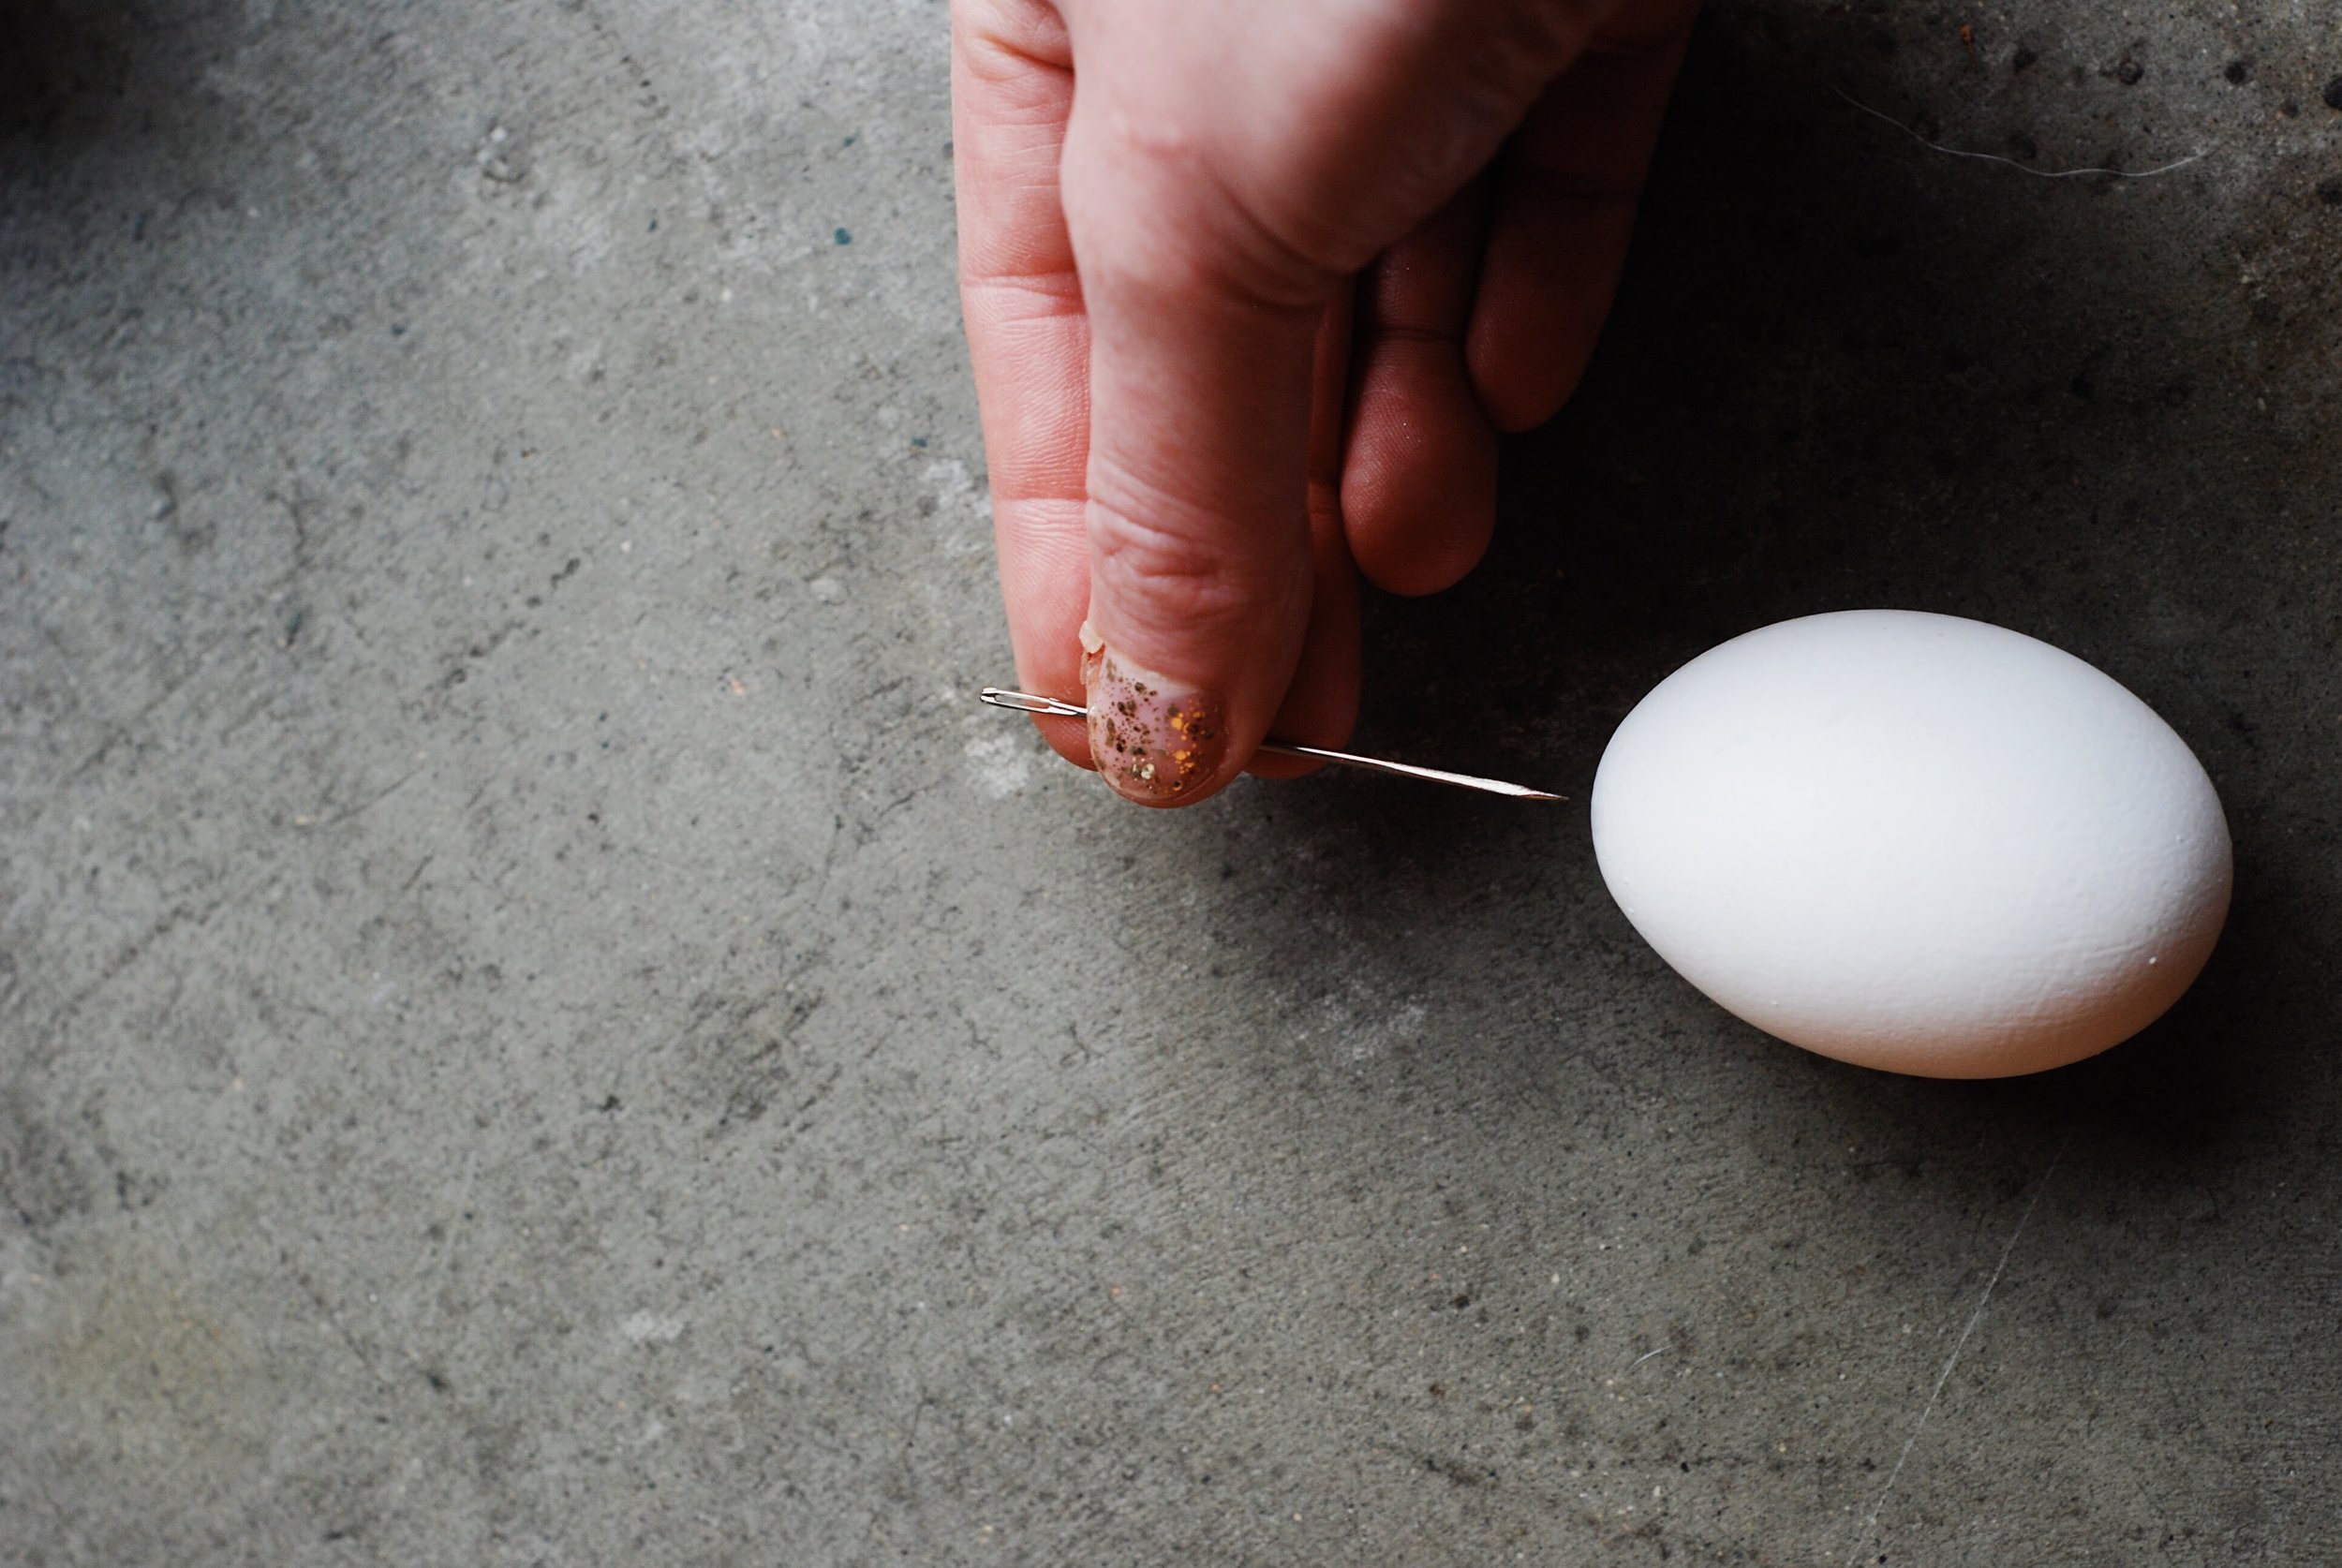
Step 1:
Poke the needle into the pointy end of the egg. Poke around that hole a few times to make the hole bigger.
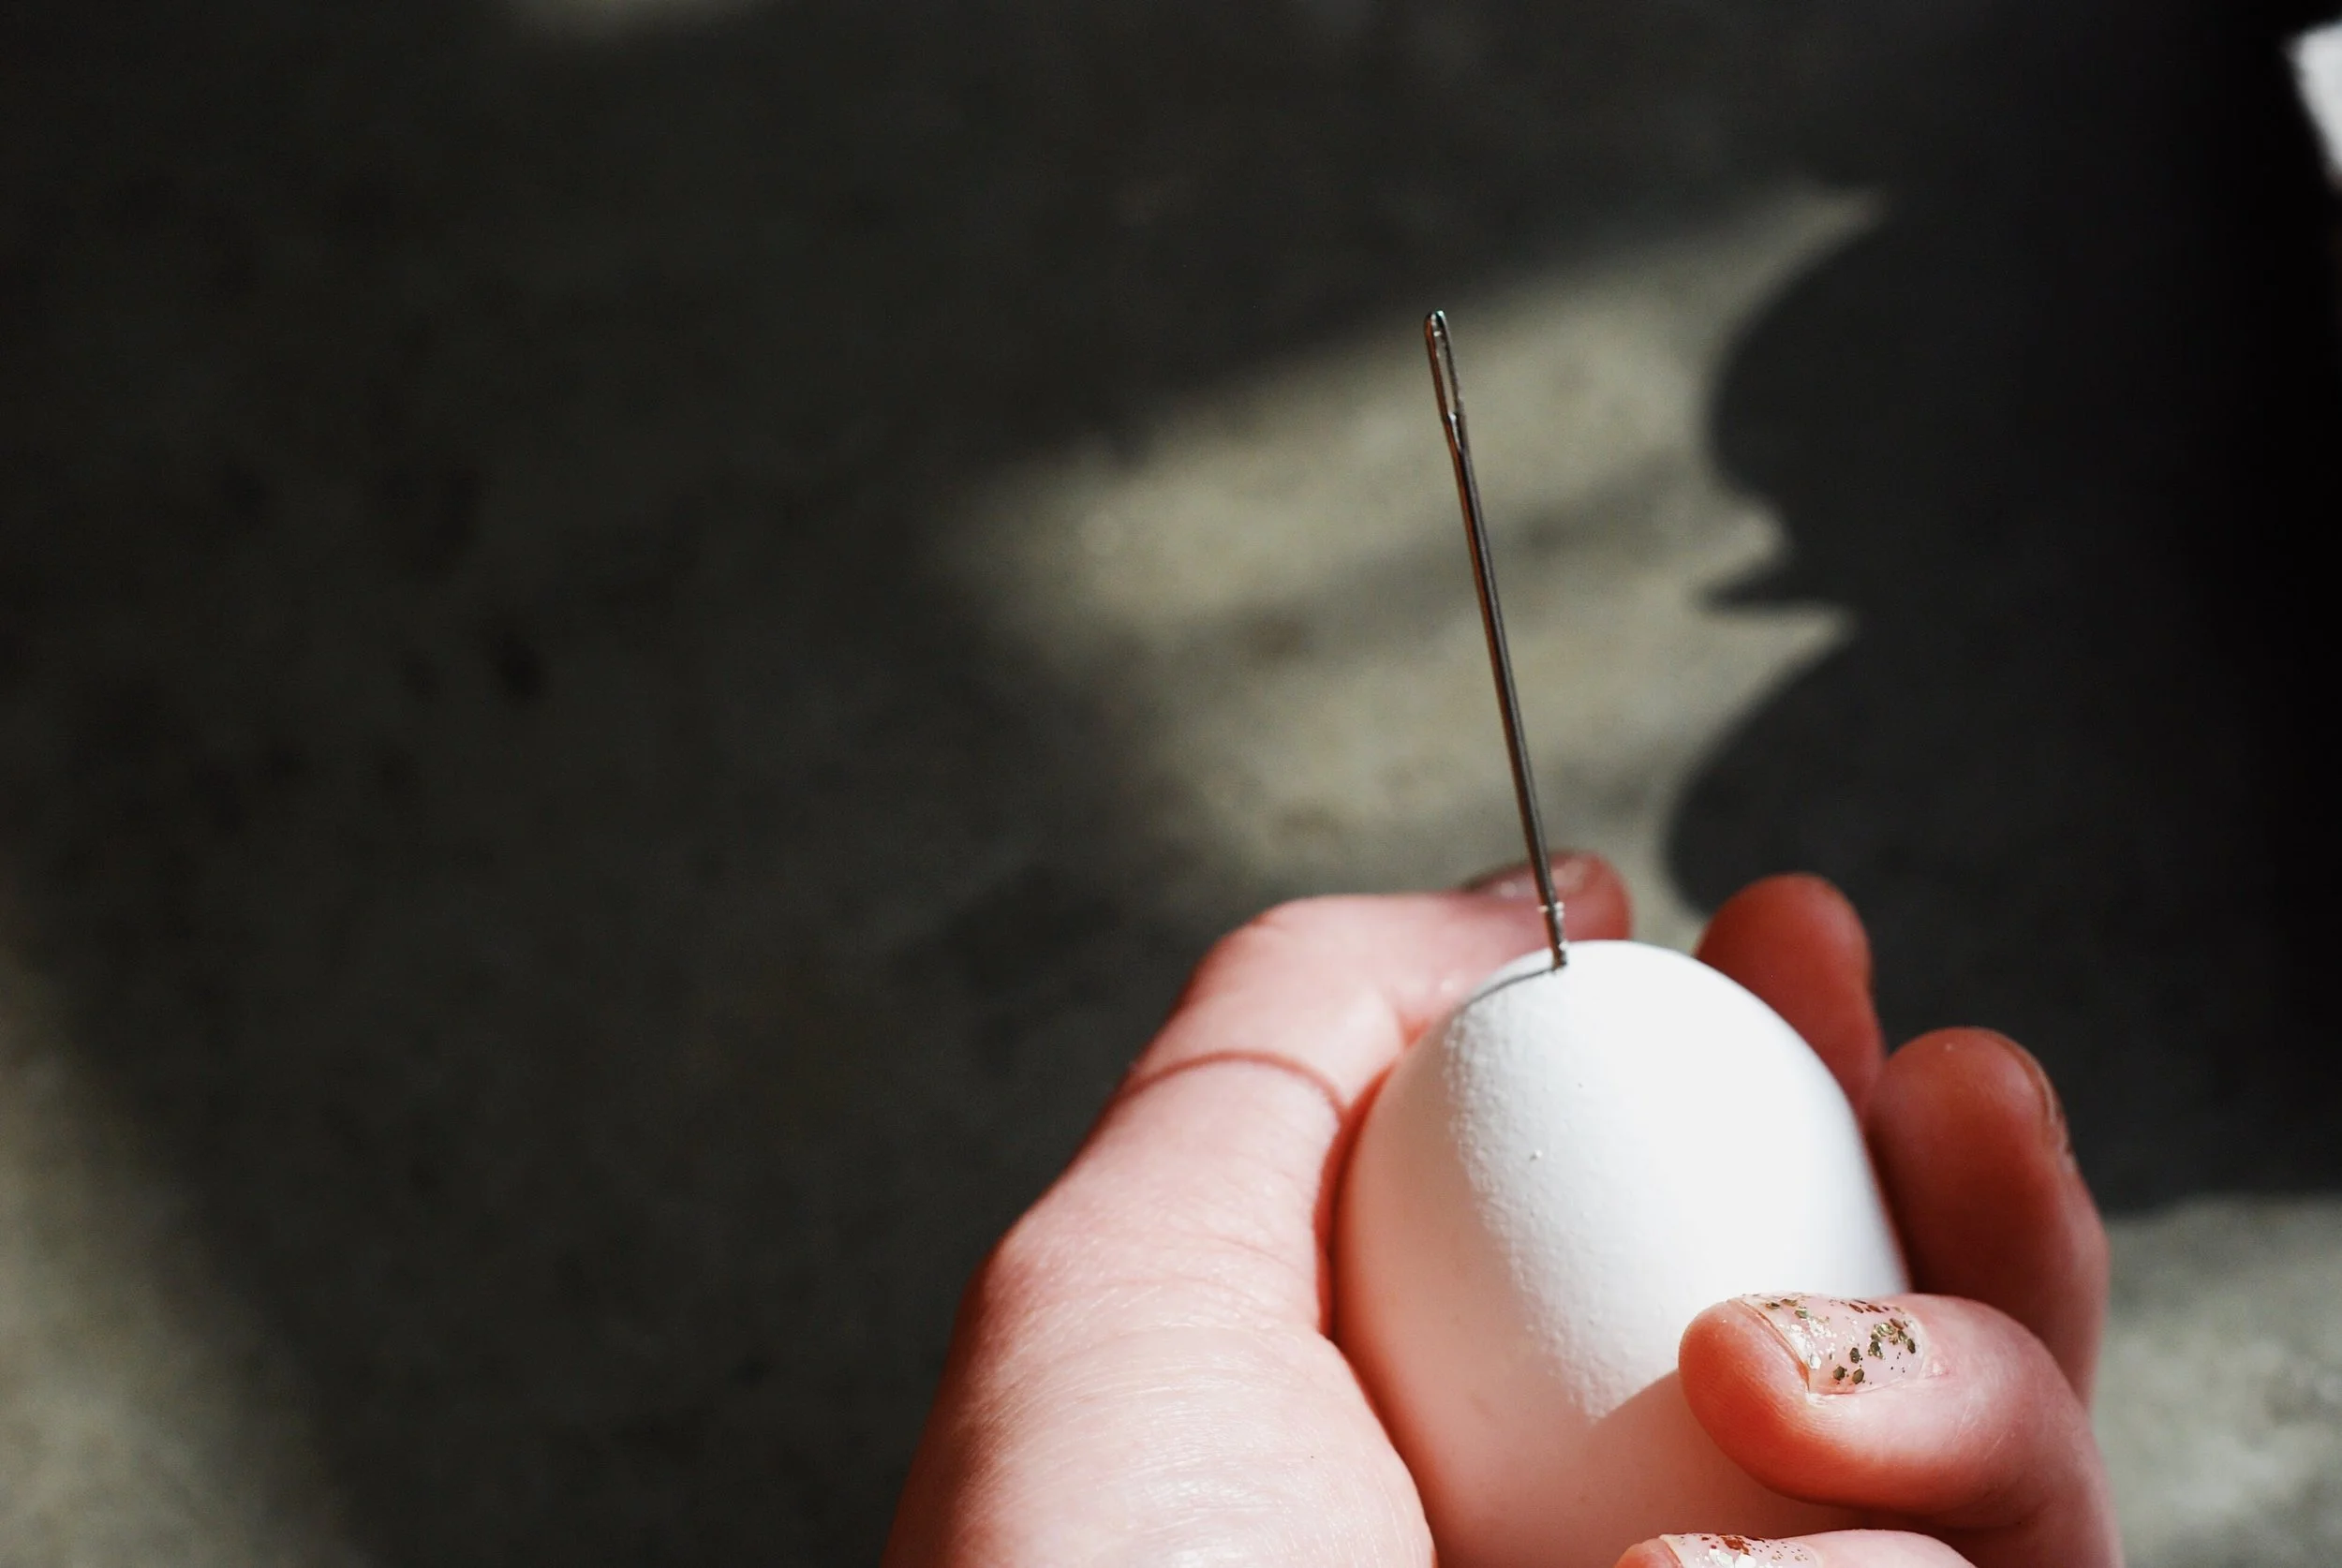
Step 2:
Flip it over, poke the same kind of hole in the other end.


Step 3:
Take the paper clip and put it inside the egg and scramble the shit out of it.


Step 4:
Blow into the top of the egg + see if the gross ass egg starts coming out. If it doesn't or it's really resistant scramble again. Try again. Scramble. Try. Scramble. WIN.
If it's resisting hard, the yolk might not be broken up and you can crack your shell.
Step 5:
Rinse it out with a light trickle of water (I put the water in the bowl and then rinsed with that so as not to break my egg.)

And omg you did it!
I was wildly shocked it didn't break into a million pieces until I dropped it when I was decorating it later, but I mean, I'd say that's on me and not on the methodology.
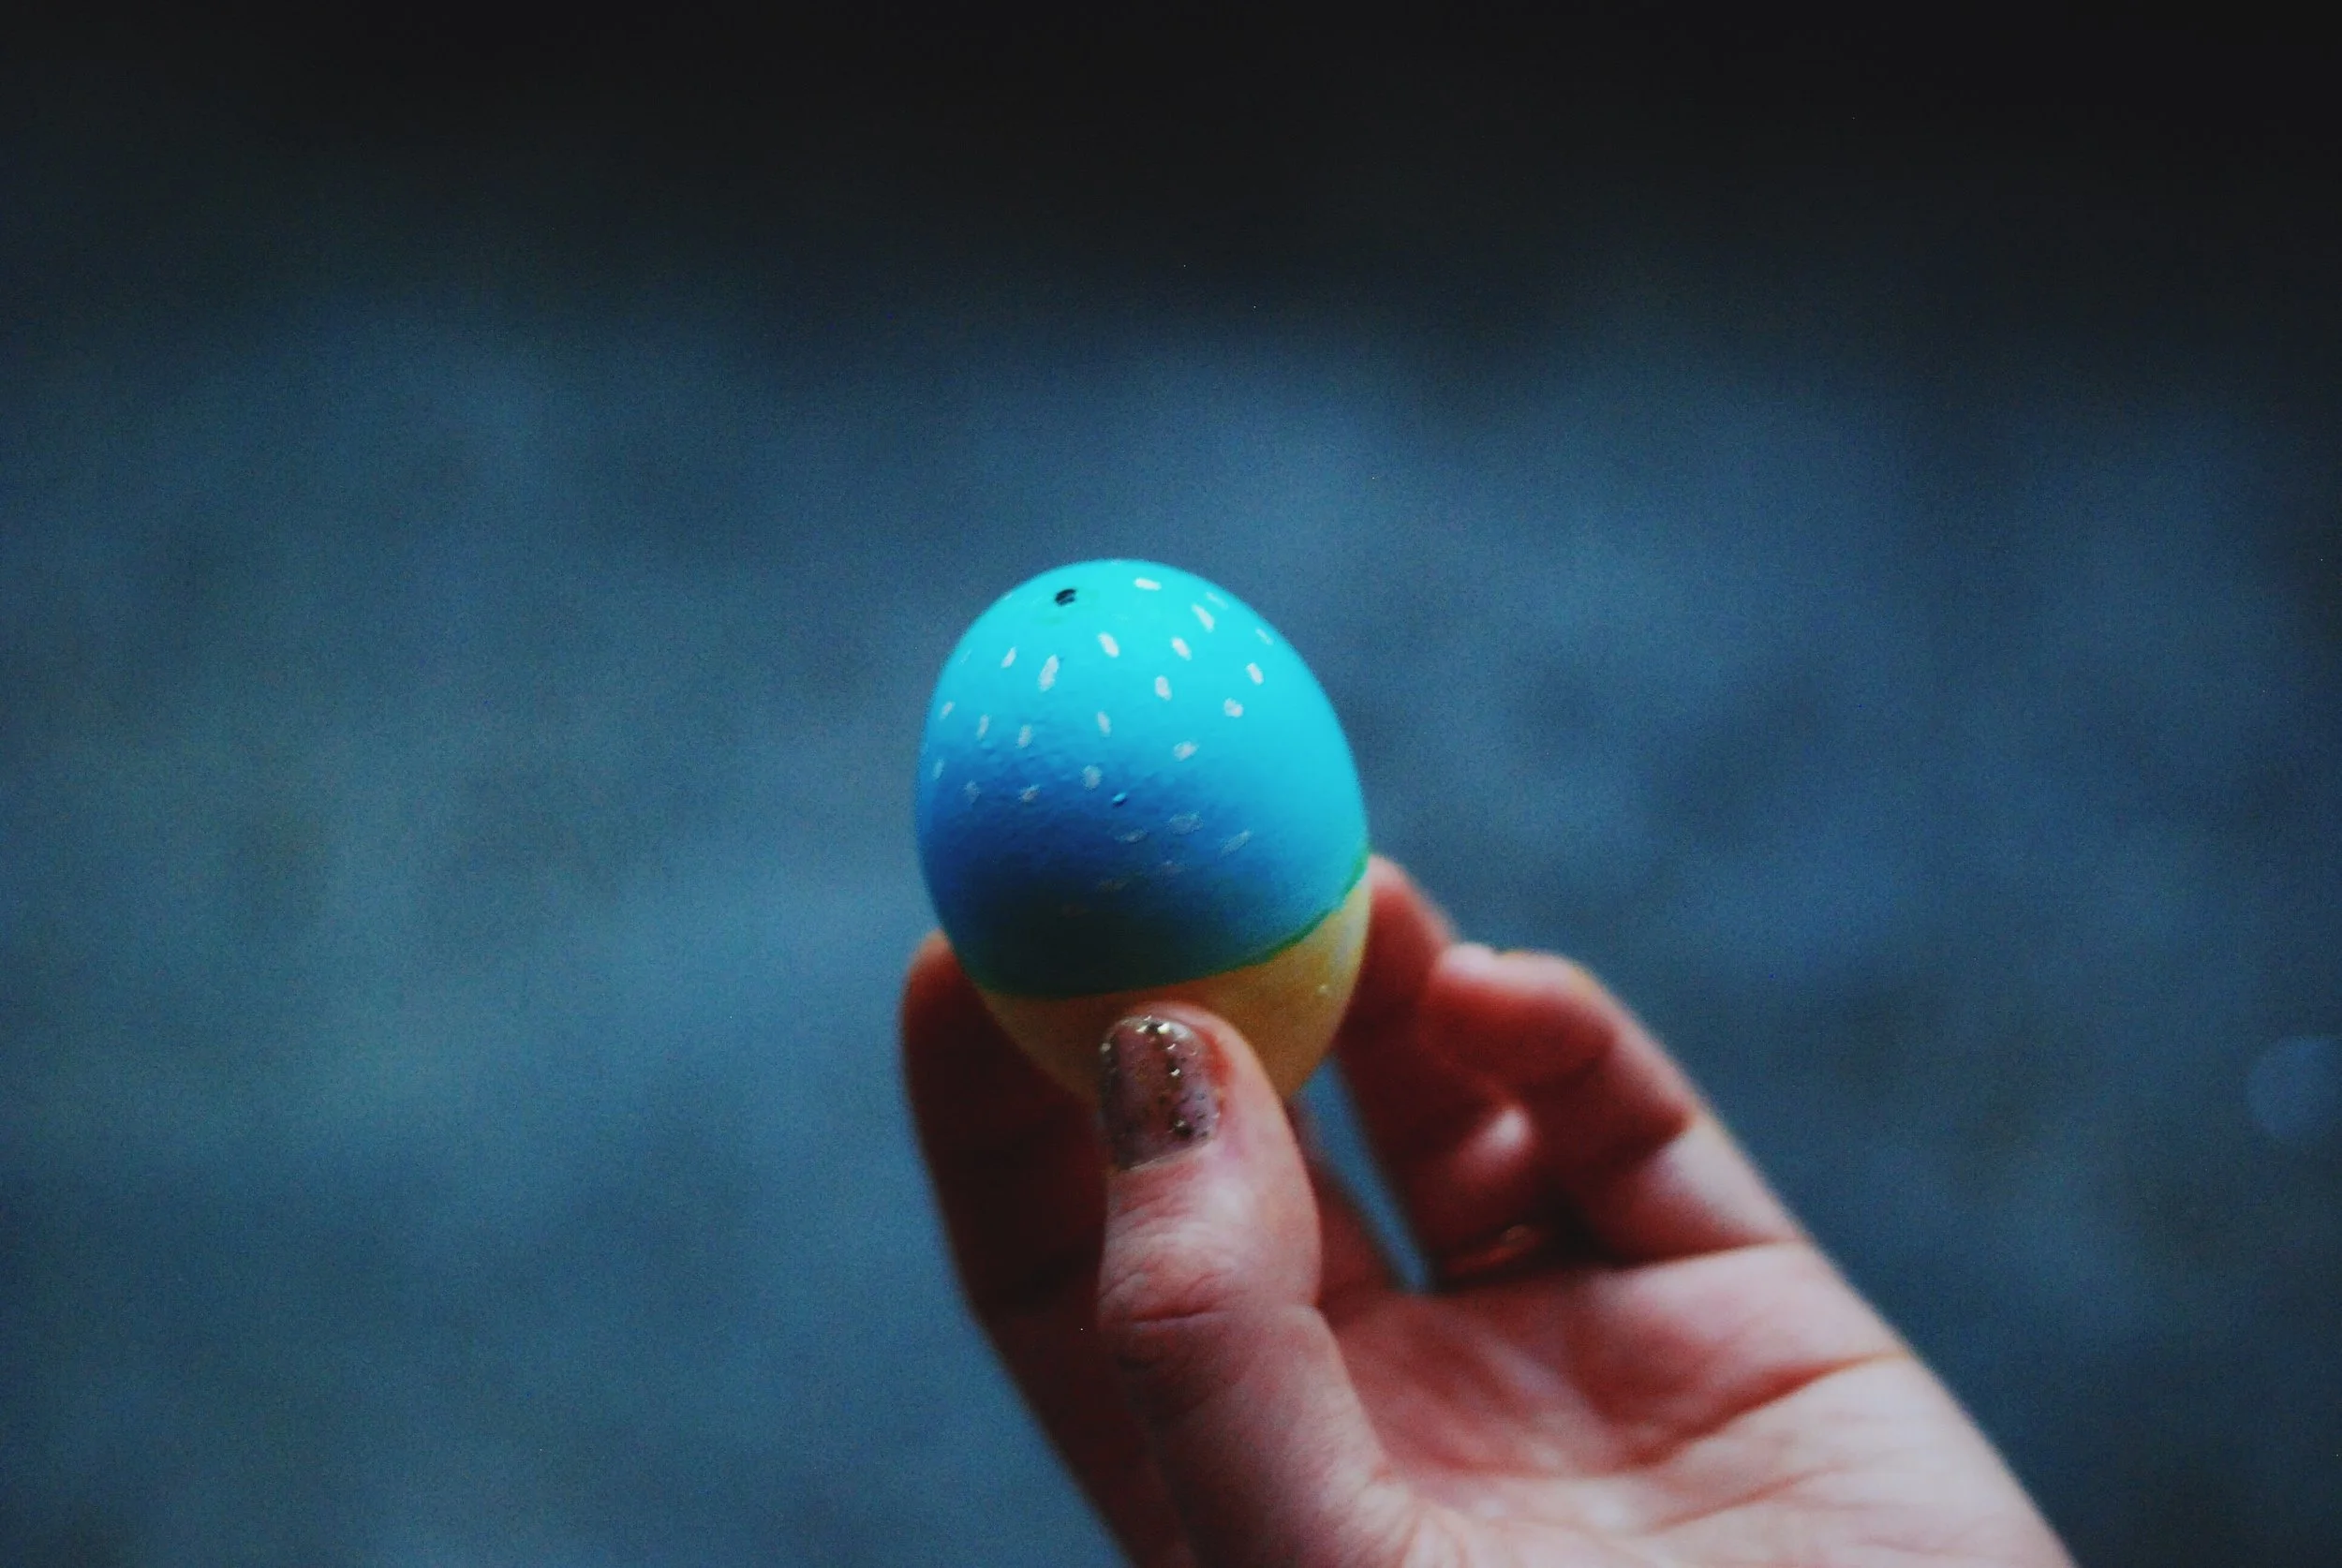
Turn the eggs into sunshine

I had no idea what to do with my egg now that it was void of it's fillings, so I took out some craft supplies and put them on the floor to see if I could come up with some inspiration after most of the stuff I loved on Pinterest had gold leaf + I didn't. I love this gift bag [actually an Anthropologie shopping bag from a long time ago] and thought, hey, I could do that. Maybe. I think.
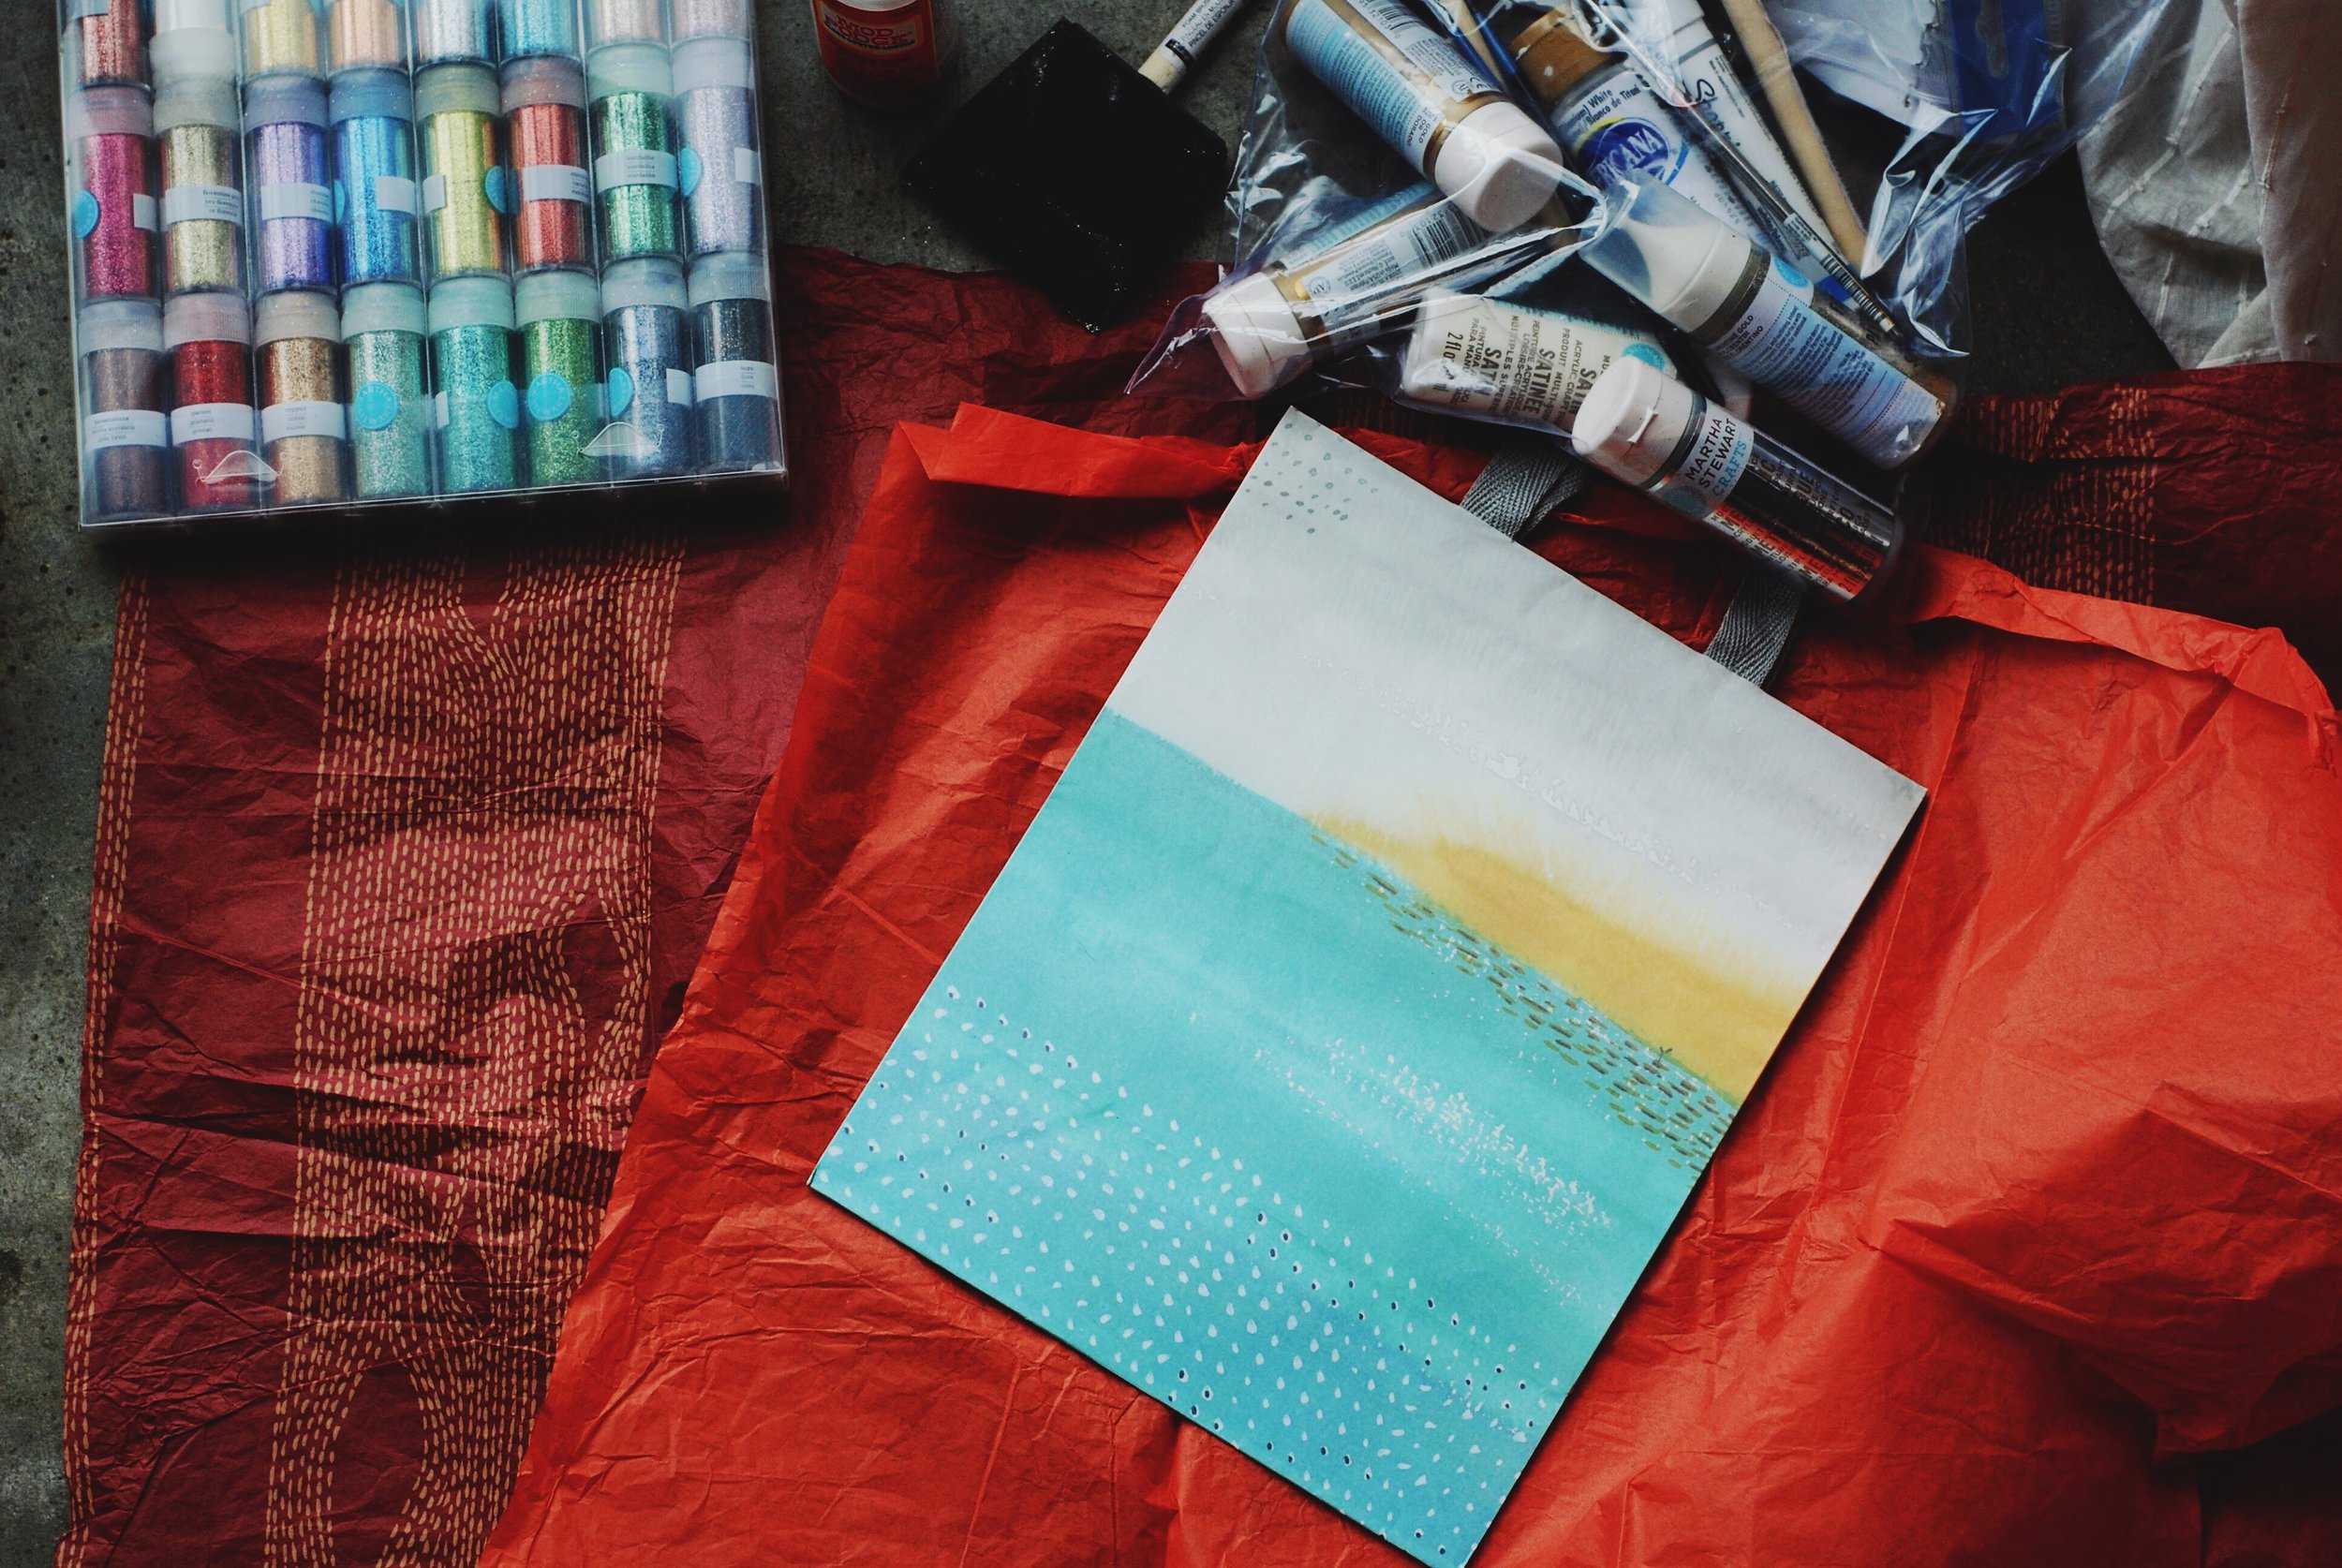

I decided to dye the egg + then use paint pens to spice it up.
Again, this is a kid's craft that I thought was really hard + kind of ended up making some big mistakes along the way.
Supplies:
- 1/2 cup boiling water per colour
- 1 tsp vinegar per colour (ok if you don't have white vinegar you don't have to lose your mind and have a big fit like I did. You can use your white wine vinegar too! It's the acid you're going after, but you might not want to use a red wine vinegar, I assume it will dye them red.)
- 20 or so drops of colour [I used yellow, blue and red]
- lots of paper towel (maybe I just got scolded by Kyle for dying our kitchen counter red)
- a slotted spoon (for classy folks only. I just use my hands + live with them being blue for a few days. Not recommended, as it's quite ugly.)
- washi or masking tape
- paint pens
As an important note, I gave up and boiled the rest of the eggs instead of blowing them out as I wanted to do it faster. Obvious yet interesting: when dying, the boiled eggs sink and the blown out eggs float, so the work you need to put into dying them is different.
Further to that point, dyed water will go into the hole on the egg so that can be a bit non-ideal for keeping the colour lines clean.
Step 1:
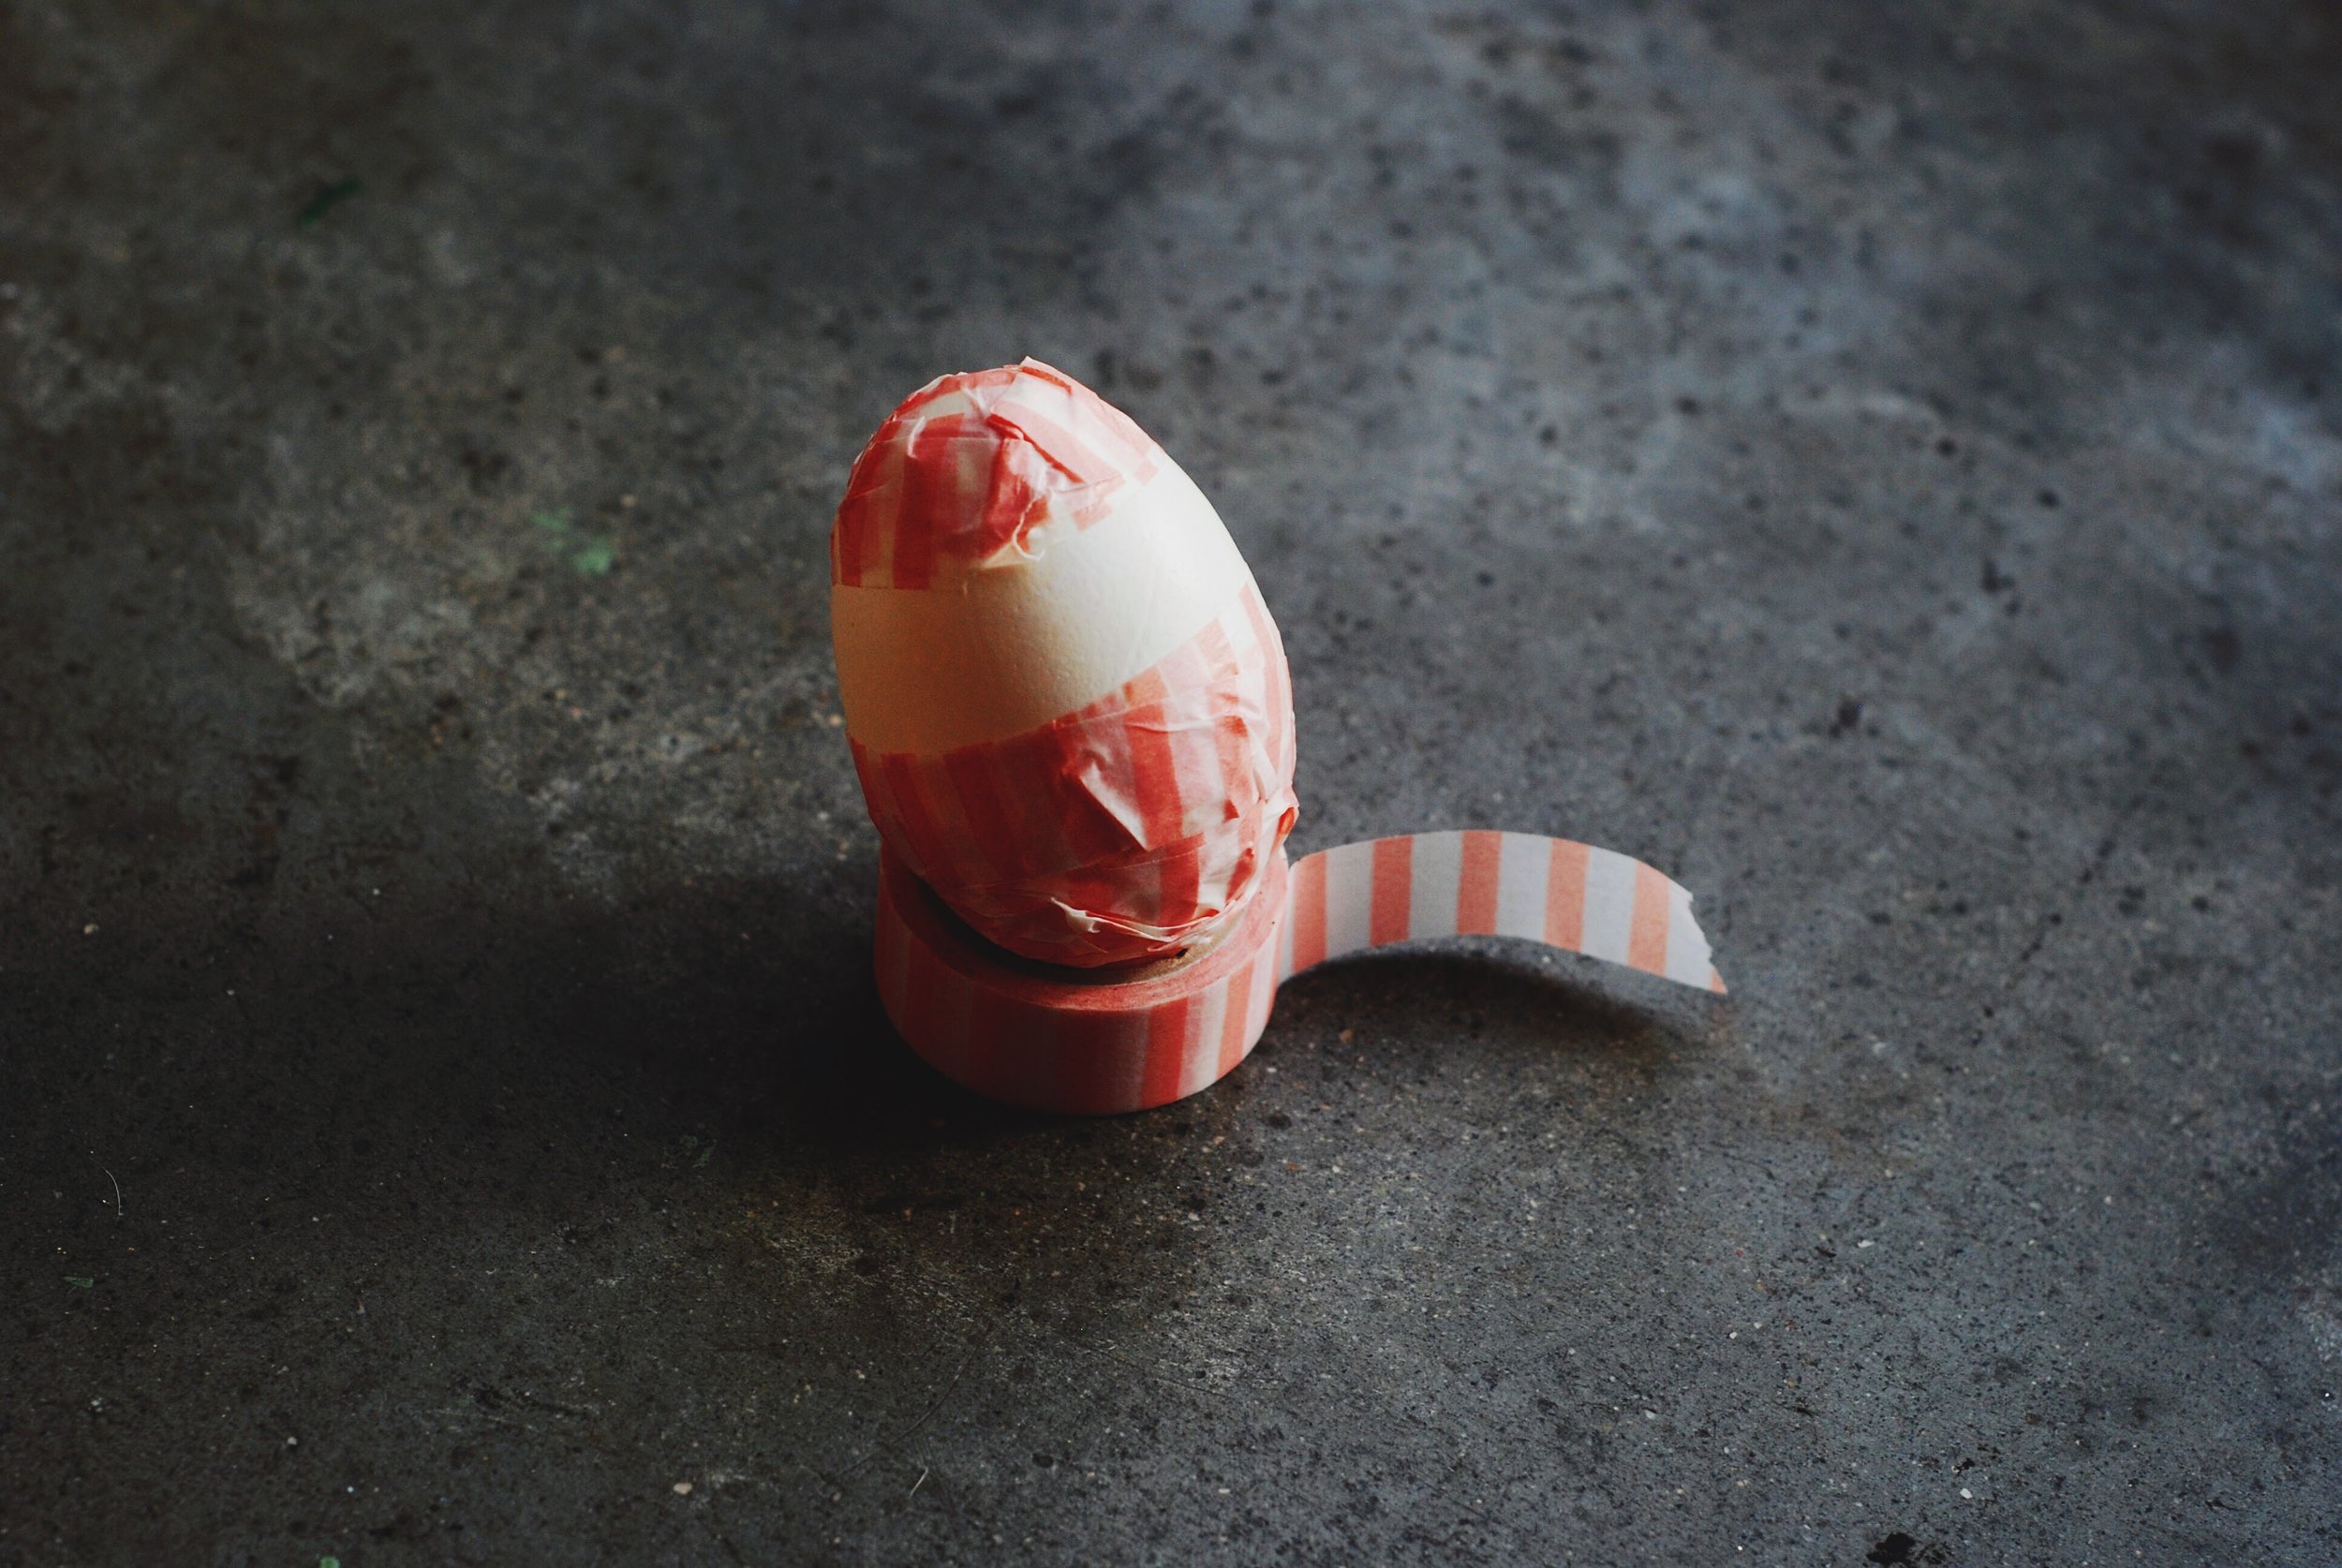
Wrap the egg in masking or washi tape, really tight with lots of layers. This is when I keep saying I know it's a kid's craft, but damn I had a hard time getting a good seal on that tape.

Step 2:
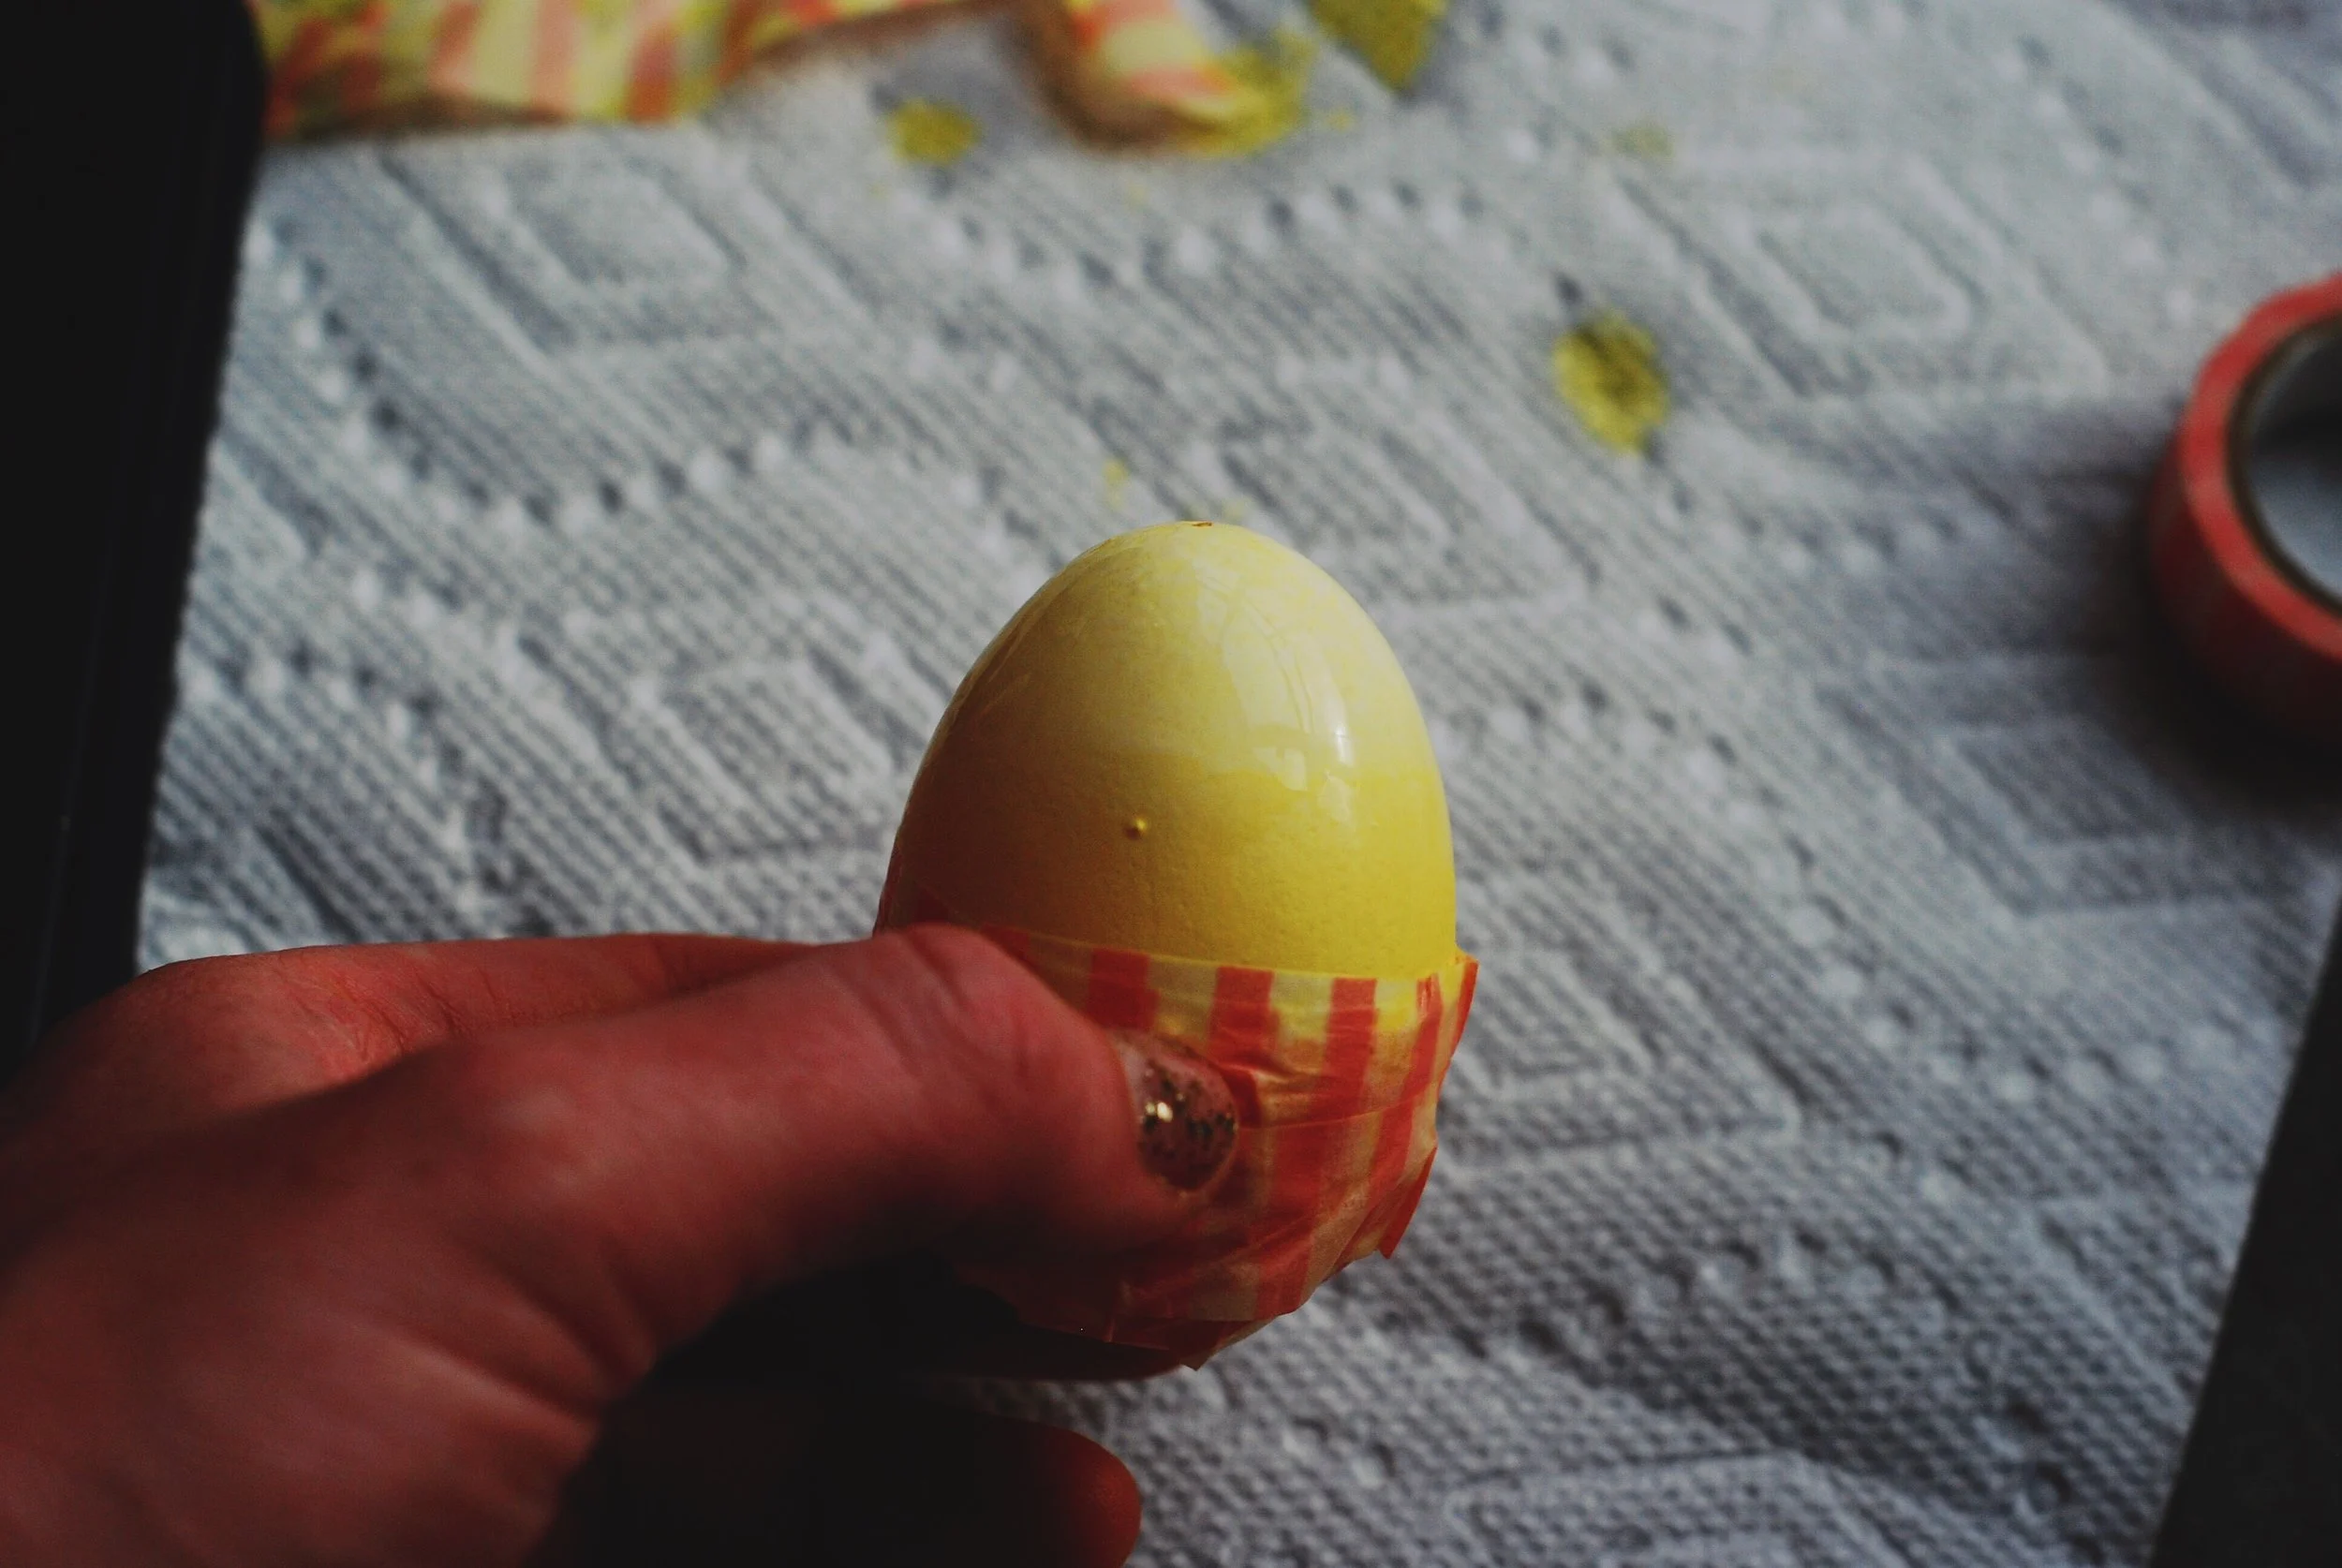
Start dying. On my as close-to-perfect-as-I-can-get egg I dipped and dipped the egg in yellow so that it would be darkest along the line and paler on the way up. Then after I took it out I took off the top wrapping + did a quick last dip so it was a gradient of yellow.


Step 3:
Once the yellow had dried (unlike me, give a few minutes. I had to put a timer on so I would leave it as when I get going I just keep going.) I dried it with paper towel, and kept drying with the towel as unwrapping so any yellow water stuck in the tape wouldn't drip down onto the white.
Take some tape and wrap it around the line of the yellow but leave a tiny bit out so you don't end up with a bright white line [but keep it tiny as the overlap will turn a little green] Dip and dip until you get a lovely shade of blue on the bottom of your egg.


Step 4:
Switch to boiled eggs and masking tape and then change your plan if you messed up your eggs like I did. All of this is optional. You can just do it properly again with your blown out eggs if you want.
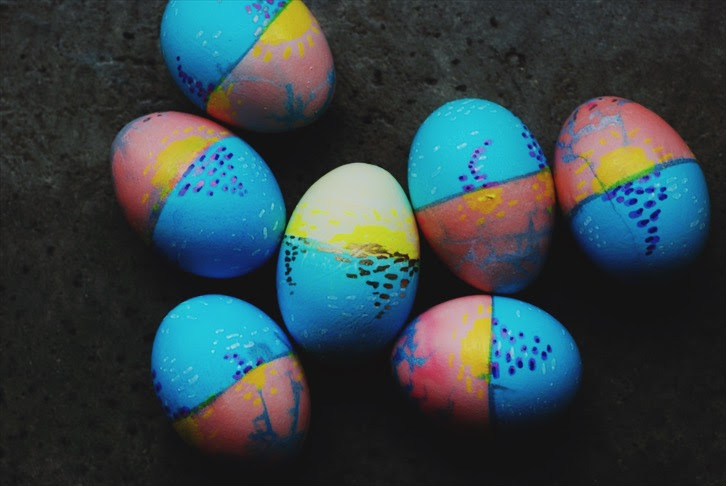
Real talk: I was super careful with Egg 1, but the rest of the eggs I just let sit in the dye and when I unwrapped them some blue got through. Which, if I hadn't already had a very specific plan, would have been a really pretty marbled pattern [achieve by wrapping with tape sort of ripply (you can see in the photo below) it basically happens when the egg tapers and you you're stuck with flat tape to wrap it.]


Step 5:
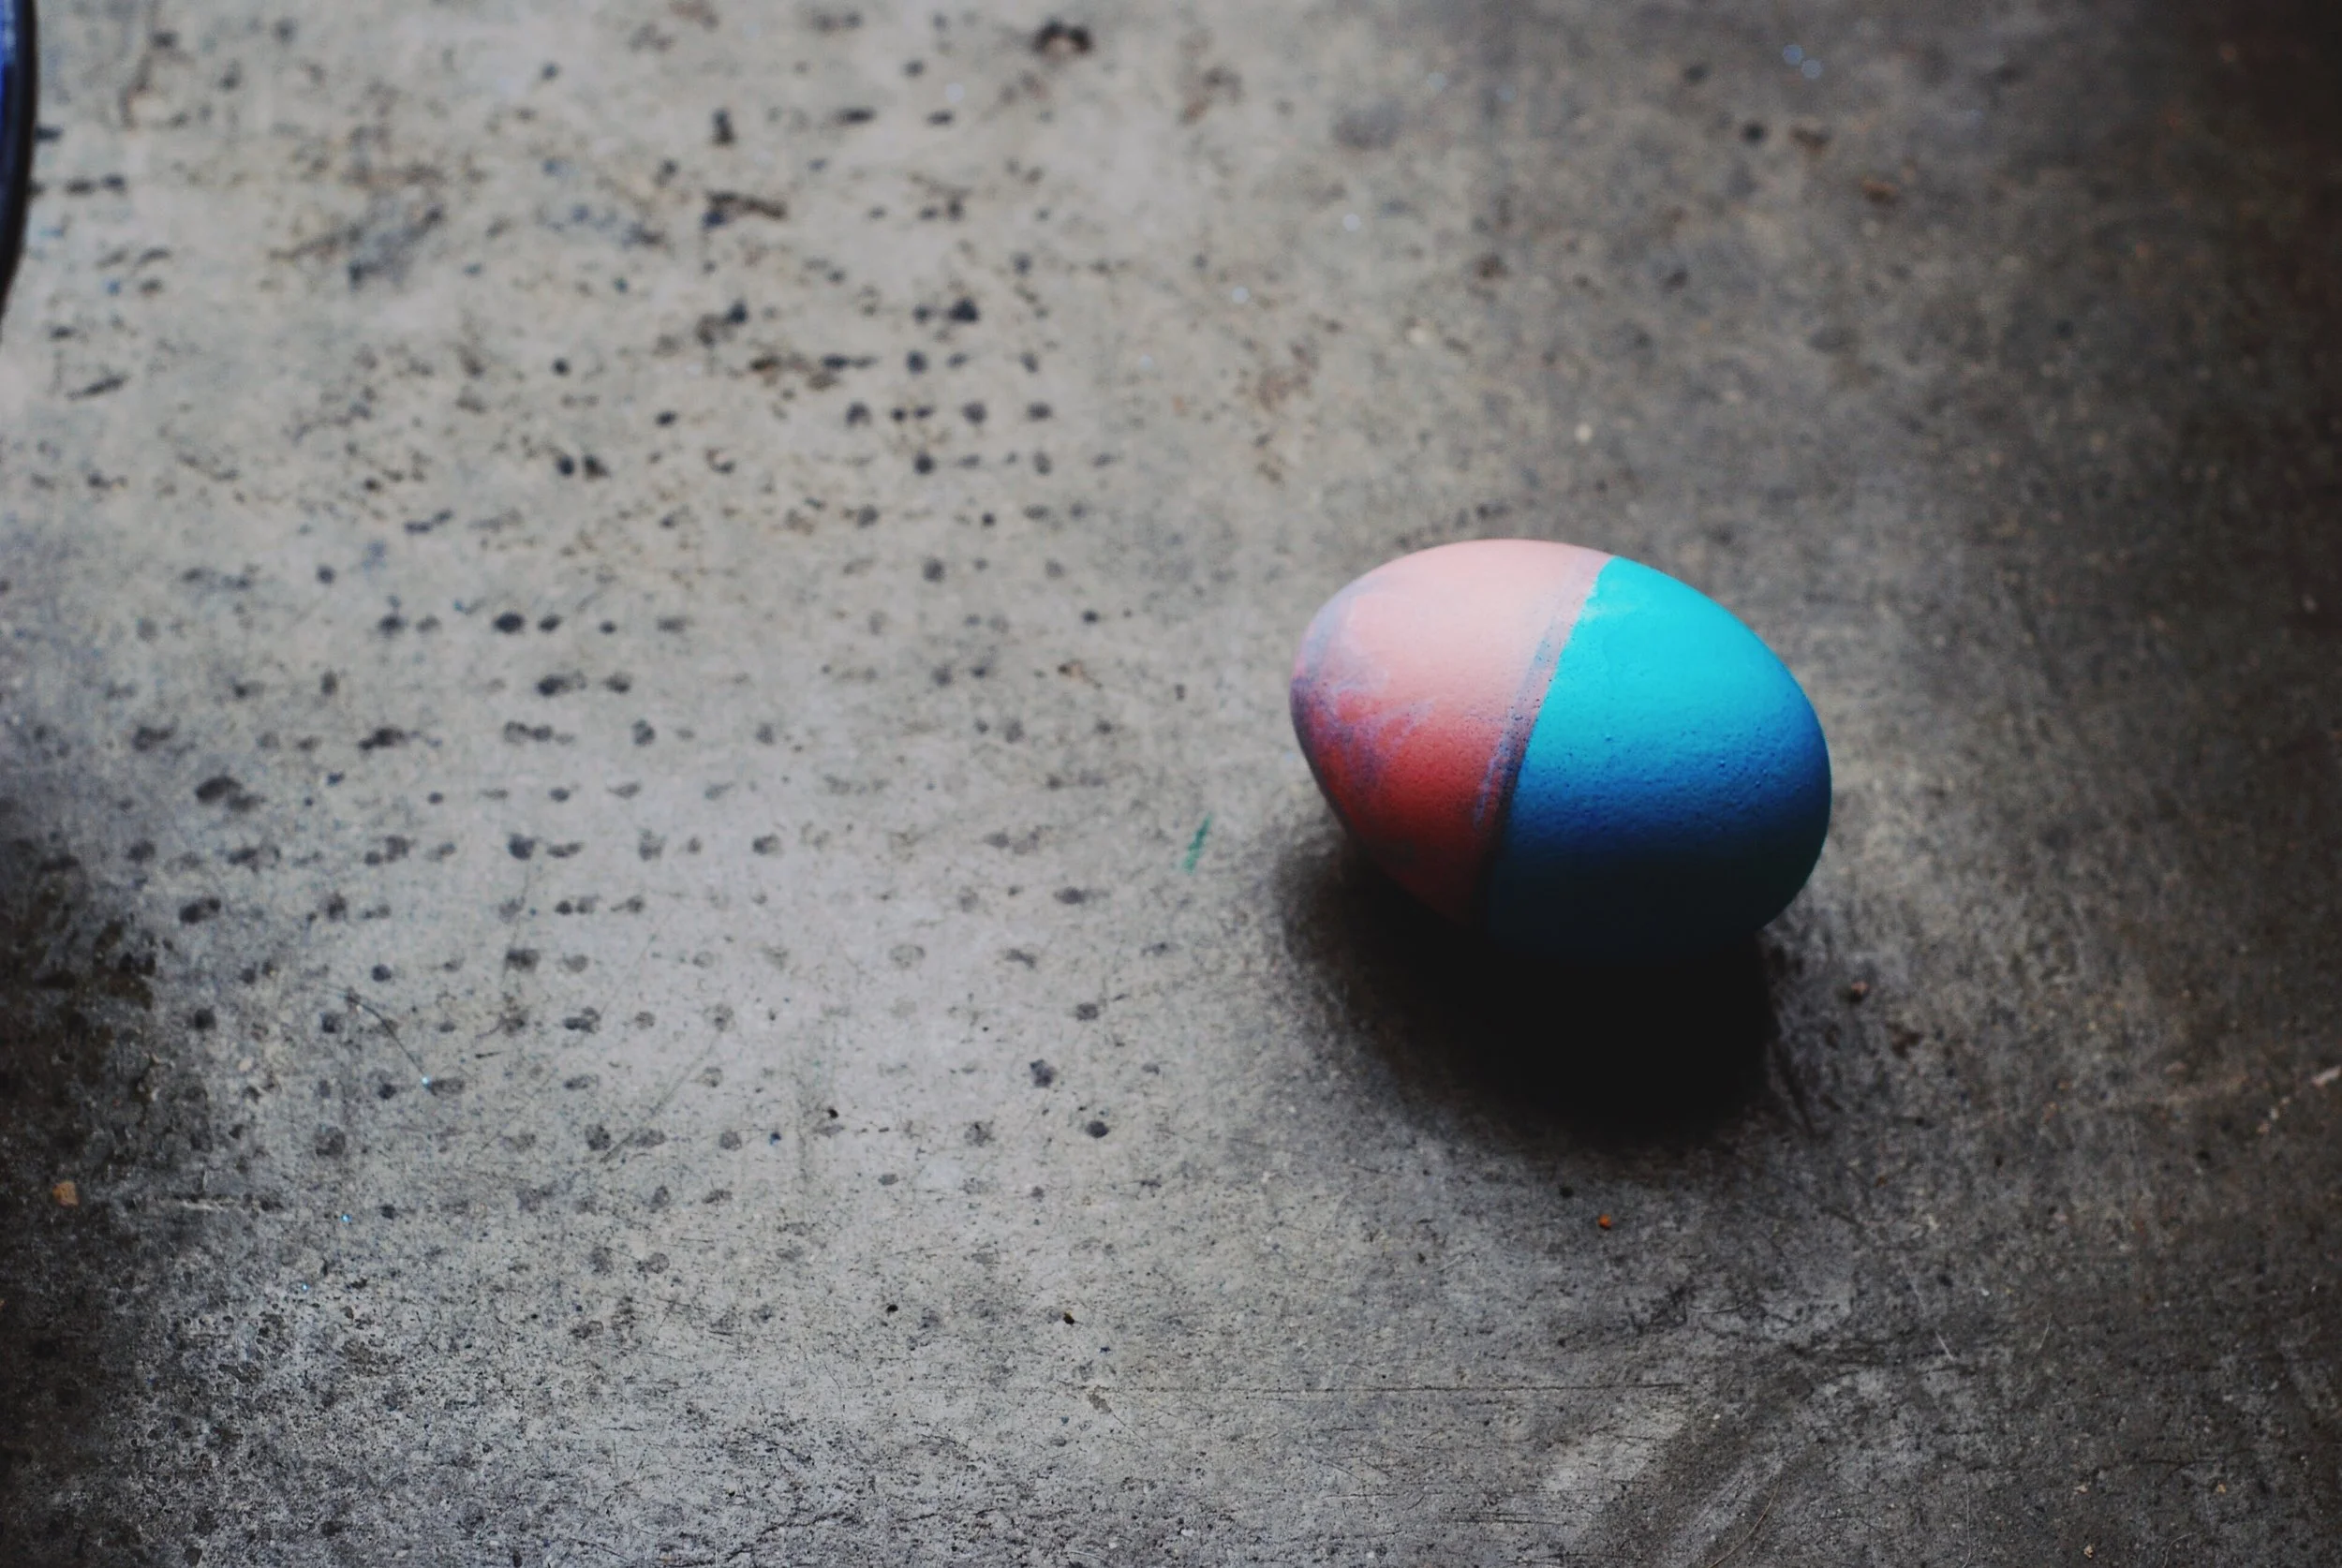
Switch the plan to sunset eggs.
Here's where my roll with the punches + problem solve attitude comes in. When I saw that the eggs had mottled blue I decided to switch from my beautiful yellow sun to a pink sunrise as the pink + blue = purple (sunrise) whereas yellow + blue = green (that's not a sky colour) and starting again + my patience level = non starter.
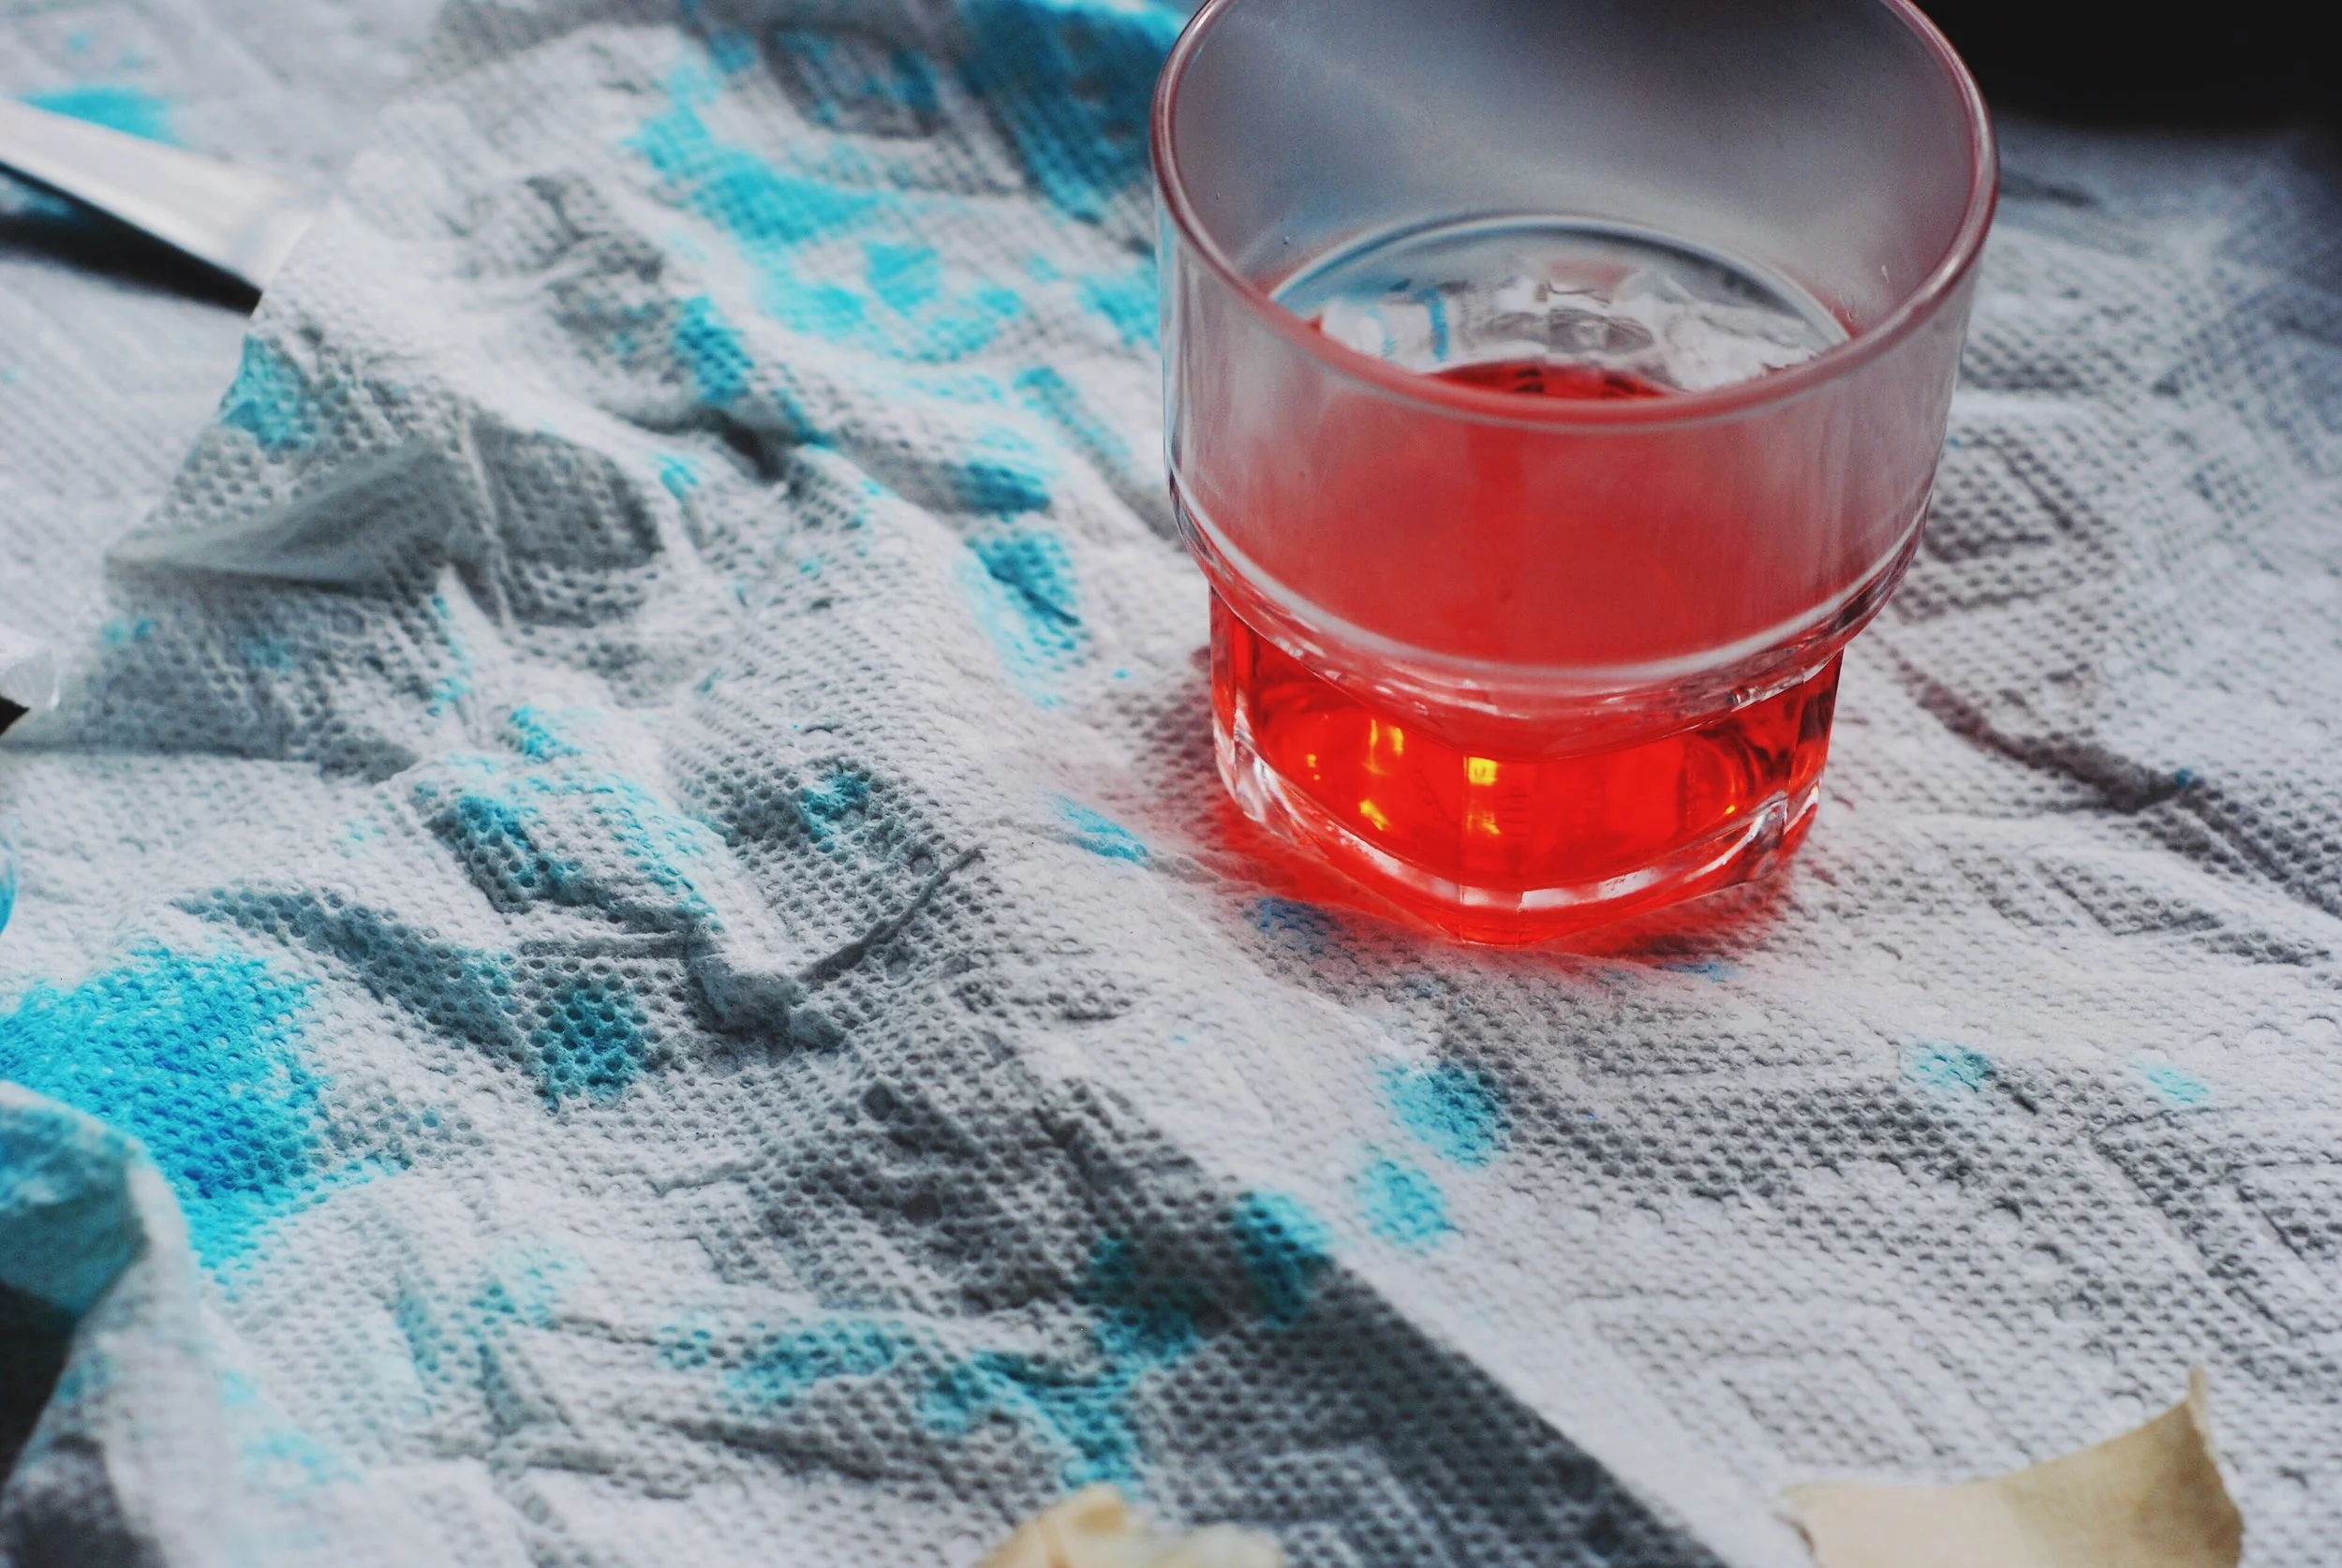
To get the pink colour it's just a little bit of red, about 4 drops instead of 20. I just watched the eggs until they were the colour I wanted and took them about, less than a minute.
You can also see why I recommend the paper towel. Dye everywhere.

Step 6:
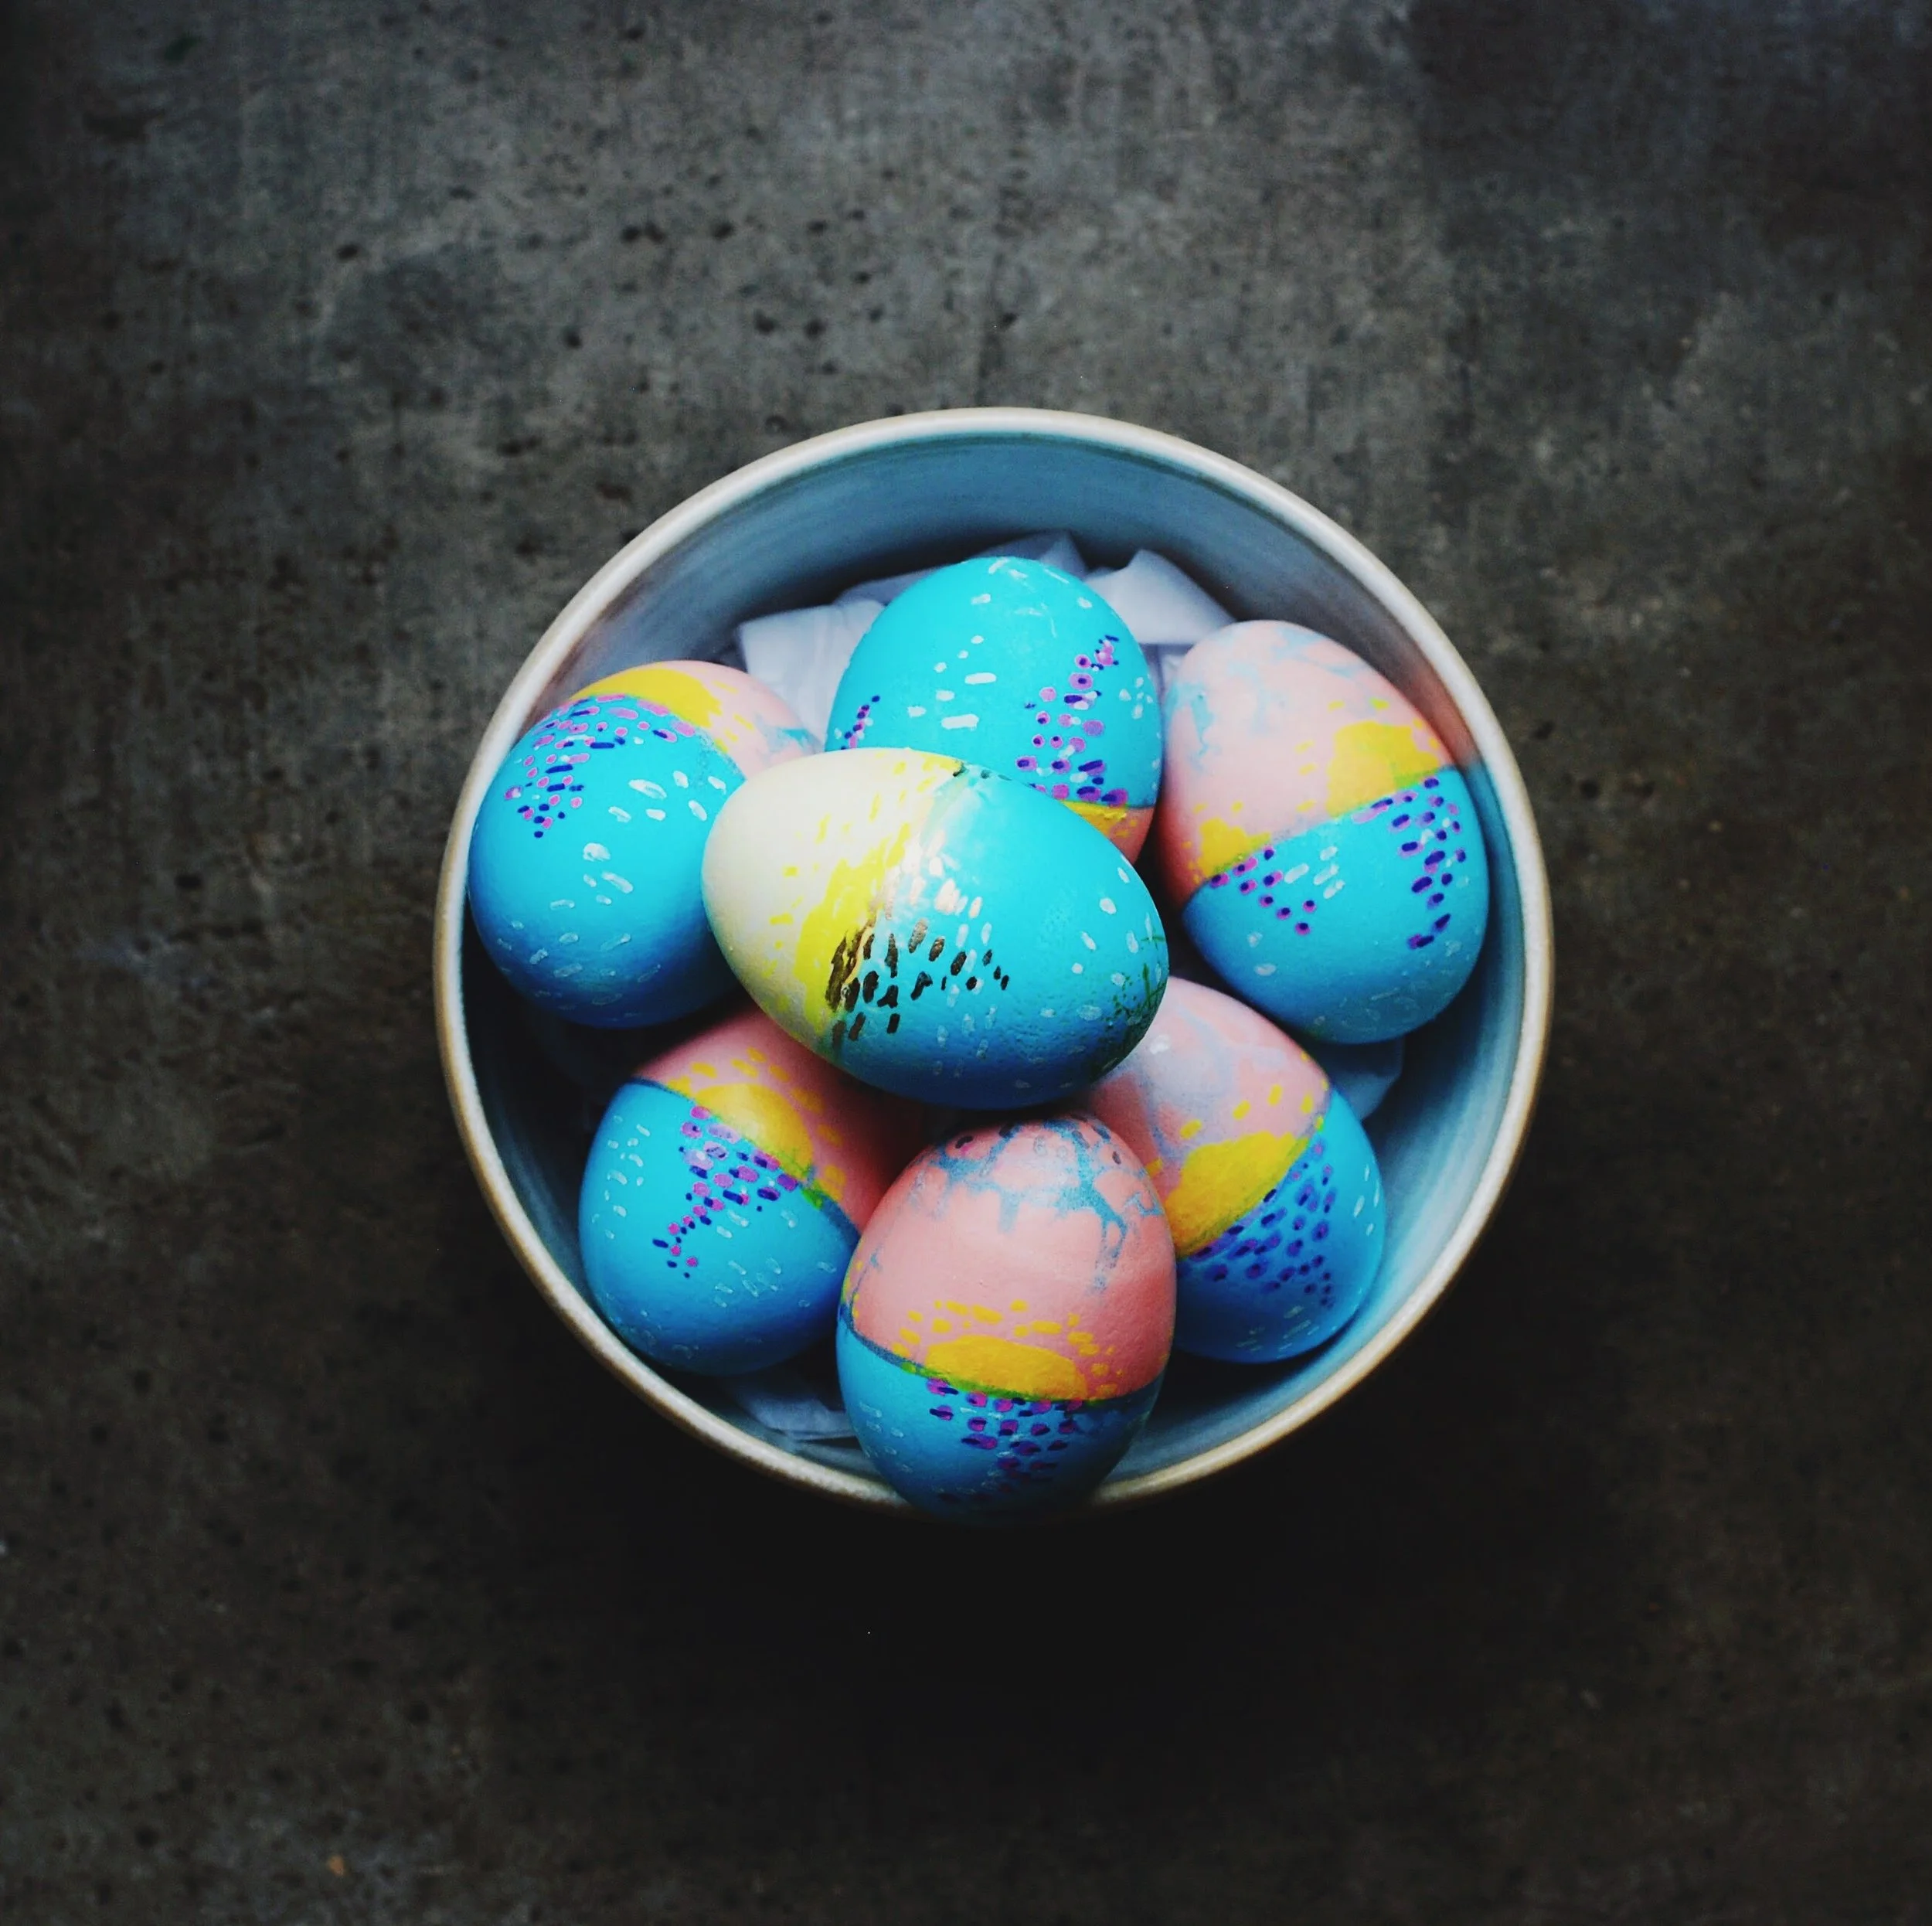
Crack out the paint pens + get artistic. Remember it's 3D so make sure to paint all over. I painted 2 big suns on the "front" and "back" and two small ones on the "sides."
On the yellow egg I used yellow for the sun, gold for the reflection, and white for the waves. The pink ones I used pink + purple instead of gold. I'm not the best at drawing, so I try to keep things pretty simple. I created a half circle of yellow for the sun and made a bit of blur around the edges + drew some rays. I used dots and dashes in white along the bottom of the egg + randomly around the sides, and the gold // pink in dashes in a tapering pattern + added purple dots onto the edges of the pink dashes.


and huzzah!
you just finished a kid's craft like a total grown-up boss
who cares if you messed it up
not me. i'm not judging that's for sure.
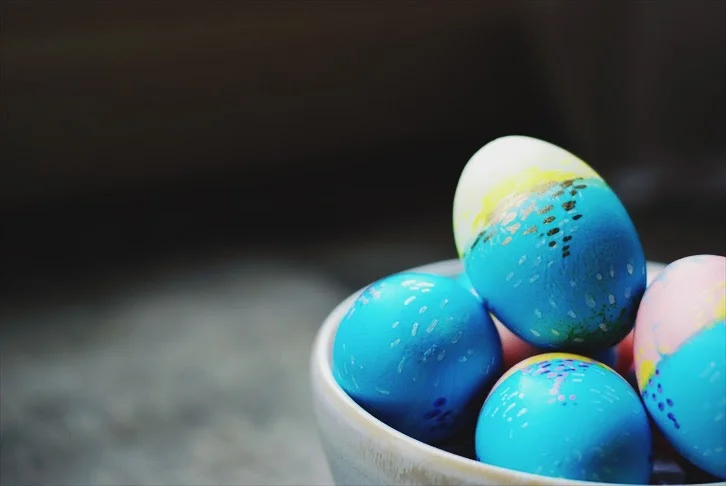
and also, btw, i think the marbled blue looks like clouds
so yasss totally did it on purpose.


I'm assuming that it's going to rain all Easter here in Vancouver
But it'll be sunny in your Easter basket!


It was finally time for us stop dialling in our Christmas outfits and so I made us these stunning little Christmas turtlenecks based on a DIY my mom made for my sister and me in the 90s. Here’s how you can get glorious for Christmas too.