How-To Milk Maid Braids

AKA have everyone freak out that you have this wild crazy updo that literally is the fastest easiest hairdo ever.
It's basically the best.
Want to know how easy it is? When my grandma saw me wearing it she said - "sommmmmme-one didn't care about their hair today"
but like, actually not as insult. Just that's how she used to do her hair when she was young and didn't have time to do her hair.
I also love that for "fancies" what I do is wash my hair, and blow dry just along my part so it looks like I did my whole hair but really its just that one section and everything else is still kind of damp.
FANCY AF.
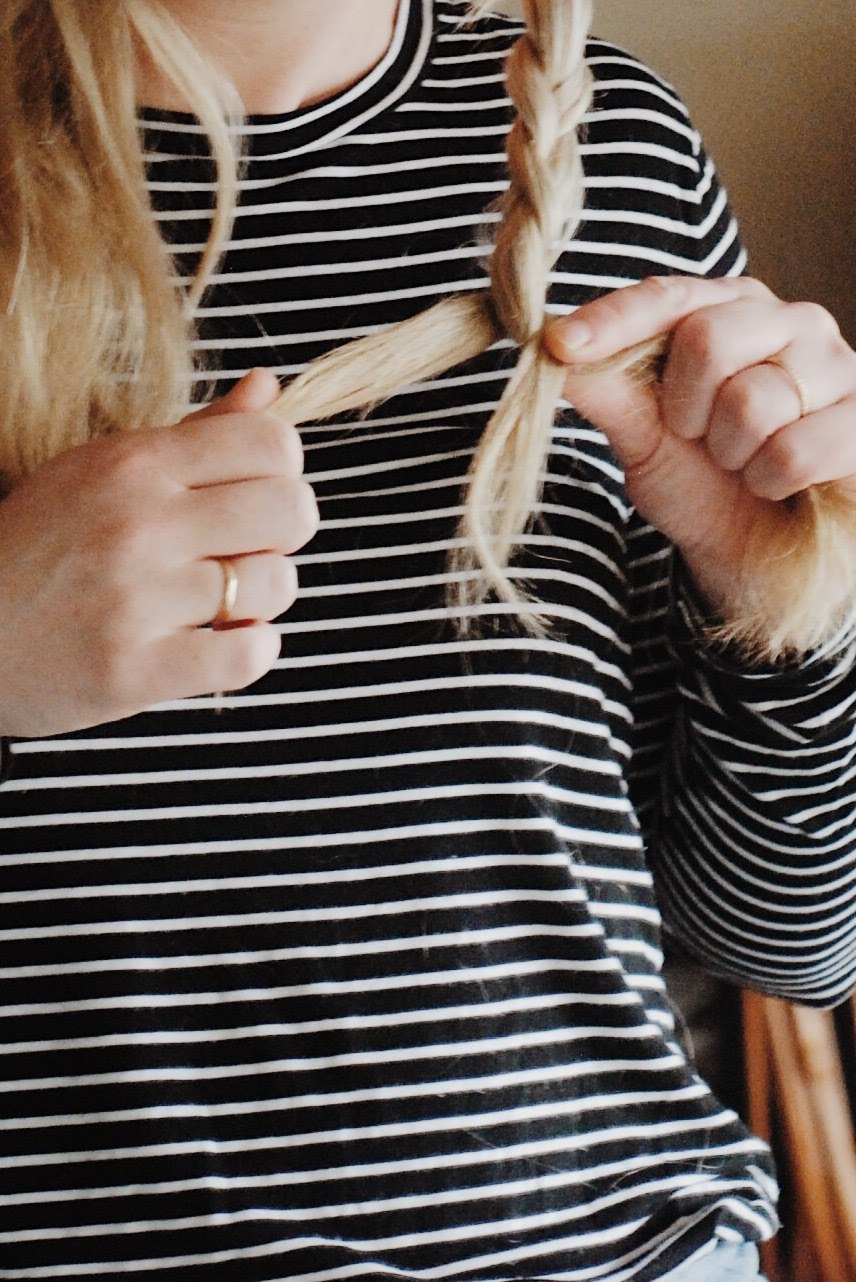
Step 1:
split your hair into 2 pigtails. I just go for it and don't worry too much about making them equal or a straight part, unless of course it's for fancies and it's blow dried in that one spot.
Step 2:
braid the pigtails.
PS if you have silky beautiful hair, unlike my super coarse (yet still super beautiful) you can add a wax, warm up between fingers and rub through and it will give you some texture to hold the braids together. I use Bumble + Bumble semi sumo wax and it also does wonders for hiding fly aways when you're sweating your junk off in the desert in India, for example. Which is where I also wore these braids because they're so easy and stylish. But put sunscreen on your part. If you're me. That's for sure.


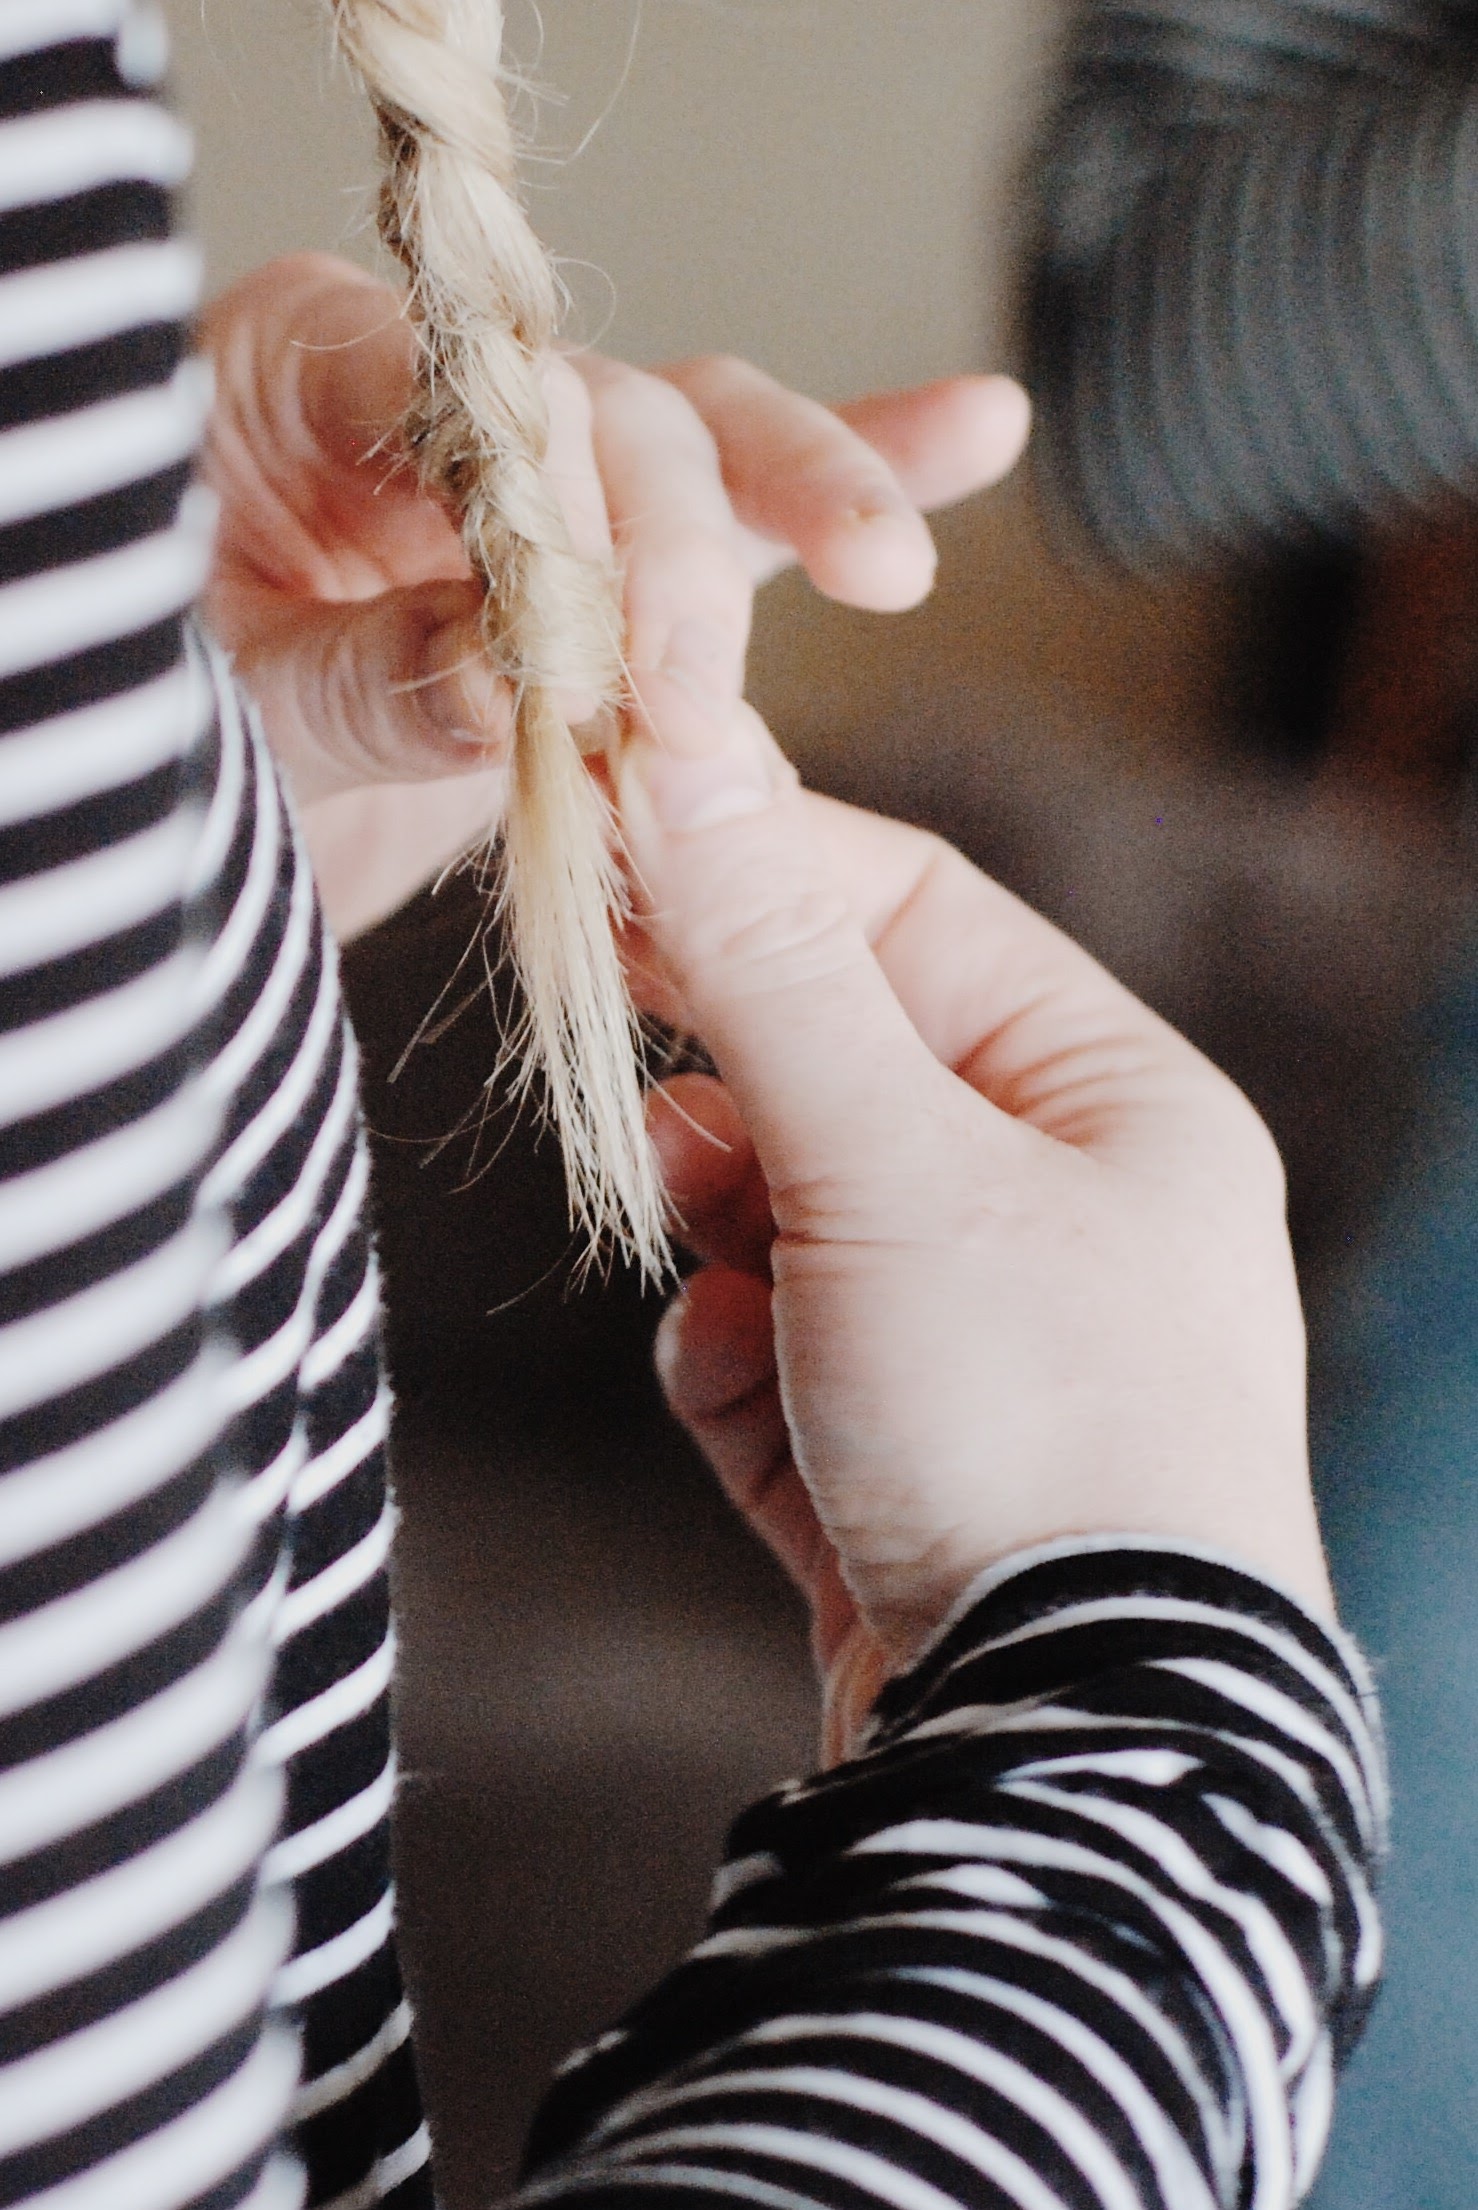
step 3:
Realize you have weird broken bits and didn't split your hair evenly and that one of the tails is way too short to keep braiding. Put the end 3 sections back into one sectionand split into 3s again and just keep braiding. Like don't start again. Who cares?


Step 4:
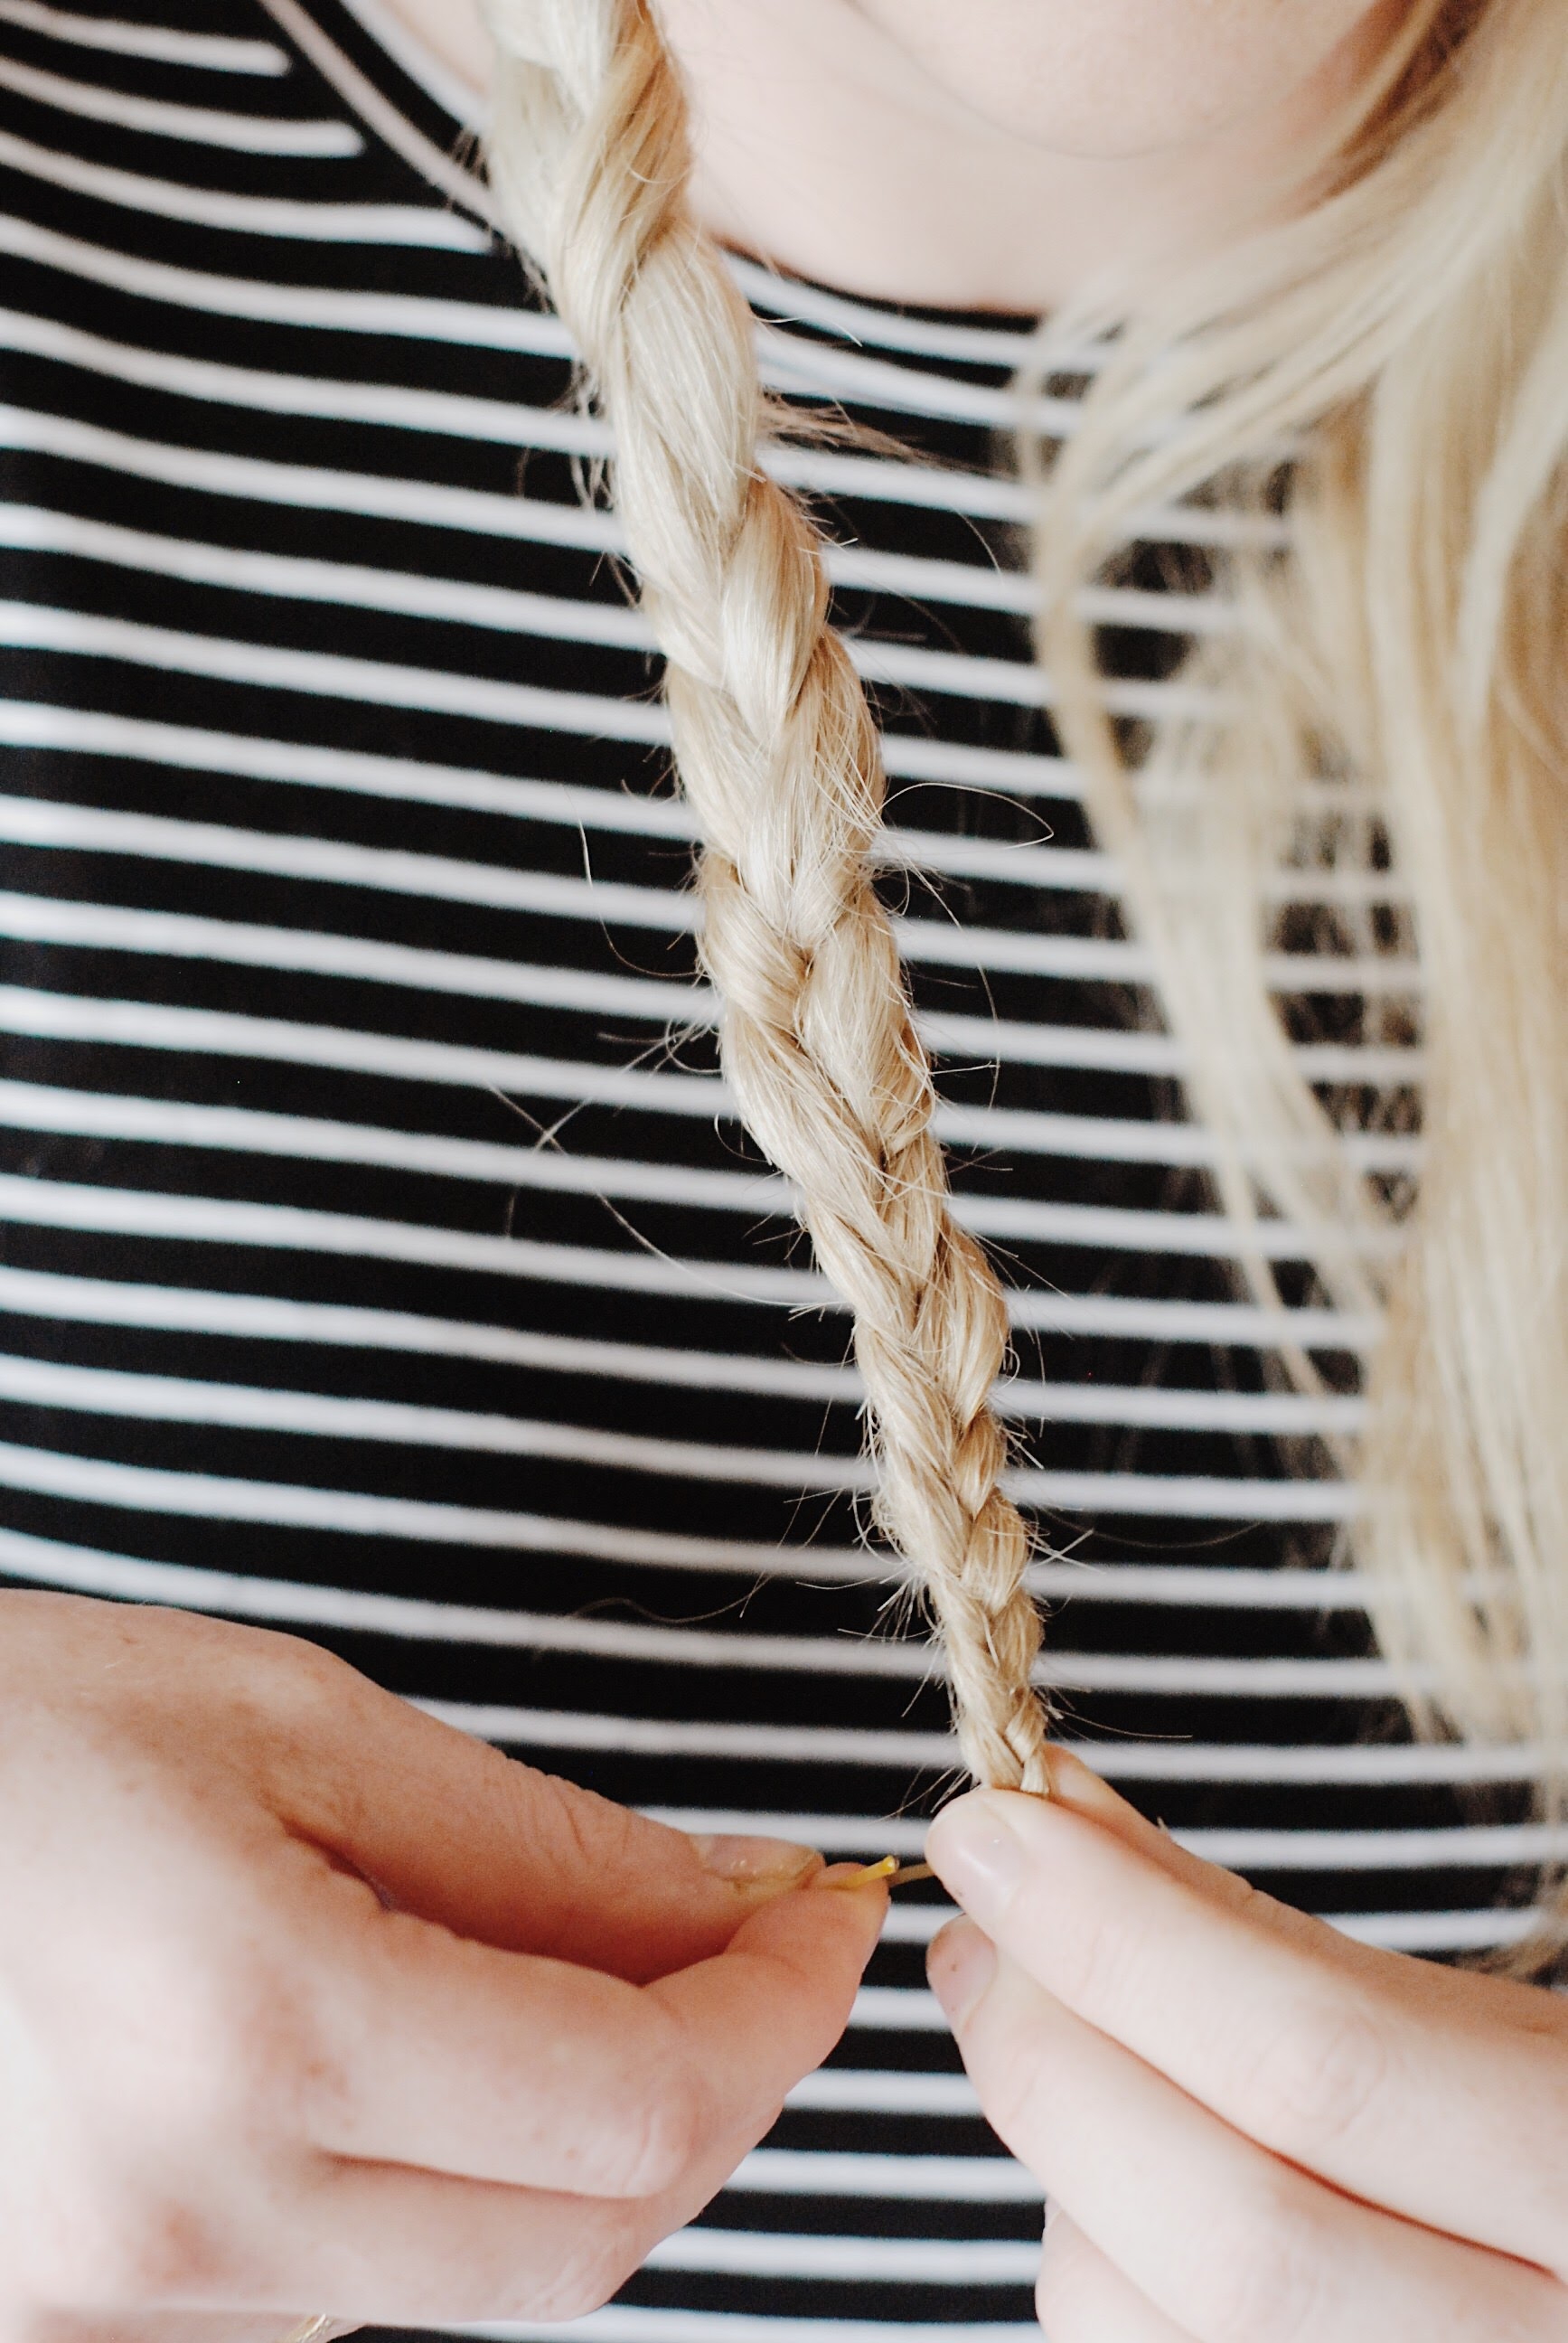
Keep braiding until it's just hair nubbins and you can't go any further
Step 5:
Ignore what all the other hair blogs say and hold it with a bobby pin, not with a clear elastic. I can never, ever get that to disappear, and a bobby pin works great.


Step 6:
MANTRA TIME: I can master this hair style that's so easy Eva's grandma used to wear it in the 40s when she didn't care what she looked like and I will not get overwhelmed by the fact I have to actually use a bobby pin + I will stay chill + remember that this is actually super easy + I won't panic
Step 7:
take braid one and figure out where you want to put it. Start pinning from near the bottom and hold the braid with your other hand so it doesn't fall down. Hold it until you've put a couple pins in.
Ok this is the only tricky part and once you get it you'll get it forever. Take a bobby pin, don't splay it out, push it in along the braid, and then when you hit your head, turn it around and face it backward and push it in until it disappears. It's the twist that makes the braid stay put.
With the hair, then against the hair.
Bottom left I'm going with the hair, so down towards my ear, and then bottom right I'm going against the hair, up my head.
Yeah I realize you totally can't see what I did there. It was hard to demonstrate!


step 8:
Do that a bunch more times until your braid feels secure.
Step 9:
Pick up the 2nd braid and figure out where you want it and do the same thing. Pin it until it's secure + also pin down anywhere that looks weird. For example, take the little nubbin ends of the braids + put them under the other braid and pin it down. If the braids poke out beside your ears pin them down. Look. Just use all the bobby pins. Nobody's going to judge you. Yeah, it'll take a while to unravel yourself at night but it's way easier than having to like, I don't know, plan out and be strategic + fussy. Just go for it.


Step 10:
Check yourself out girl.


DONe


OMG So hip so fly
so. easy.


Can’t even wait to start wearing my metallics and sequins and match them with red lips - but before I treat myself to another shade, I reveal my tried-and-tested hottest tips for picking your bold red lip this holiday season. You’re going to want to rush out and buy some for your holiday party too.